1. Introduction
This manual provides comprehensive instructions for the installation, operation, and maintenance of your Ledvion LV10002 Universal LED Dimmer. This trailing edge dimmer is designed for smooth and flicker-free dimming of various LED lamps from 0% to 100%, supporting a load range of 5W to 600W. Its integrated electronics eliminate buzzing noise, ensuring a quiet operation.
2. Safety Information
Please read these safety instructions carefully before installation and use. Failure to follow these instructions may result in electric shock, fire, or other hazards.
- Electrical Safety: Installation must be performed by a qualified electrician in accordance with local wiring regulations.
- Power Disconnection: Always disconnect power at the main circuit breaker before installing or servicing the dimmer.
- Compatibility: Ensure the dimmer's load capacity (5-600W) is suitable for your LED lighting system. This dimmer is a trailing edge (phase cut) type.
- Indoor Use Only: This product is designed for indoor use in dry locations.
- Children: Keep out of reach of children.
3. Product Overview
3.1 Key Features
- Universal compatibility with various LED lamps.
- Smooth dimming from 0% to 100%.
- Wide load range: 5W to 600W.
- Trailing edge (phase cut) technology for optimal LED performance.
- Flicker-free and noise-free operation due to integrated electronics.
- Two-way switch function for multi-location control.
- Compact design for easy flush mounting.
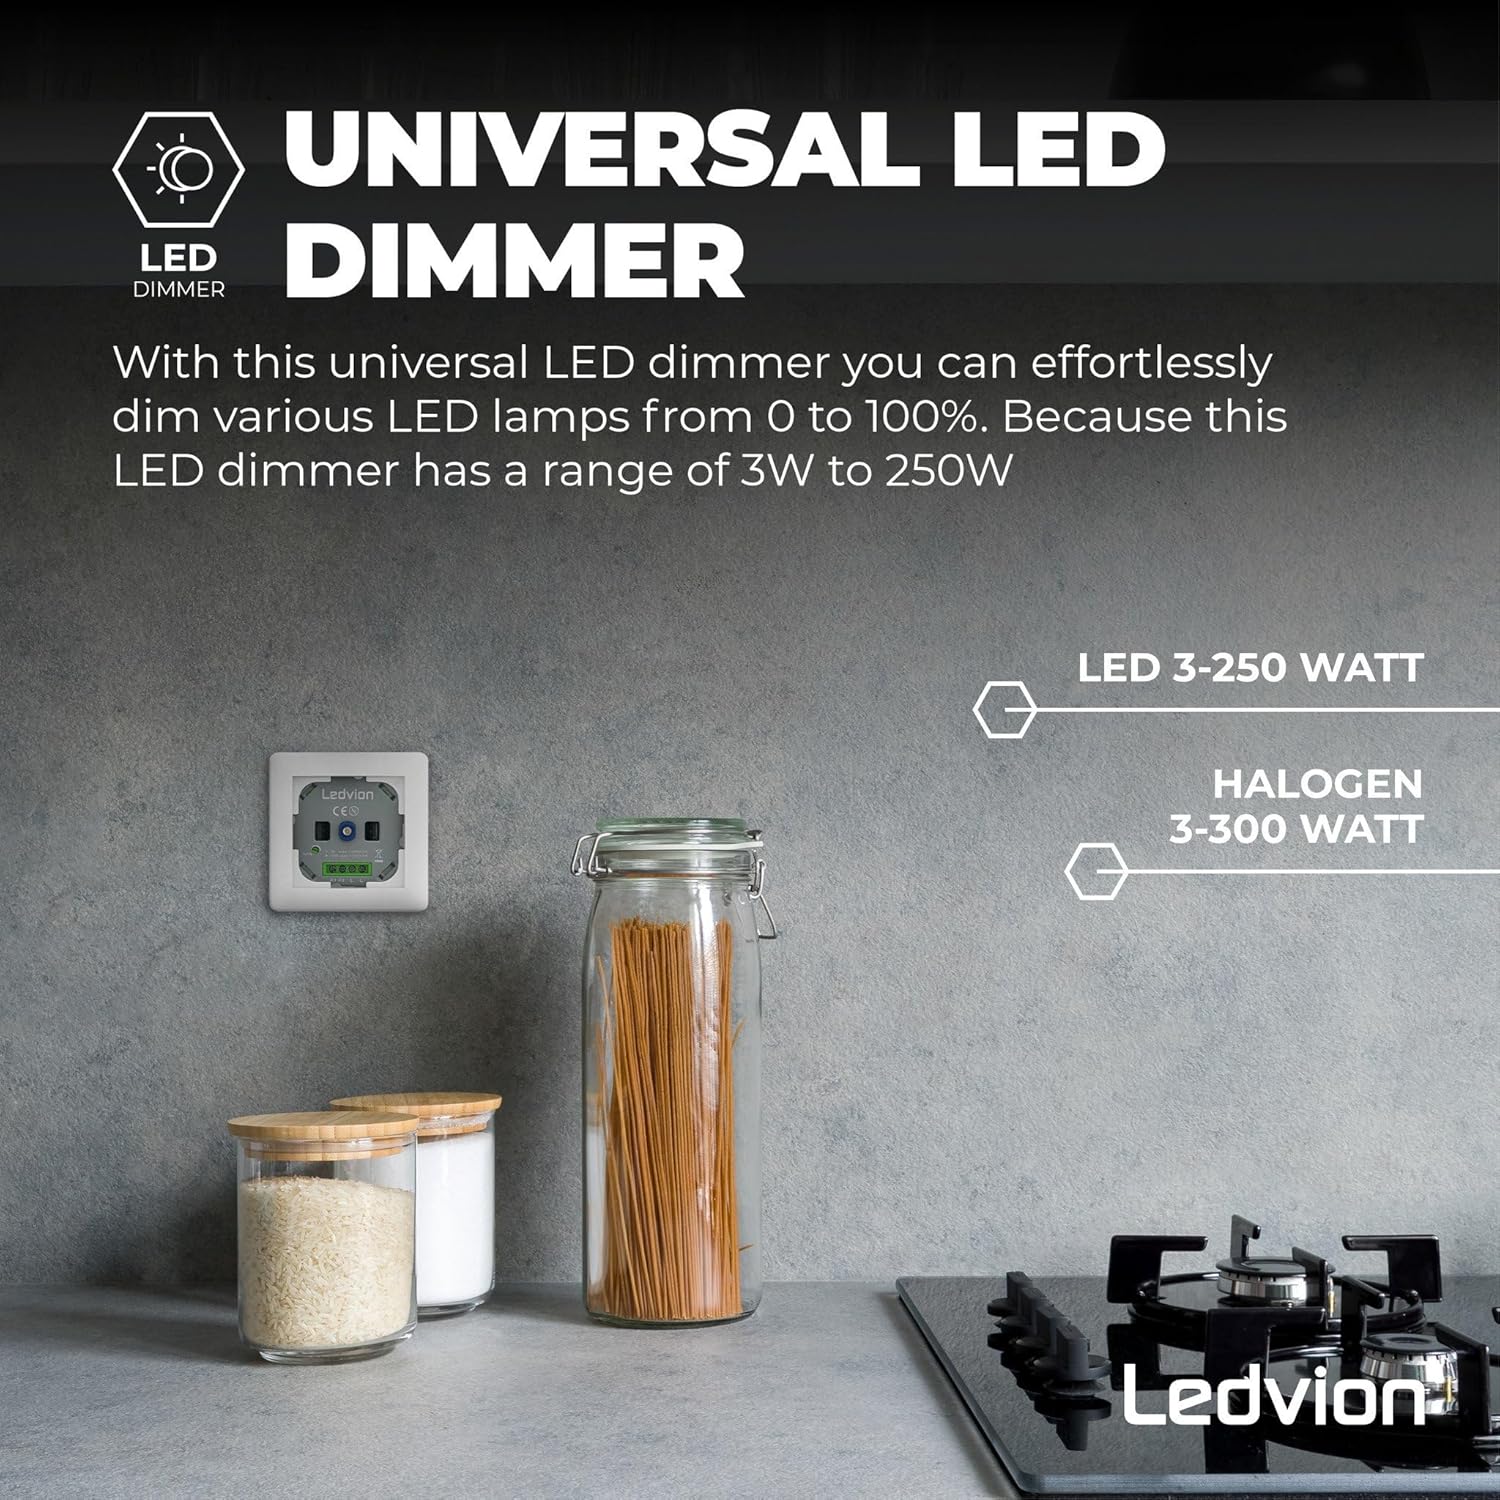
Image 3.1: Overview of the Ledvion Universal LED Dimmer highlighting its universal compatibility and load ranges for LED (3-250W) and Halogen (3-300W) lamps. Note: The dimmer's overall capacity is 5-600W.

Image 3.2: The Ledvion dimmer, emphasizing its trailing edge technology for silent and flicker-free performance, showing the SKU LV10002 and load specifications.
3.2 What's in the Box
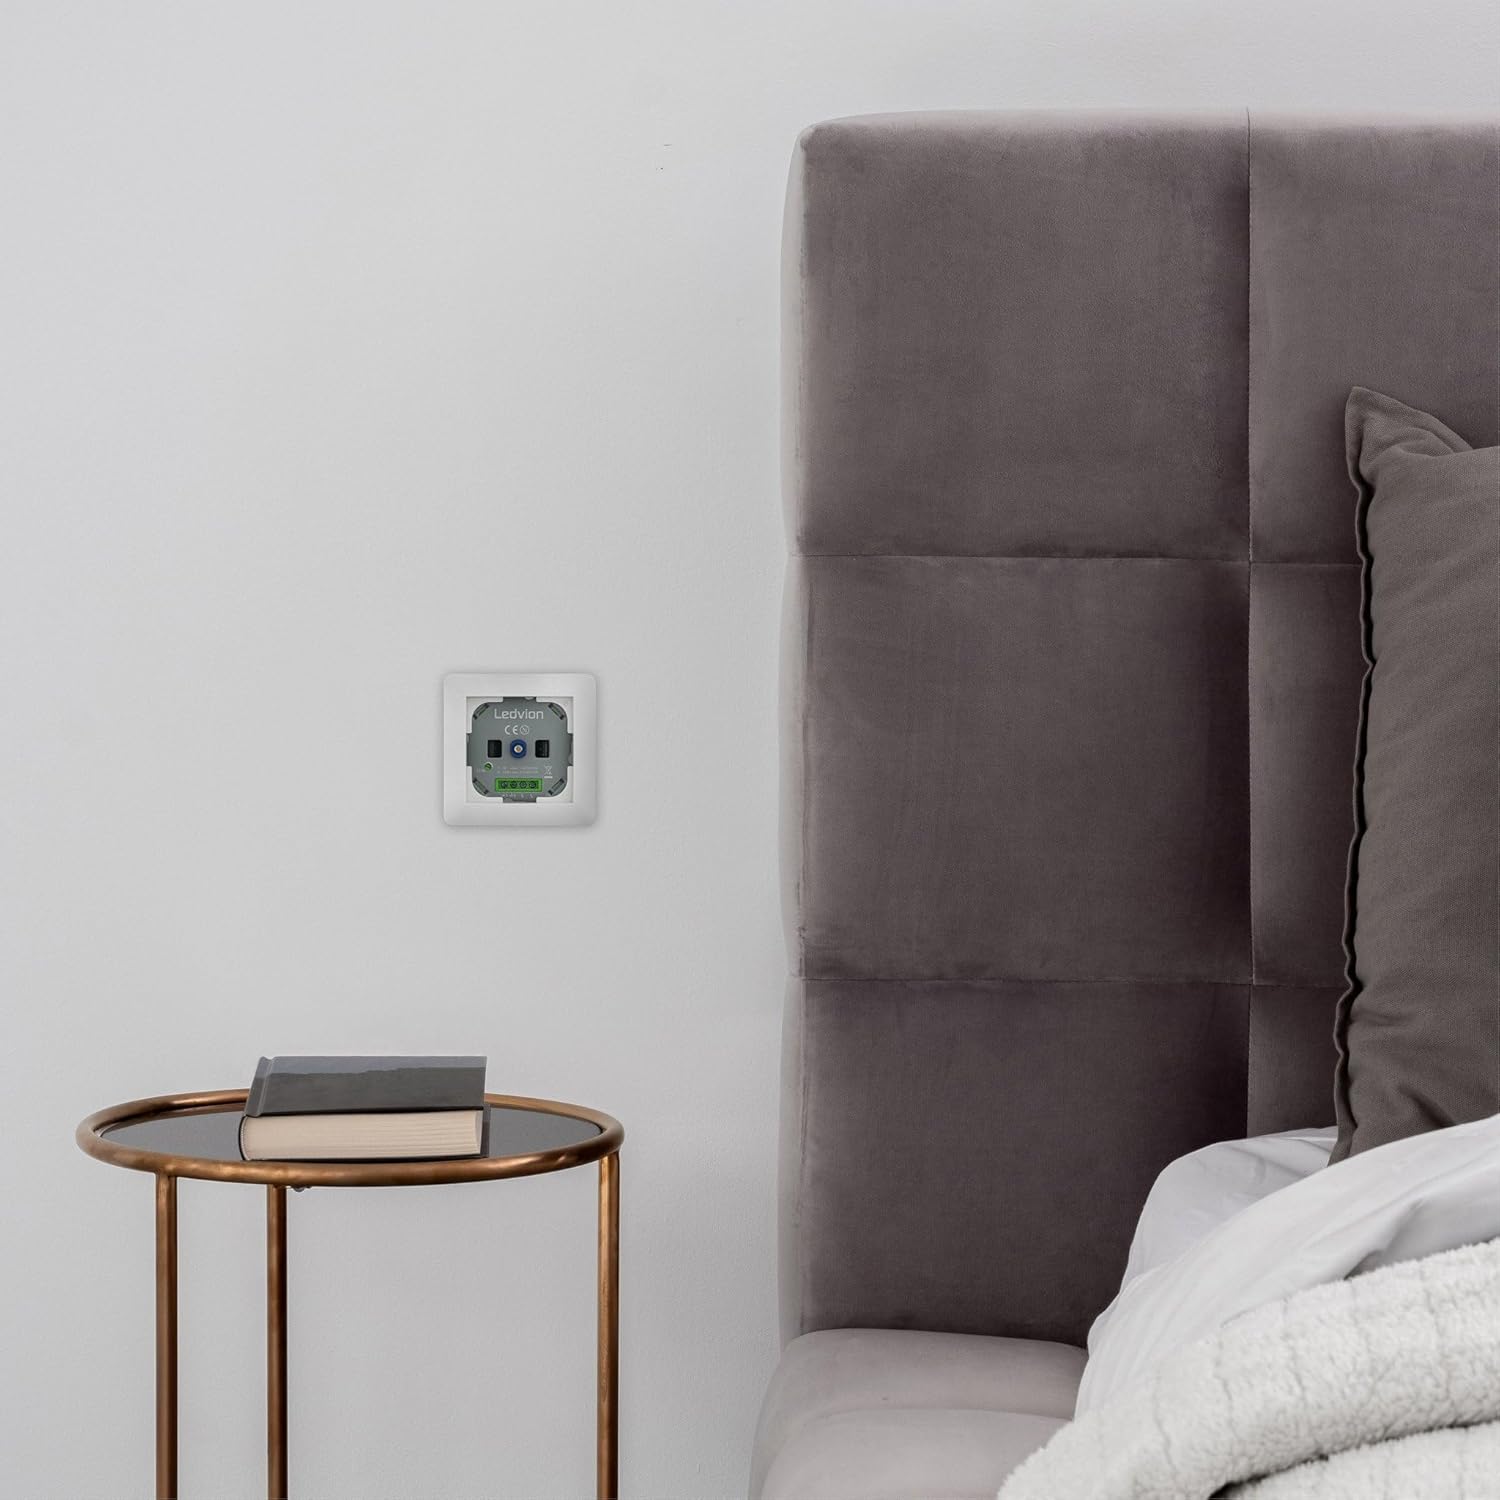
Image 3.3: Contents of the product package, including the Ledvion dimmer unit, connecting pieces, and the instruction manual.
- 1x Ledvion LV10002 Universal LED Dimmer
- 3x Connecting pieces (nuts/washers)
- 1x Instruction Manual
4. Setup and Installation
Important: Ensure the power supply is disconnected before beginning installation. If you are unsure about electrical wiring, consult a qualified electrician.
4.1 Wiring Connection
The Ledvion dimmer supports both one-way and two-way switch configurations. The two-way switch function allows you to control the same LED lamp from multiple locations.

Image 4.1: Detailed wiring diagrams illustrating both one-way and two-way connection methods for the dimmer. Follow these diagrams carefully for correct installation.
- One-Way Connection: Connect the live (L) wire to the dimmer's 'L' terminal and the switched live wire to the 'L1' or 'L2' terminal, then to the lamp.
- Two-Way Connection: For two-way switching, connect the live (L) wire to the dimmer's 'L' terminal. Connect the two-way switch wires to 'L1' and 'L2' terminals, and then connect the lamp to the appropriate switched live output. A neutral (N) connection is typically required for the lamp.
- Use the quick-connect terminals for secure wiring.
4.2 Physical Installation

Image 4.2: A hand installing the Ledvion dimmer unit into a standard wall-mounted electrical box, demonstrating the compact size and ease of fitting.
- After wiring, carefully place the dimmer unit into the wall box.
- Secure the dimmer using the provided connecting pieces (screws/nuts) to ensure it is firmly seated.
- Attach the cover plate (not included) over the dimmer mechanism.
- Restore power at the main circuit breaker.
5. Operating Instructions
The Ledvion LV10002 dimmer operates manually via its rotary knob.
- Turning On/Off: Press the rotary knob to switch the connected lights on or off.
- Dimming: Rotate the knob clockwise to increase brightness and counter-clockwise to decrease brightness.
- Minimum Brightness Adjustment: The dimmer features a 'MIN' adjustment screw (visible on the dimmer unit itself, Image 3.2). This allows you to set the lowest dimming level to prevent flickering at very low light outputs, which can occur with some LED lamps. Use a small screwdriver to adjust this screw until stable dimming is achieved at the lowest desired level.
6. Maintenance
The Ledvion LED Dimmer requires minimal maintenance.
- Cleaning: Ensure power is off before cleaning. Wipe the surface with a soft, dry cloth. Do not use abrasive cleaners or solvents.
- Inspection: Periodically check for any loose connections or signs of damage. If any issues are found, disconnect power and consult a qualified electrician.
7. Troubleshooting
If you experience issues with your Ledvion LED Dimmer, refer to the following common problems and solutions:
| Problem | Possible Cause | Solution |
|---|---|---|
| Lights do not turn on. | No power, incorrect wiring, faulty lamp. | Check circuit breaker. Verify wiring connections. Test with a known working lamp. |
| Lights flicker or buzz. | Incompatible lamps, minimum brightness set too low, overloaded circuit. | Ensure lamps are dimmable LEDs. Adjust the 'MIN' screw on the dimmer. Reduce total load if exceeding 600W. |
| Dimmer does not dim smoothly. | Incompatible lamps, 'MIN' setting incorrect. | Ensure lamps are compatible with trailing edge dimmers. Adjust the 'MIN' screw. |
| Dimmer feels warm. | Normal operation, overloaded circuit. | A slight warmth is normal. If excessively hot, check total load and ensure it does not exceed 600W. Disconnect power if overheating persists. |
8. Specifications
| Model Number | LV10002 |
| Brand | Ledvion |
| Load Capacity | 5W - 600W (LED) |
| Operating Voltage | 230 Volts |
| Current Rating | 5 A |
| Dimming Type | Trailing Edge (Phase Cut), TRIAC |
| Operating Mode | Manual |
| Dimensions (L x W x H) | 8 x 8 x 5 cm |
| Weight | 80 grams |
| Material | Plastic |
| Connector Type | Clamp terminal, Quick-connect |
| Certifications | Intertek, CE, RoHS, REACH |
| Country of Origin | China |

Image 8.1: Technical drawing showing the dimensions of the Ledvion LV10002 dimmer, measuring 70mm x 70mm.
9. Warranty
The Ledvion LV10002 Universal LED Dimmer comes with a 2-year warranty from the date of purchase. This warranty covers defects in materials and workmanship under normal use. The product is manufactured to high-quality standards and complies with various quality marks, including Intertek, CE, RoHS, and REACH.
The warranty does not cover damage caused by improper installation, misuse, unauthorized modifications, or natural disasters. Please retain your proof of purchase for warranty claims.
10. Support and Contact Information
For technical support, warranty claims, or further assistance, please contact Ledvion customer service. Refer to the contact information provided with your purchase or visit the official Ledvion website.
Manufacturer: Ledvion
Website: Ledvion Official Store (via Amazon)