1. Introduction
The HB500C Egg Incubator with Hatcher Combo is designed for efficient and reliable incubation and hatching of various poultry eggs. This unit features automatic egg turning, precise humidity control, and advanced sensor technology to create an optimal environment for embryonic development. Its robust construction and energy-efficient design make it suitable for both small-scale and commercial applications.

2. Key Features
- Batch Hatching Capability: Accommodates a wide range of egg types and quantities, including up to 140 chicken eggs or 396 quail eggs.
- Advanced Technology: Utilizes patented internal and external sensors for accurate temperature and humidity control, ensuring optimal conditions.
- Effortless Operation: Features an automatic egg turner, eliminating the need for manual intervention during the incubation period.
- High Capacity & Energy Efficient: A commercial-grade cabinet incubator with excellent insulation for energy savings and consistent performance.
- Set and Forget Design: Simplifies the hatching process, making it ideal for users who cannot frequently monitor the unit.
3. Components Overview
The HB500C incubator is comprised of several key components working in unison to provide a stable hatching environment.


4. Setup Instructions
4.1 Unpacking and Inspection
- Carefully remove all components from the packaging.
- Inspect the incubator for any signs of damage during transit. Report any damage to the supplier immediately.
- Ensure all listed components are present: main incubator unit, egg setter trays, hatching baskets, water reservoir, and power cord.
4.2 Placement
- Place the incubator on a stable, level surface in a room with a consistent ambient temperature (ideally between 20-25°C / 68-77°F).
- Avoid direct sunlight, drafts, or areas with extreme temperature fluctuations.
- Ensure adequate space around the unit for ventilation and access for maintenance.
4.3 Assembly
- Install the egg setter trays into their designated slots within the incubator. Ensure they are securely seated for proper turning.
- Place the hatching baskets in the lower section of the incubator.
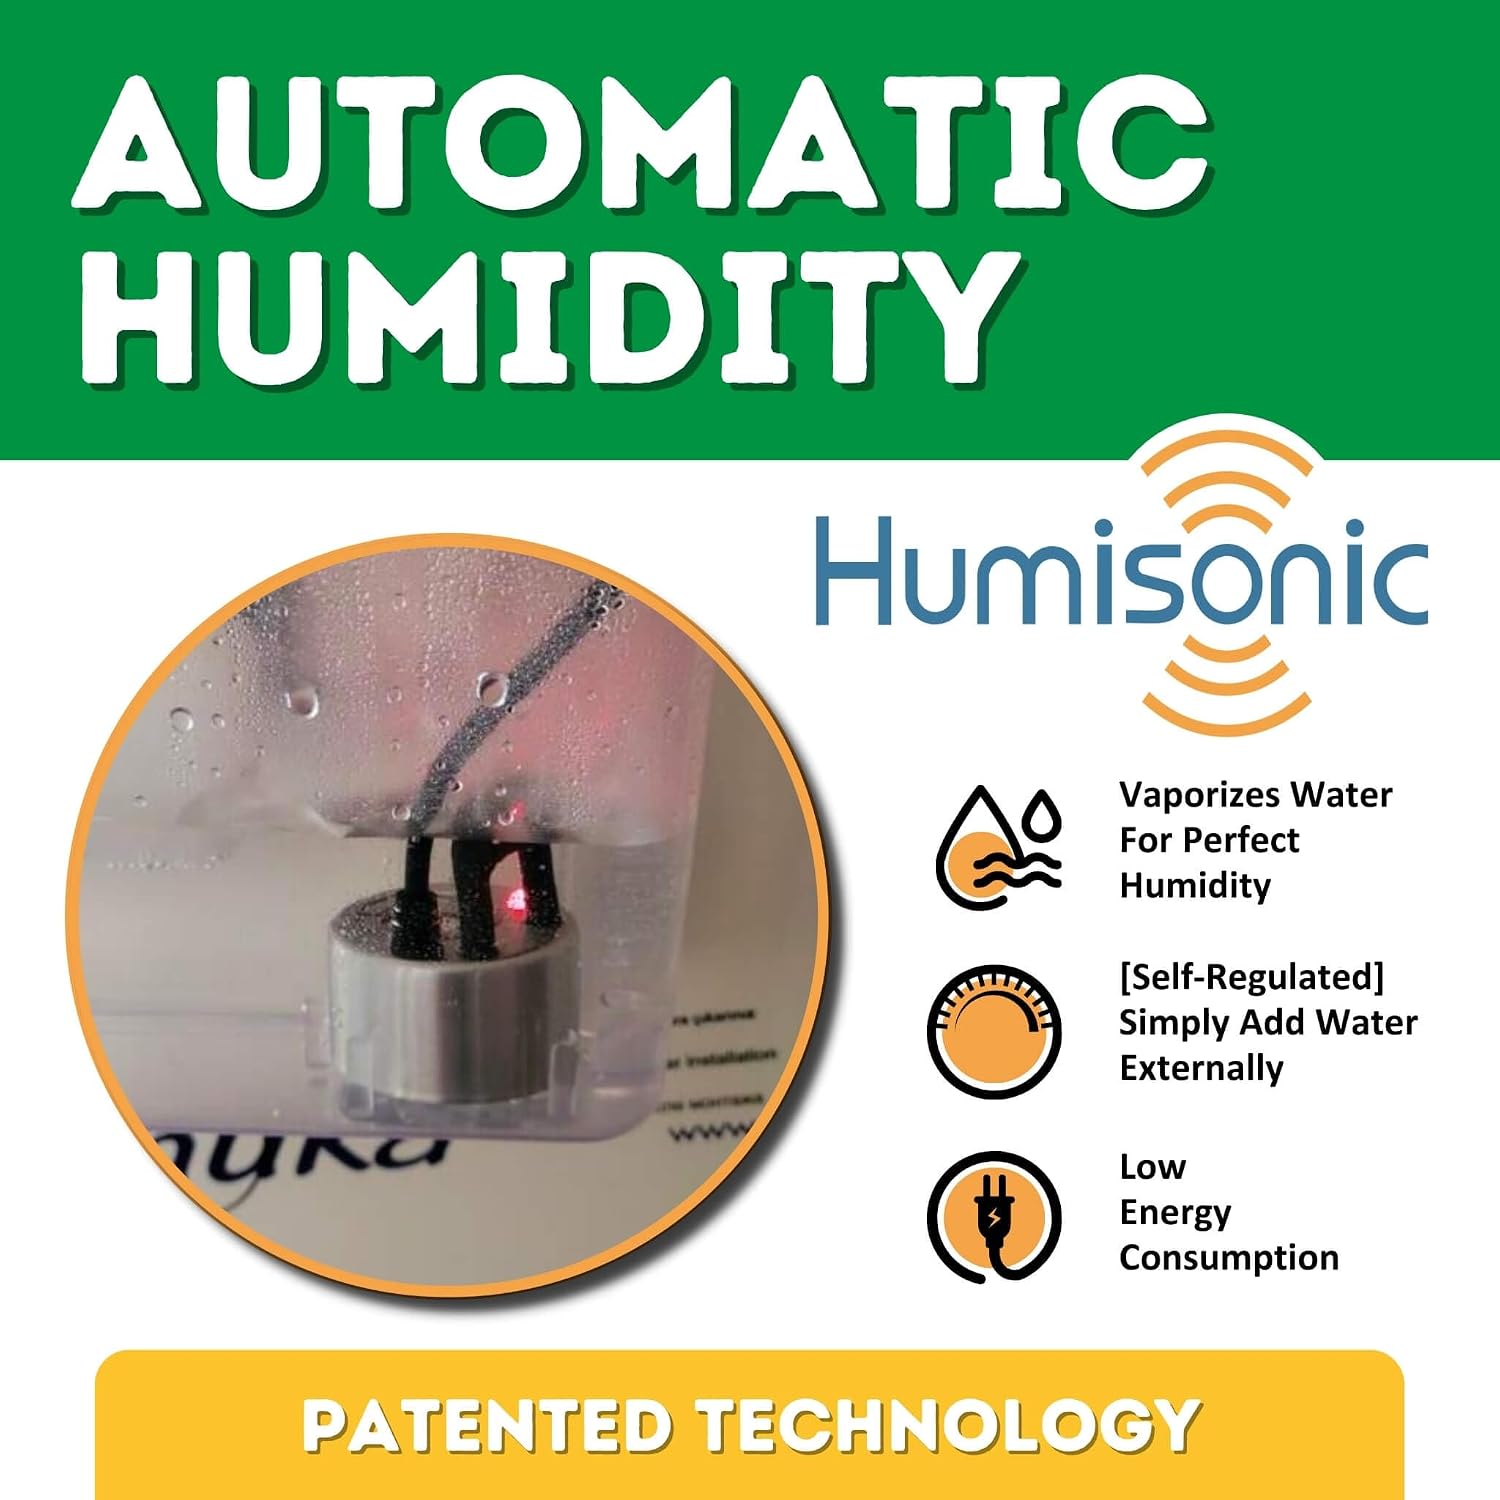
- Connect the water reservoir to the automatic humidity system as per the diagram in the quick start guide (not provided here, refer to product packaging). Fill the reservoir with distilled water.
- Plug the power cord into a grounded electrical outlet.
5. Operation Guide
5.1 Initial Power-On and Calibration
- Power on the incubator. The display will show current temperature and humidity readings.
- Allow the incubator to run for at least 24 hours empty to stabilize internal temperature and humidity before adding eggs. This allows for calibration and ensures stable conditions.
- Set desired temperature and humidity levels according to the specific egg type being incubated. Refer to standard incubation charts for guidance.
5.2 Egg Loading
- Carefully place clean, fertile eggs into the adjustable egg setter trays. Ensure eggs are positioned correctly for the automatic turning mechanism.
- Do not overcrowd the trays. Refer to the capacity chart for maximum egg counts.

5.3 Temperature and Humidity Management
- The incubator automatically maintains set temperature and humidity levels. Monitor the digital display regularly.
- Refill the external water reservoir as needed to ensure continuous humidity.
- The unit features Active Periodic Cooling, which simulates natural cooling and dehumidifying processes, particularly beneficial for goose eggs. During this cycle, alarms for temperature and humidity will be temporarily off.

5.4 Egg Turning
- The automatic egg turning mechanism operates continuously. No manual turning is required.
- Ensure the turning mechanism is unobstructed by any foreign objects.
5.5 Hatching Process
- Approximately 3 days before the expected hatch date, transfer eggs from the setter trays to the hatching baskets located at the bottom of the unit.
- Increase humidity levels as recommended for the hatching phase for your specific egg type.
- Do not open the incubator unnecessarily during hatching to maintain stable conditions.
6. Capacity Information
The HB500C incubator offers significant capacity for various poultry eggs. The table below outlines the approximate maximum capacity for both setting and hatching phases.

| Egg Type | Set Capacity | Hatch Capacity |
|---|---|---|
| Quail | 990 | 396 |
| Partridge | 560 | 224 |
| Pheasant | 480 | 192 |
| Chicken | 350 | 140 |
| Turkey / Duck | 240 | 96 |
| Goose / Peacock | 150 | 60 |
7. Maintenance
7.1 Cleaning
- After each hatch, thoroughly clean the incubator. Unplug the unit before cleaning.
- Remove all egg debris, shell fragments, and down.
- Wipe down all interior surfaces, setter trays, and hatching baskets with a mild disinfectant solution. Ensure all surfaces are dry before next use.
- Clean the water reservoir and humidity system components regularly to prevent mineral buildup.
7.2 Storage
- If storing the incubator for an extended period, ensure it is completely clean and dry.
- Store in a cool, dry place away from direct sunlight and extreme temperatures.
8. Troubleshooting
| Problem | Possible Cause | Solution |
|---|---|---|
| Temperature fluctuations | Unstable room temperature, faulty sensor, blocked ventilation. | Move incubator to a stable environment. Check sensor connections. Ensure ventilation ports are clear. |
| Humidity too low | Empty water reservoir, clogged humidifier, low room humidity. | Refill water reservoir. Clean humidifier. Consider increasing room humidity if necessary. |
| Eggs not turning | Turning mechanism obstructed, motor issue, power interruption. | Check for obstructions. Verify power supply. Contact support if motor is faulty. |
| Poor hatch rates | Incorrect temperature/humidity, infertile eggs, improper egg handling, ventilation issues. | Verify settings against egg type requirements. Use fresh, fertile eggs. Ensure proper egg handling. Check ventilation. |
| Alarms sounding | Temperature/humidity outside set parameters. | Check display for specific alarm. Adjust settings or address environmental factors. Note: Alarms are off during Active Periodic Cooling. |
9. Specifications
| Attribute | Detail |
|---|---|
| Model Number | HB500C |
| Manufacturer | Cimuka |
| Product Dimensions | 54.61 x 86.36 x 144.78 cm (21.5 x 34 x 57 inches) |
| Weight | 40.37 kg (89 lbs) |
| Material | Plastic |
| Specific Use | Indoor Egg Incubation and Hatching |
| Special Feature | Adjustable Egg Setter Trays, Automatic Turning, Automatic Humidity Control, Active Periodic Cooling |
10. Warranty and Support
For warranty information, please refer to the documentation included with your purchase or visit the official Hatching Time website. For technical support, troubleshooting assistance beyond this manual, or to inquire about replacement parts, please contact Hatching Time customer service directly. Contact details can typically be found on the product packaging or the brand's official website.