
1. Introduction
This manual provides essential instructions for the safe and effective installation, operation, and maintenance of your EVERTECHPRO DG94-00520A Gas Range Oven Igniter. This igniter is designed as a replacement part for various Samsung gas range oven models. Please read this manual thoroughly before attempting any installation or repair to ensure proper function and safety.

Figure 1: EVERTECHPRO DG94-00520A Gas Range Oven Igniter.
2. Safety Information
WARNING: Risk of Electric Shock, Fire, or Gas Leakage.
- Always disconnect power to the appliance at the circuit breaker or fuse box before beginning any installation, repair, or maintenance.
- Turn off the gas supply to the appliance before performing any work.
- Wear appropriate personal protective equipment, including gloves and eye protection.
- If you are unsure about any part of the installation process, consult a qualified appliance technician.
- Ensure all connections are secure and properly insulated after installation.
- Check for gas leaks after reconnecting the gas supply using a soapy water solution. Do not use an open flame.
3. Compatibility
The EVERTECHPRO DG94-00520A Gas Range Oven Igniter is compatible with a wide range of Samsung gas range oven models. This igniter replaces part number DG94-01441A. Please verify your appliance's model number to ensure compatibility before installation.
Compatible Samsung Models include:
- FX510BGS/XAA-SAM, FX510BGS/XAC-SAM
- FX710BGS/XAA-SAM, FX710BGS/XAC-SAM
- NX583G0VBBB/AA-SAM, NX583G0VBSR/AA-SAM
- NX58F5500SS/AA-SAM
- NX58H5600SS/AA-SAM, NX58H5600SS/AC-SAM
- NX58H5650WS/AC-SAM
- NX58H9500WS/AA-SAM, NX58H9500WS/AC-SAM
- NX58H9950WS/AA-SAM, NX58H9950WS/AC-SAM
- NX58J5600SG/AA-SAM, NX58J7750SS/AA-SAM
- NX58K7850SG/AA-SAM, NX58K7850SS/AA-SAM
- NX58K9500WG/AA-SAM, NX58K9500WG/AC-SAM
- NX58K9850SG/AA-SAM, NX58K9850SS/AA-SAM
- NX58M5600SB/AA-SAM, NX58M5600SW/AA-SAM
- NX58M6630SG/AA-SAM, NX58M6630SS/AA-SAM, NX58M6650WG/AA-SAM, NX58M6650WS/AA-SAM
- NX58M6850SG/AA-SAM, NX58M6850SS/AA-SAM
- NX58M9420SS/AA-SAM, NX58M9960PM/AA-SAM
- NX58N9420SG/AA-SAM
- NX58R4311SG/AA-SAM, NX58R5601SG/AA-SAM, NX58R6631SG/AA-SAM, NX58R6631SS/AA-SAM, NX58R6631ST/AA-SAM, NX58R9421SG/AA-SAM
- NX58T5601SB/AA-SAM, NX58T5601SW/AA-SAM, NX58T7511SS/AA-SAM
- And many more.
4. Product Overview
The EVERTECHPRO DG94-00520A is a hot surface igniter designed for gas range ovens. It features a durable construction for reliable performance.
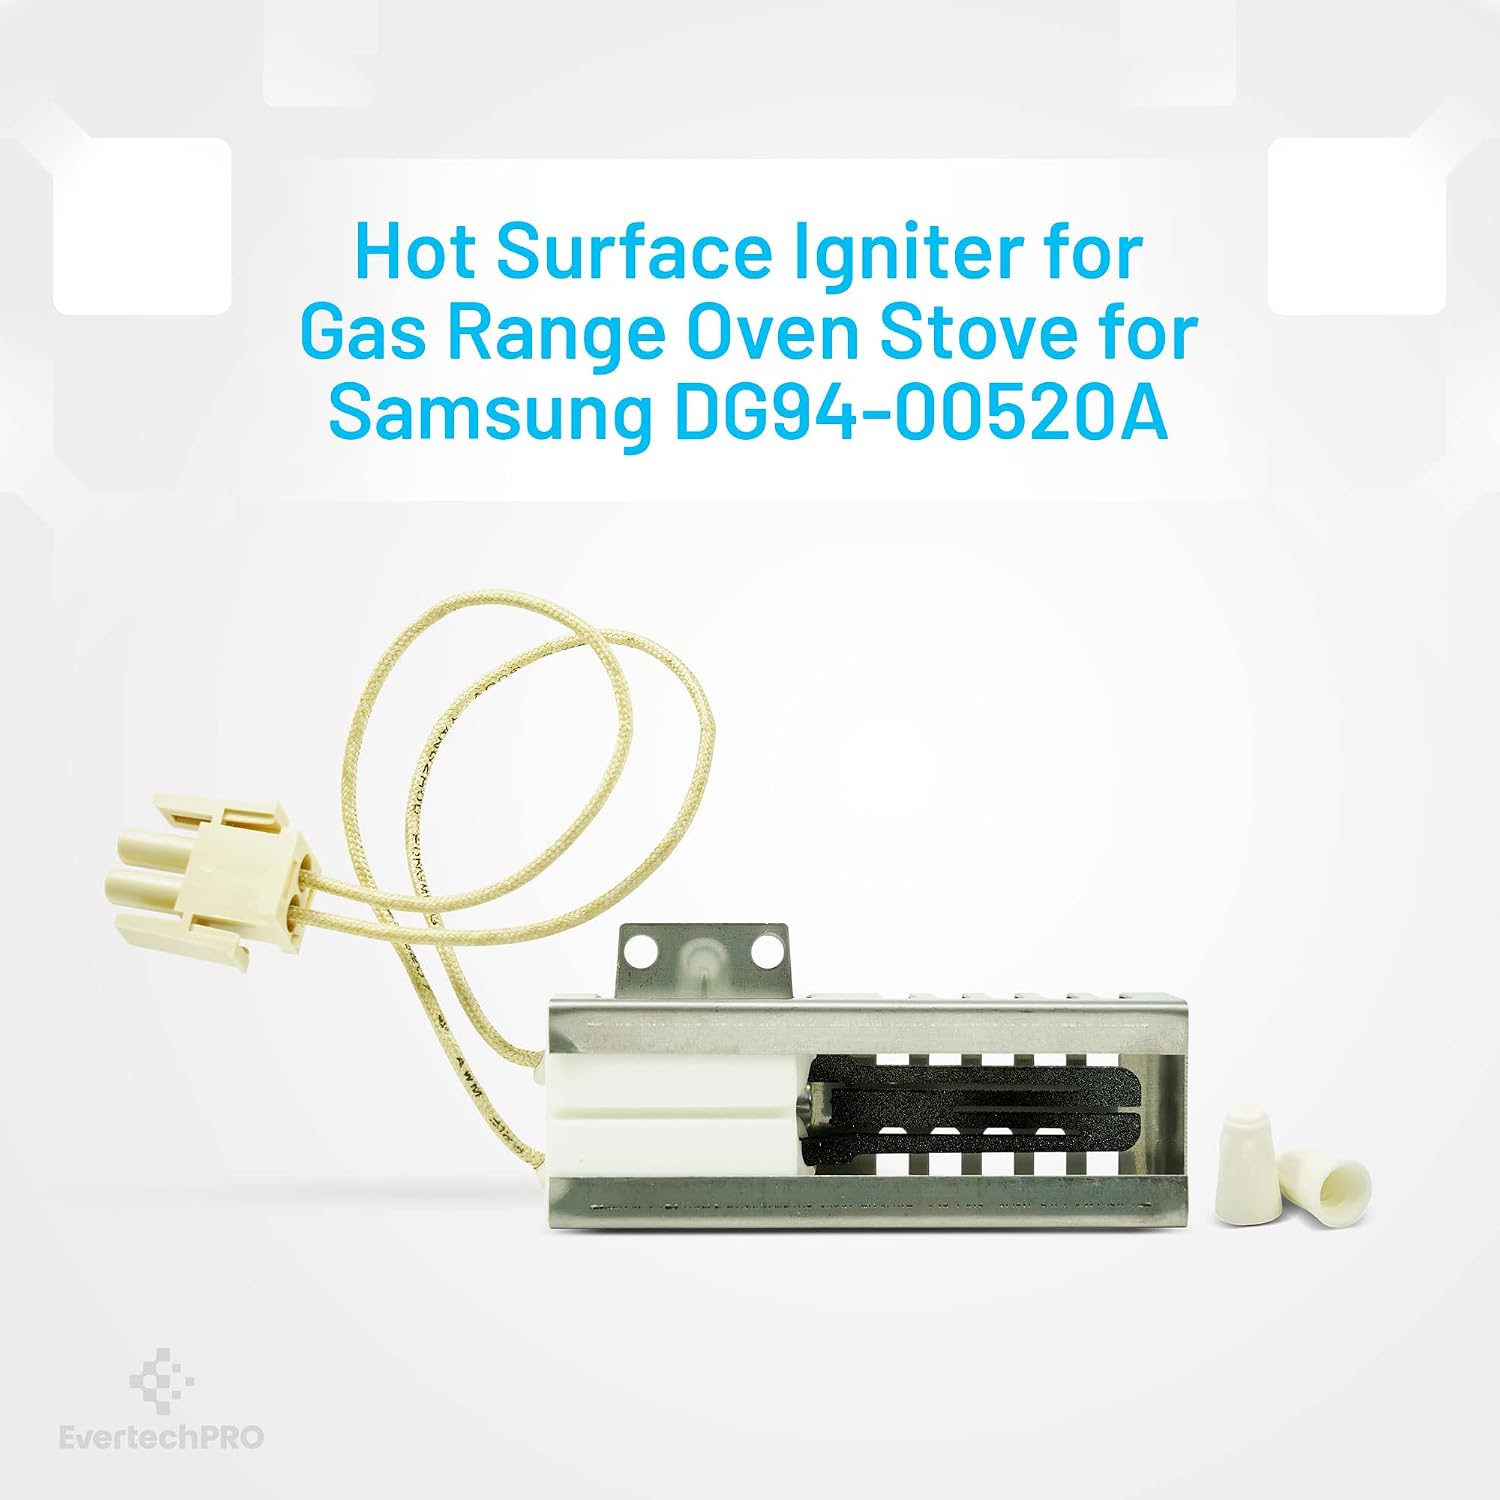
Figure 2: Hot Surface Igniter for Gas Range Oven Stove.
Key Features:
- Premium Silicon Carbide: Ensures efficient and consistent ignition.
- High Temperature Resistant: Built to withstand the extreme heat of oven operation.
- Steadily Wire Cover: Provides protection and durability for the wiring.
- Durable Stainless Steel: Housing constructed for longevity and resistance to corrosion.

Figure 3: Product features including compatibility, weight, and dimensions.
5. Installation Guide
Replacing an oven igniter typically involves a few steps. Always prioritize safety by following the warnings in Section 2.

Figure 4: The igniter is designed for straightforward installation.
Step-by-Step Installation:
- Prepare the Appliance:
- Disconnect the oven from its electrical power supply.
- Turn off the gas supply to the oven.
- Open the oven door and remove the oven racks.
- Locate the bottom panel of the oven cavity. This panel usually needs to be removed to access the igniter.
- Access the Igniter:
- Remove the screws holding the bottom oven panel in place and lift it out.
- Identify the igniter, which is typically located near the gas burner tube at the bottom of the oven.
- Note how the old igniter is mounted and connected.
- Remove the Old Igniter:
- Carefully disconnect the electrical connector leading to the old igniter.
- Unscrew the mounting screws that secure the igniter to the burner assembly or oven floor.
- Gently remove the old igniter. Be cautious as igniters can be fragile.
- Install the New Igniter:
- Position the new EVERTECHPRO DG94-00520A igniter in the same location and orientation as the old one.
- Secure the new igniter with the mounting screws. Do not overtighten.
- Connect the electrical connector to the new igniter. Ensure a snug and secure connection.
- Reassemble and Test:
- Replace the bottom oven panel and secure it with its screws.
- Replace the oven racks.
- Reconnect the gas supply to the oven.
- Restore electrical power to the oven at the circuit breaker or fuse box.
- Perform a gas leak check around the gas connections using a soapy water solution. Bubbles indicate a leak. If a leak is detected, turn off the gas immediately and tighten connections or seek professional help.
- Proceed to the Operation section to test the igniter.
6. Operation (Testing the Igniter)
After installation, it is important to test the new igniter to ensure it is functioning correctly.
- Ensure all safety precautions from Section 2 have been followed and the oven is fully reassembled with gas and electricity reconnected.
- Set the oven to a bake temperature (e.g., 350°F or 175°C).
- Observe the igniter. It should begin to glow bright orange within 30-90 seconds.
- Once the igniter reaches sufficient temperature, the gas valve will open, and the gas burner should ignite with a soft 'whoosh' sound.
- If the igniter glows but the gas does not ignite, or if the igniter does not glow, refer to the Troubleshooting section.
- Allow the oven to reach the set temperature to confirm normal operation.
7. Maintenance
The EVERTECHPRO DG94-00520A igniter is designed for long-term reliability and generally requires no routine maintenance. However, to ensure the longevity of your oven and its components:
- Keep the oven cavity clean to prevent grease and food debris from accumulating near the igniter or burner.
- Avoid harsh chemical cleaners near the igniter, as they may damage its delicate components.
- If you notice any unusual smells (like gas) or sounds during oven operation, immediately turn off the oven and gas supply and investigate the cause.
8. Troubleshooting
If your oven is not functioning correctly after replacing the igniter, consider the following common issues:
| Problem | Possible Cause | Solution |
|---|---|---|
| Igniter does not glow. | No power to oven, loose electrical connection, faulty igniter (rare for new part). | Check circuit breaker. Ensure igniter is securely plugged in. Re-check wiring. |
| Igniter glows but gas does not ignite. | Igniter not glowing hot enough, gas supply off, faulty gas valve. | Ensure gas supply is on. The igniter must reach a specific temperature to open the gas valve. If it glows dimly, it may not be hot enough. If the igniter is new and glows brightly, the issue might be with the gas valve or gas supply. |
| Oven takes a long time to heat up. | Igniter is weak or failing. | While the igniter may glow, it might not be reaching the optimal temperature to open the gas valve quickly. This can indicate a weakening igniter. |
| Burning smell after installation. | Residual manufacturing oils burning off, minor gas leak. | A slight smell is normal for the first few uses. If the smell persists or is strong, turn off gas and power, and check for gas leaks (soapy water test). |
If troubleshooting steps do not resolve the issue, it is recommended to contact a qualified appliance repair technician.
9. Specifications
- Part Number: EP-DG94-00520A
- Item Weight: Approximately 4.6 ounces
- Package Dimensions: Approximately 6.26 x 3.23 x 2.99 inches
- Replaces: Samsung DG94-01441A
- Material: Silicon Carbide, Stainless Steel
10. Warranty and Support
For warranty information or technical support regarding your EVERTECHPRO DG94-00520A Gas Range Oven Igniter, please contact EVERTECHPRO directly through their official website or the retailer where the product was purchased. Keep your proof of purchase for any warranty claims.