Introduction
Thank you for choosing the Ghostek NRGmount MagSafe Car Mount Charger. This manual provides detailed instructions for the proper installation, operation, and maintenance of your device. Please read this manual thoroughly before use to ensure optimal performance and safety.
Package Contents
- Ghostek NRGmount MagSafe Wireless Charger
- Air Vent Clip Attachment
- Windshield Suction Cup Mount with Adjustable Arm
- USB-C Charging Cable

Image: All components included in the Ghostek NRGmount package, showing the MagSafe charger, the air vent clip, and the windshield suction cup mount with its adjustable arm.
Setup and Installation
Air Vent Mount Installation
- Attach Air Vent Clip: Press down on the spring-loaded clip of the air vent attachment. Slide the gap over one of your vehicle's air vent blades and release to secure.
- Connect Charger to Clip: Place the threaded fastener over the neck of the ball joint on the air vent clip, with the threads facing outwards. Snap the cup portion of the MagSafe charger onto the ball joint until it clicks into place. Ensure the charging port on the MagSafe charger is facing downwards.
- Tighten Fastener: Tighten the threaded fastener over the cup and ball joint to secure the charger in your desired position.

Image: Diagram illustrating the installation of the MagSafe charger using the air vent clip, showing how to attach it to a car's air vent.
Windshield Suction Mount Installation
- Prepare Surface: Thoroughly clean and dry the area on your windshield where you intend to install the mount.
- Apply Sticky Pad: Remove the protective plastic from the flat back of the circular sticky pad. Press it firmly onto the cleaned windshield surface.
- Prepare Suction Cup: Peel the protective plastic from the ringed portion of the sticky pad. Slightly loosen the arm joint on the suction cup mount and fold out the arm. Remove the protective plastic from the suction cup itself.
- Attach Suction Cup: Align the suction cup with the ring indentation on the sticky pad. Press down firmly on the mount and flip the small lever at the base of the mount into the suction-locked position to secure it.
- Adjust Arm: To extend or adjust the arm, loosen the knob, pull the arm to the desired length/angle, and re-tighten the knob.
- Connect Charger to Arm: Attach the MagSafe charger portion to the ball joint on the adjustable arm using the same method as described for the Air Vent Mount (threaded fastener, snap cup onto ball, tighten fastener).

Image: Diagram showing the installation of the MagSafe charger using the windshield suction cup mount, detailing the steps for securing it to the windshield.
Power Connection
Plug the included USB-C charging cable into the charging port at the bottom of the MagSafe charger. Connect the other end of the cable to any available USB power source in your vehicle (e.g., car charger adapter, USB port). For optimal 15W fast charging, ensure your power source supports Quick Charge 3.0 or Power Delivery.

Image: The MagSafe charger with the USB-C cable connected, ready for power input.
Operation
Attaching Your Device
Once the NRGmount is securely installed and powered, simply place your MagSafe-compatible iPhone (iPhone 12 series or newer) or a phone with a MagSafe-enabled case onto the magnetic charging surface. The strong magnets will automatically align and hold your device in place, initiating wireless charging.
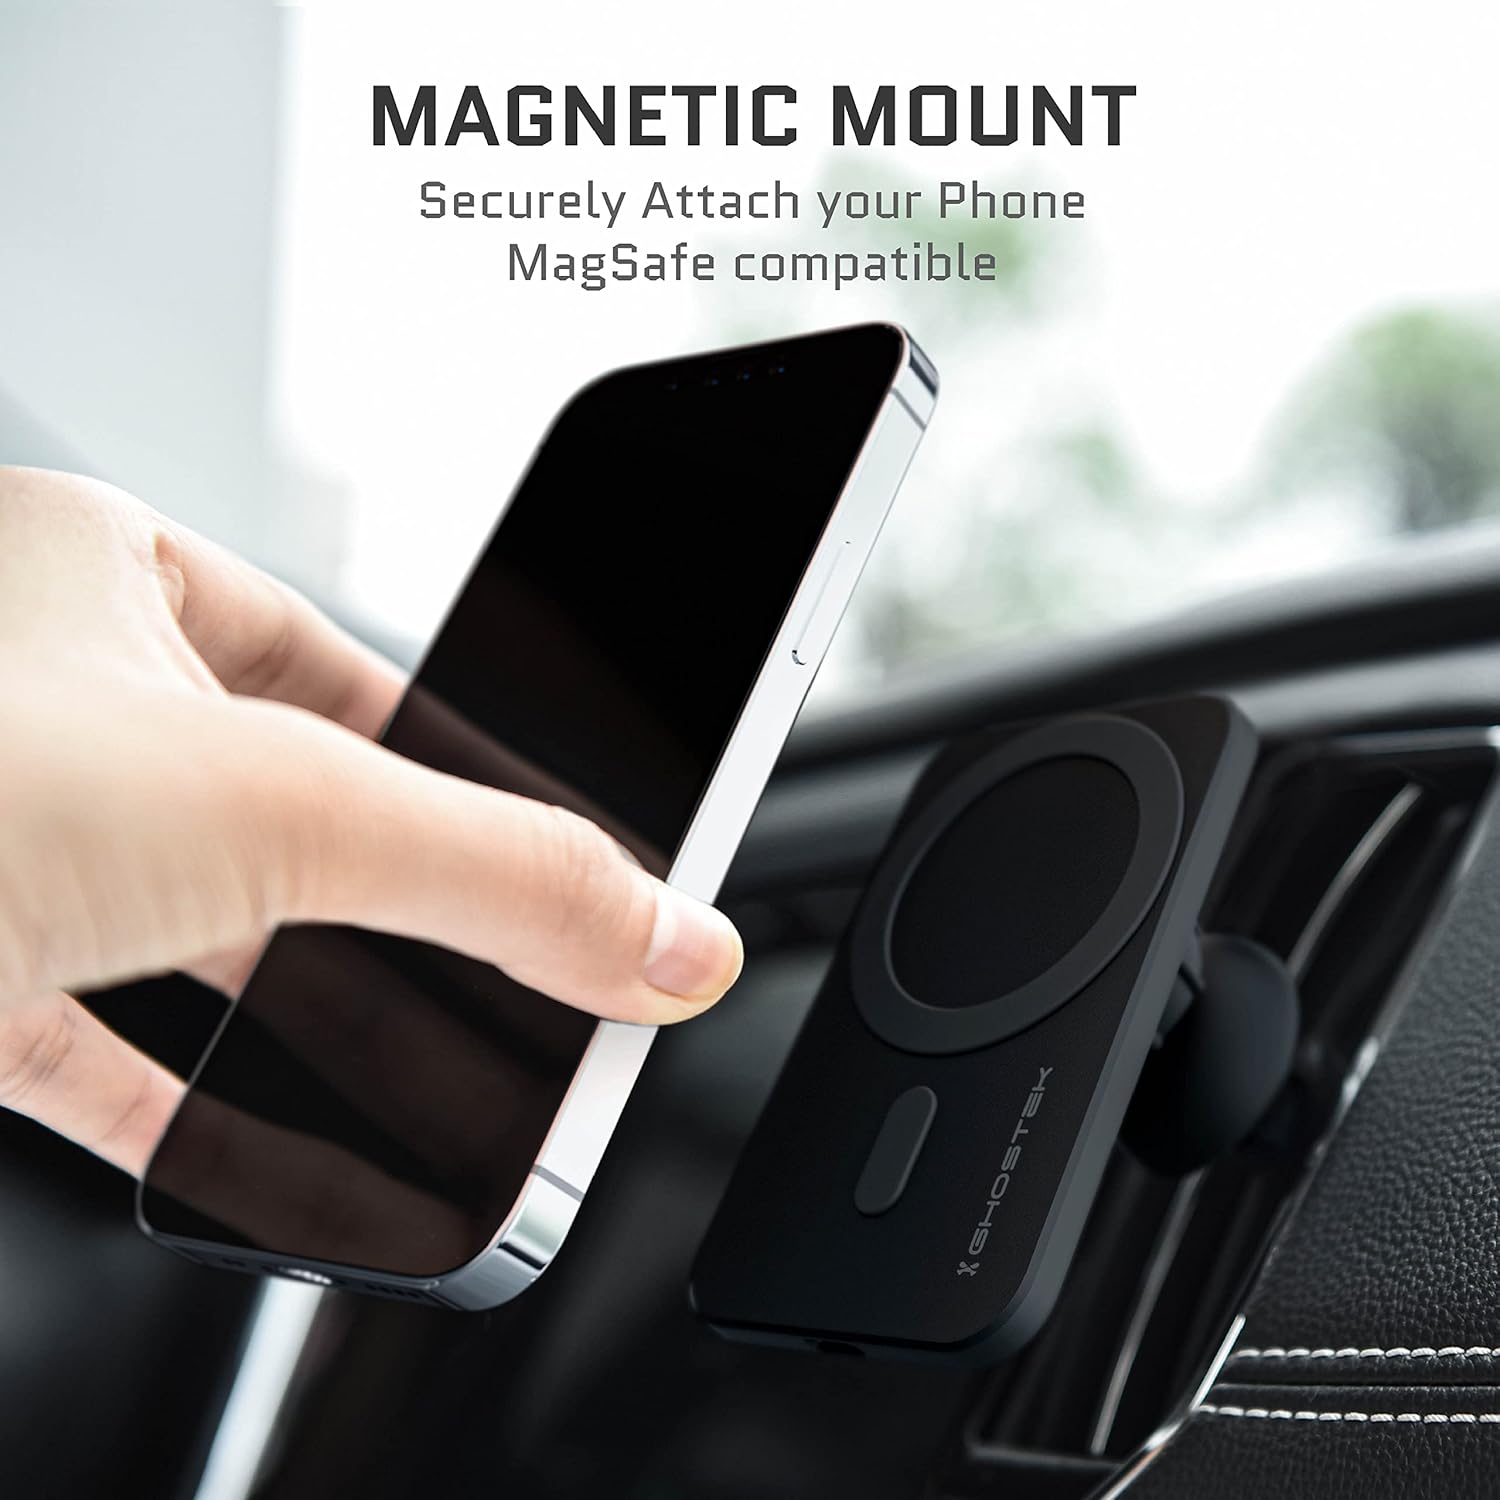
Image: A hand placing an iPhone onto the magnetic charging surface of the NRGmount, demonstrating the secure attachment.
Adjusting Viewing Angle
The NRGmount features 360-degree rotation, allowing you to easily switch between portrait and landscape viewing orientations. Gently rotate your phone on the magnetic surface to achieve your preferred angle. The adjustable arm on the windshield mount also allows for further positioning adjustments.

Image: An iPhone being rotated on the NRGmount, illustrating the 360-degree rotation capability for flexible viewing.
Wireless Charging
The NRGmount provides up to 15W fast wireless charging for compatible devices. Ensure your device is properly aligned with the magnetic charging coil for efficient power transfer. A charging indicator may appear on your phone's screen to confirm charging is active.
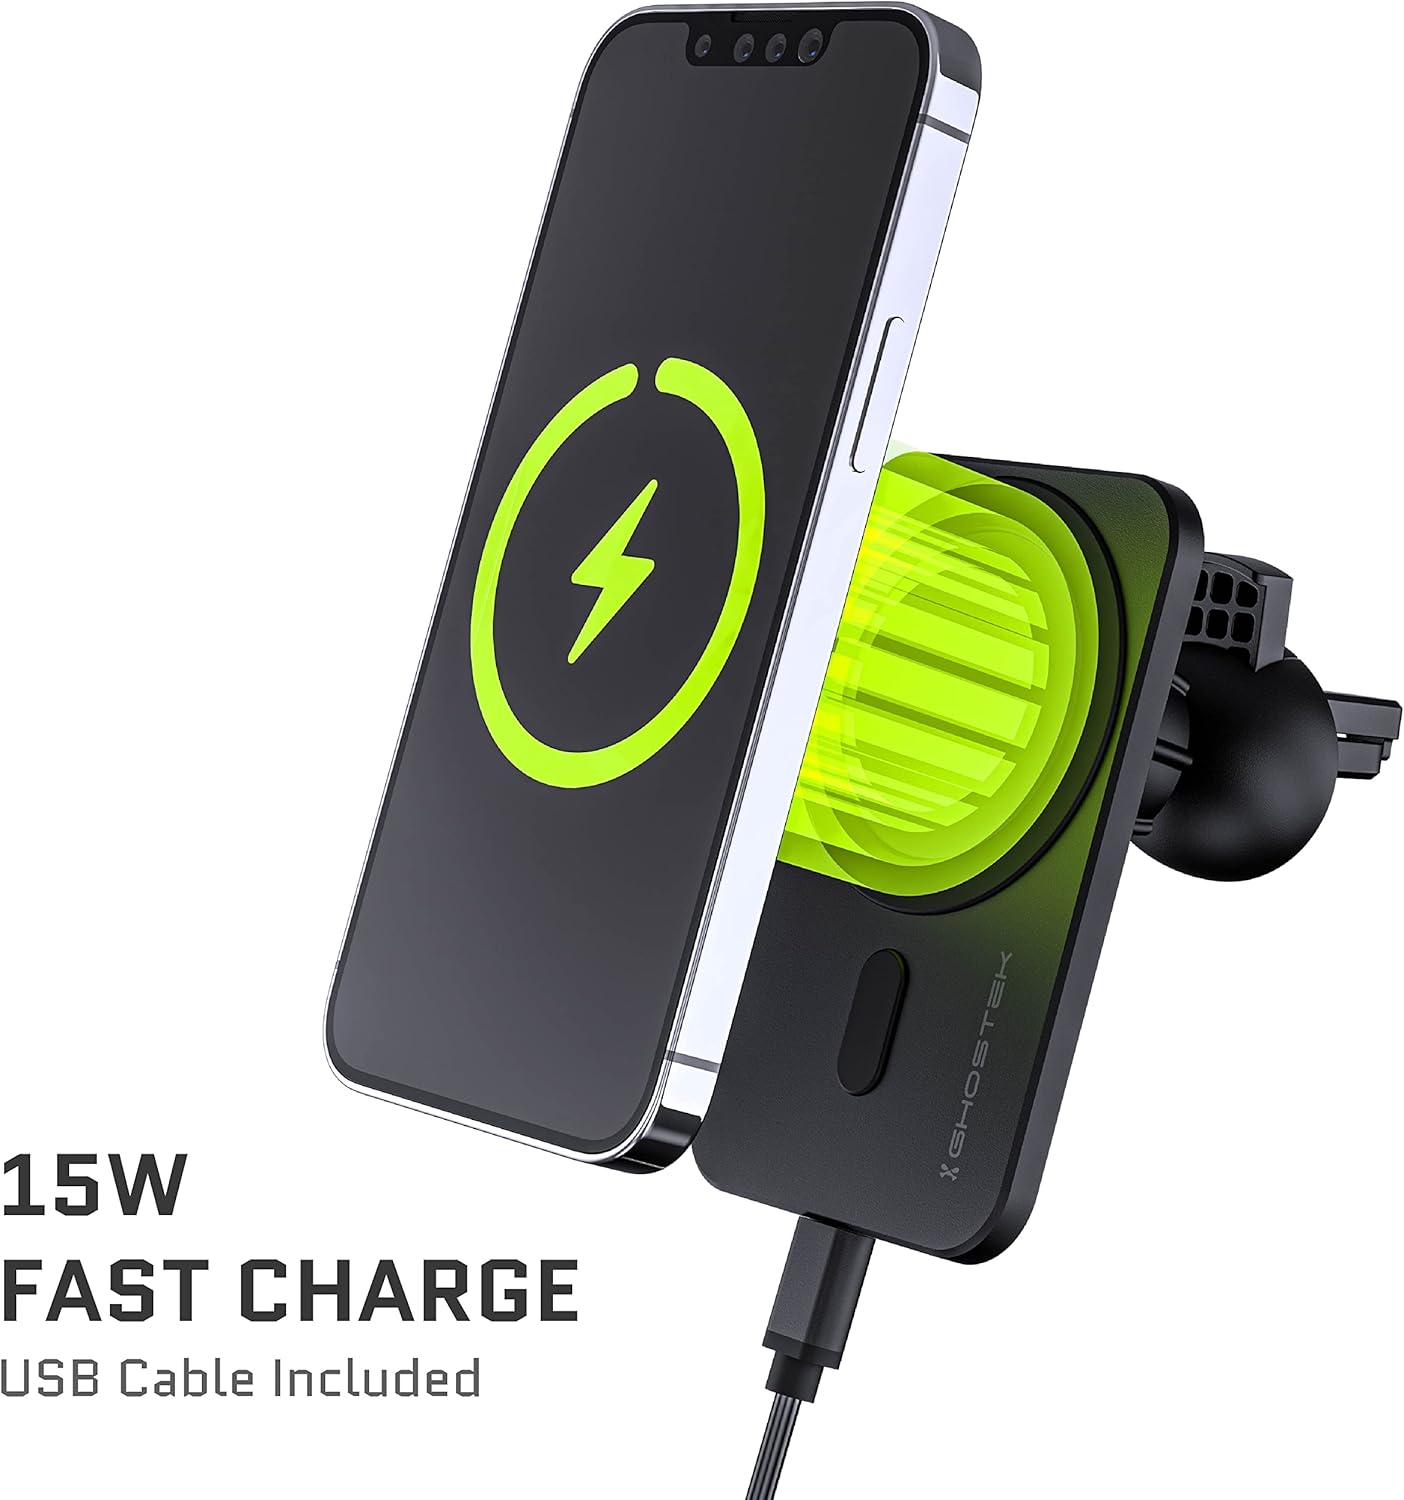
Image: An iPhone displaying a charging icon while securely mounted and wirelessly charging on the NRGmount.
Maintenance
- Cleaning: Use a soft, dry cloth to clean the surface of the charger and mount. For the suction cup, a damp cloth can be used, ensuring it is completely dry before re-applying.
- Suction Cup Adhesion: If the suction cup loses its grip, clean both the suction cup and the installation surface thoroughly with a mild cleaner and allow to air dry completely before re-installation.
- Cable Care: Avoid bending or crimping the USB-C cable excessively to prevent damage.
Troubleshooting
- Device Not Charging:
- Ensure the USB-C cable is securely connected to both the charger and the power source.
- Verify that the vehicle's power outlet (e.g., cigarette lighter) is active.
- Check if your phone case is MagSafe compatible. Non-MagSafe cases may interfere with magnetic attachment and wireless charging.
- Ensure your phone is properly centered on the MagSafe charging surface.
- Mount Not Holding Securely:
- For suction cup mounts, ensure the installation surface is clean, dry, and smooth. Re-activate the suction lock lever after pressing firmly.
- For air vent clips, ensure the clip is fully engaged with the vent blade and the fastener is tightened.
- Avoid placing the mount on textured or uneven surfaces.
- Slow Charging:
- Ensure your vehicle's USB power adapter or port supports 15W fast charging (e.g., Quick Charge 3.0 or Power Delivery). Standard USB ports may provide slower charging speeds.
- Remove any thick phone cases that might impede wireless charging efficiency.
Specifications
| Model Number | GHONRG023 |
| Product Dimensions | 3.81 x 2.7 x 2.53 inches |
| Item Weight | 7.8 ounces |
| Connectivity | USB |
| Special Features | Adjustable, Fast Charging, Magnetic, Wireless Charging |
| Color | Black |
| Manufacturer | Ghostek |
| Compatible Devices | Smartphones (MagSafe compatible or with MagSafe-enabled cases) |
| Compatible Phone Models | iPhone 12, 13, 14, 15 series (and mini/Pro/Max variants) |
| Mounting Type | Vehicle Mount (Air Vent, Surface Mount) |
Instructional Videos
Product Overview and Installation
Video: A comprehensive guide demonstrating the components of the Ghostek NRGmount and step-by-step instructions for installing both the air vent and windshield suction cup mounts. It also shows the phone attaching and charging.
Quick Attachment Demonstration
Video: A short demonstration showing the ease of attaching a MagSafe-compatible iPhone to the NRGmount and the immediate initiation of wireless charging.
Warranty and Support
Ghostek products are designed for durability and performance. For information regarding product warranty, returns, or technical support, please visit the official Ghostek website or contact their customer service directly. Keep your purchase receipt for warranty claims.
Contact Information:
- Website: www.ghostek.com
- Refer to your product packaging for specific contact details or support channels.