1. Introduction
This user manual provides comprehensive instructions for the installation, operation, and maintenance of your LMLZNP 9X Canbus Error Free LED Interior Light Kit. Designed specifically for the Kia Soul models from 2014 to 2019, this kit offers an upgraded, brighter, and more energy-efficient interior lighting solution. Please read this manual thoroughly before installation to ensure proper use and longevity of the product.

Figure 1: Overview of the LMLZNP LED Interior Light Kit components and their appearance when installed in a vehicle.
2. Package Contents
Your LMLZNP LED Interior Light Kit package includes the following components:
- Map Light (2 pieces)
- Dome Light (1 piece)
- Trunk Light (1 piece)
- Glove Box Light (1 piece)
- License Plate Light (2 pieces)
- Extra Spare Light (2 pieces)
3. Specifications
| Feature | Detail |
|---|---|
| Brand | LMLZNP |
| Light Source Type | LED |
| Item Package Quantity | 1 (kit containing 9 bulbs) |
| Color | Ice Blue |
| Auto Part Position | Interior (Map, Dome, Trunk, Glove Box), Exterior (License Plate) |
| Operating Life | Up to 50,000 Hours |
| Voltage | 12V DC |
| Special Features | Canbus Error Free, No Flicker, Soft Light, Plug and Play, Constant Temperature Intelligent Heat Dissipation |
4. Setup and Installation
The LMLZNP LED Interior Light Kit is designed for a straightforward "plug and play" installation. Follow these steps carefully:
- Safety First: Before beginning any installation, ensure your vehicle's ignition is off and the power to the relevant lighting circuit is disconnected. This prevents electrical shorts and potential injury.
- Locate Existing Bulbs: Identify the incandescent bulbs you wish to replace (Map, Dome, Trunk, Glove Box, License Plate lights). Refer to your vehicle's owner's manual for specific locations if needed.
- Remove Old Bulbs: Carefully pry open the light housing cover using a plastic trim removal tool to avoid scratching your vehicle's interior. Gently remove the old incandescent bulb. Be cautious as old bulbs may be hot.
- Insert New LED Bulbs: Insert the new LMLZNP LED bulb into the socket. These bulbs are polarity sensitive. If the LED bulb does not light up after insertion, remove it, flip it 180 degrees, and reinsert it.
- Test Functionality: Before reattaching the light housing cover, briefly turn on the vehicle's ignition and test the newly installed LED light to ensure it functions correctly.
- Secure Housing: Once confirmed working, carefully snap the light housing cover back into place.
- Repeat: Repeat these steps for all other lights you wish to replace with the LED bulbs from the kit.

Figure 2: Visual guide demonstrating the process of removing the light cover and replacing the incandescent bulb with an LMLZNP LED bulb.

Figure 3: Comparison illustrating the significant improvement in brightness and efficiency after installing the LMLZNP LED lights.
5. Operating Instructions
The LMLZNP LED interior lights operate in conjunction with your vehicle's existing electrical system and controls. Once installed, they will function automatically when the corresponding light switch or door sensor is activated, just like your original bulbs. There are no additional controls or settings for the LED bulbs themselves.
- Map/Dome Lights: Activated by opening doors or using the overhead light switches.
- Trunk Light: Activated when the trunk is opened.
- Glove Box Light: Activated when the glove box is opened.
- License Plate Lights: Activated when your vehicle's headlights or parking lights are on.
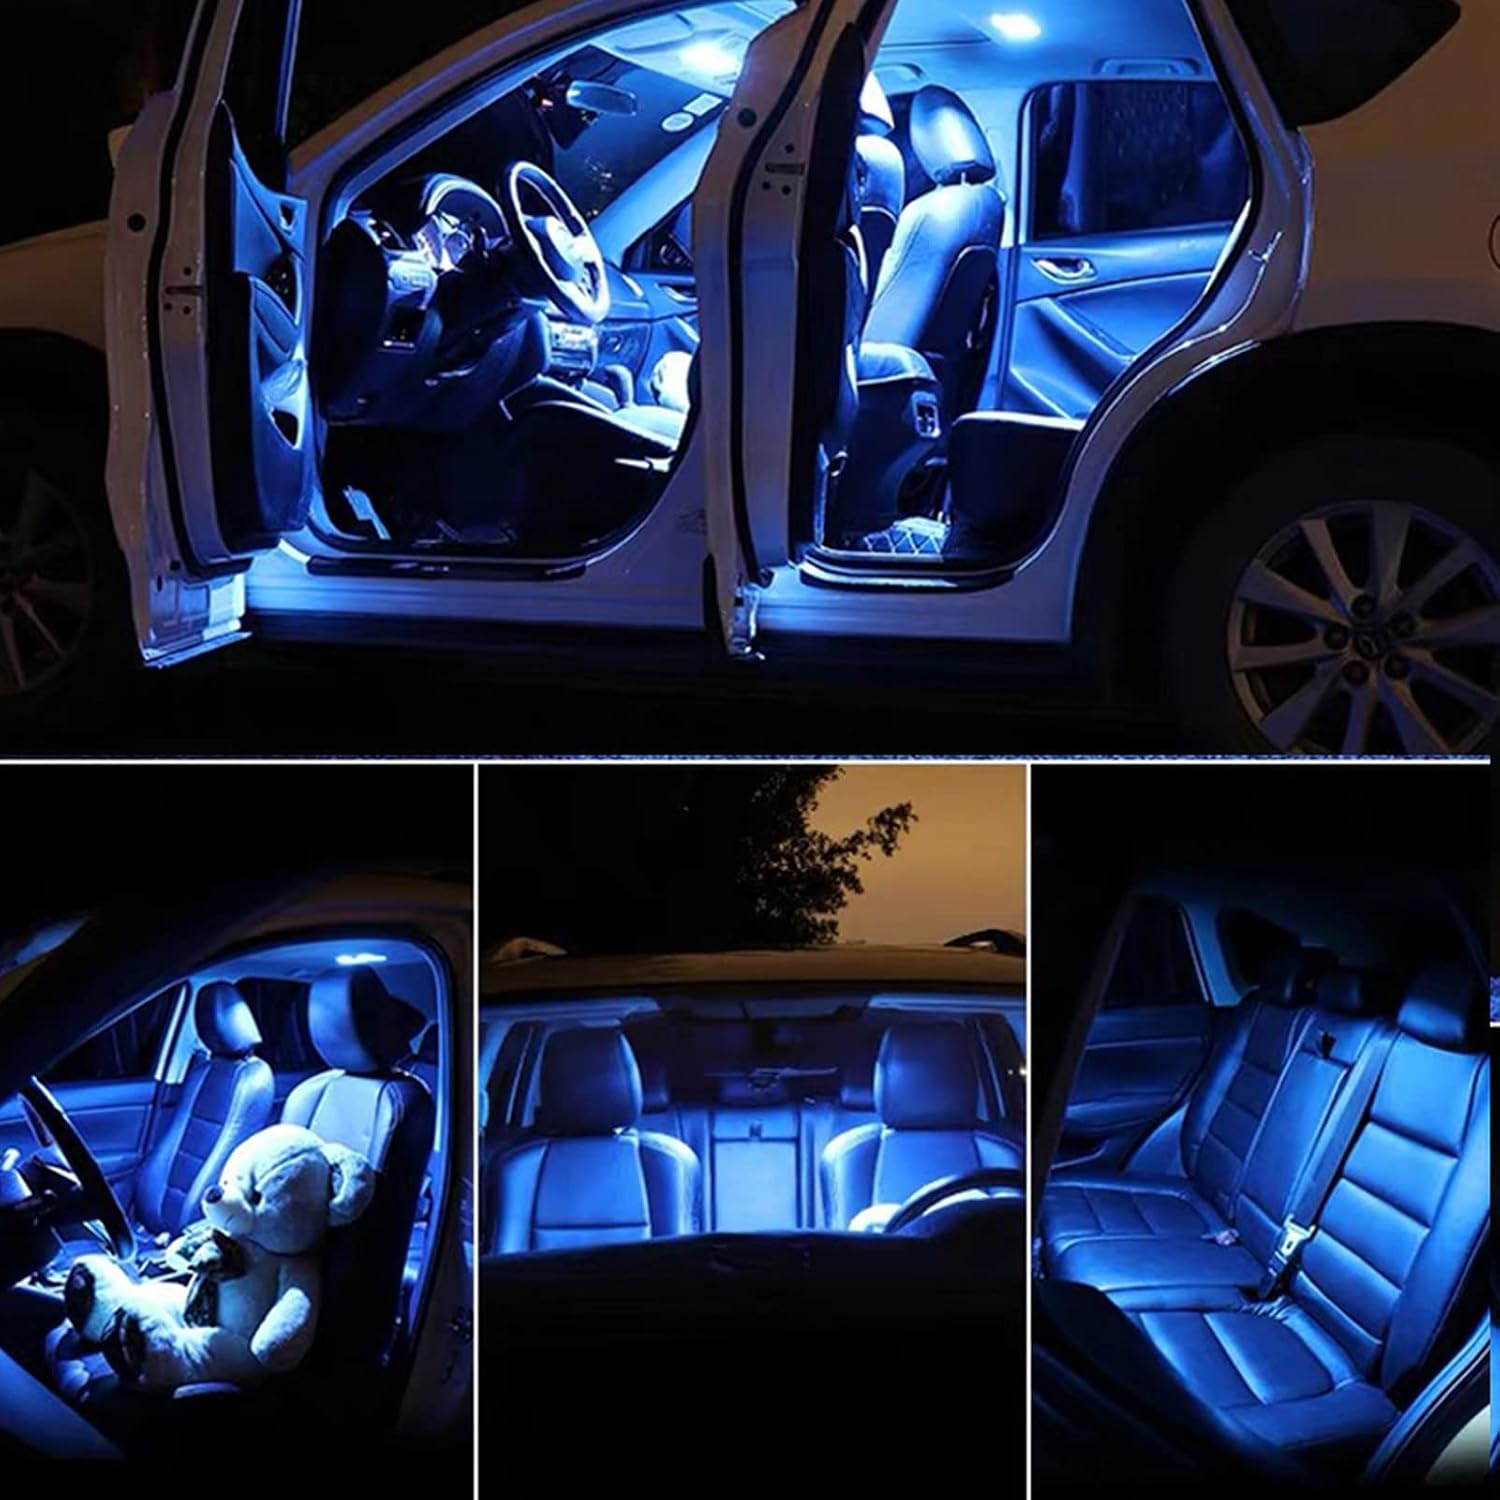
Figure 4: Example of the Ice Blue illumination provided by the LMLZNP LED kit in a car interior.
6. Maintenance
LMLZNP LED bulbs are designed for long-lasting performance with minimal maintenance. Follow these simple guidelines to ensure their longevity:
- Cleaning: If necessary, gently wipe the LED bulbs and their housings with a soft, dry, lint-free cloth. Avoid using abrasive cleaners or solvents, which can damage the bulb or housing.
- Inspection: Periodically check the bulbs and their connections to ensure they are secure and free from debris.
- Replacement: Due to their long operating life, individual bulb replacement should be infrequent. If a bulb fails, follow the installation steps in Section 4 to replace it with one of the spare bulbs provided in the kit.
7. Troubleshooting
If you encounter any issues with your LMLZNP LED Interior Light Kit, please refer to the following troubleshooting tips:
| Problem | Possible Cause(s) | Solution |
|---|---|---|
| LED bulb does not light up. | Incorrect polarity (LEDs are polarity sensitive). Loose connection. No power to the circuit. | Remove the bulb, flip it 180 degrees, and reinsert. Ensure the bulb is firmly seated in the socket. Check vehicle's fuse box for blown fuses related to the lighting circuit. Ensure vehicle ignition is on or door is open (depending on light). |
| LED bulb flickers or dims. | Loose connection. Voltage fluctuation (rare with Canbus). | Ensure the bulb is firmly seated. Verify vehicle's battery and charging system are functioning correctly. |
| "Bulb Out" warning on dashboard. | Though designed as Canbus Error Free, some sensitive systems may still detect lower power draw. | Ensure the correct Canbus LED bulb was used for the specific location. If the issue persists, contact LMLZNP customer support. |
8. Warranty and Support
LMLZNP stands behind the quality of its products. For specific warranty information regarding your 9X Canbus Error Free LED Interior Light Kit, please refer to the product packaging or contact the seller directly through your purchase platform. For technical support or further assistance, please reach out to LMLZNP customer service.
Contact Information: Please refer to your purchase receipt or the seller's information on the platform where you purchased this product for the most up-to-date contact details.


