1. Product Overview
The Treeligo Universal Underdash Compact 12V A/C Evaporator Cooler is designed to provide cooling for vehicle interiors. This unit is an evaporator component intended for underdash mounting within a vehicle's cabin. It requires connection to a complete air conditioning system, which includes a compressor, condenser, drier, and associated fittings, located in the engine compartment.
Its compact design makes it suitable for various vehicles, including street rods, smaller cars, trucks, and Jeeps, where space is limited. Despite its size, it is engineered to deliver substantial airflow for effective cooling.

Figure 1: Front view of the Treeligo Universal Underdash Compact 12V A/C Evaporator Cooler. This image displays the main unit with its four air outlets, designed for underdash installation.
2. Safety Information
- Professional Installation Recommended: Installation of automotive air conditioning systems involves handling refrigerants and electrical components. It is highly recommended that installation be performed by a qualified automotive HVAC technician.
- Electrical Safety: Ensure the vehicle's battery is disconnected before performing any electrical wiring. All electrical connections must be properly insulated and secured to prevent short circuits and electrical fires.
- Refrigerant Handling: Refrigerants are under pressure and can cause frostbite or other injuries if mishandled. Always wear appropriate personal protective equipment (PPE), including safety glasses and gloves, when working with refrigerant lines.
- Ventilation: Ensure adequate ventilation when working with refrigerants or performing any welding/brazing operations.
- Secure Mounting: The evaporator unit must be securely mounted to prevent movement during vehicle operation, which could lead to damage or injury.
3. Package Contents
Verify that all components are present and undamaged before beginning installation.
- Underdash A/C Evaporator Unit (1)
- Universal Mounting Brackets (Set)
- Drain Hose (1)
- T-Fitting for Drain Hose (1)
- Wiring Harness (Pre-attached or separate)

Figure 2: Evaporator unit with included accessories. This image shows the main evaporator unit along with the universal mounting brackets, drain hose, and T-fitting.
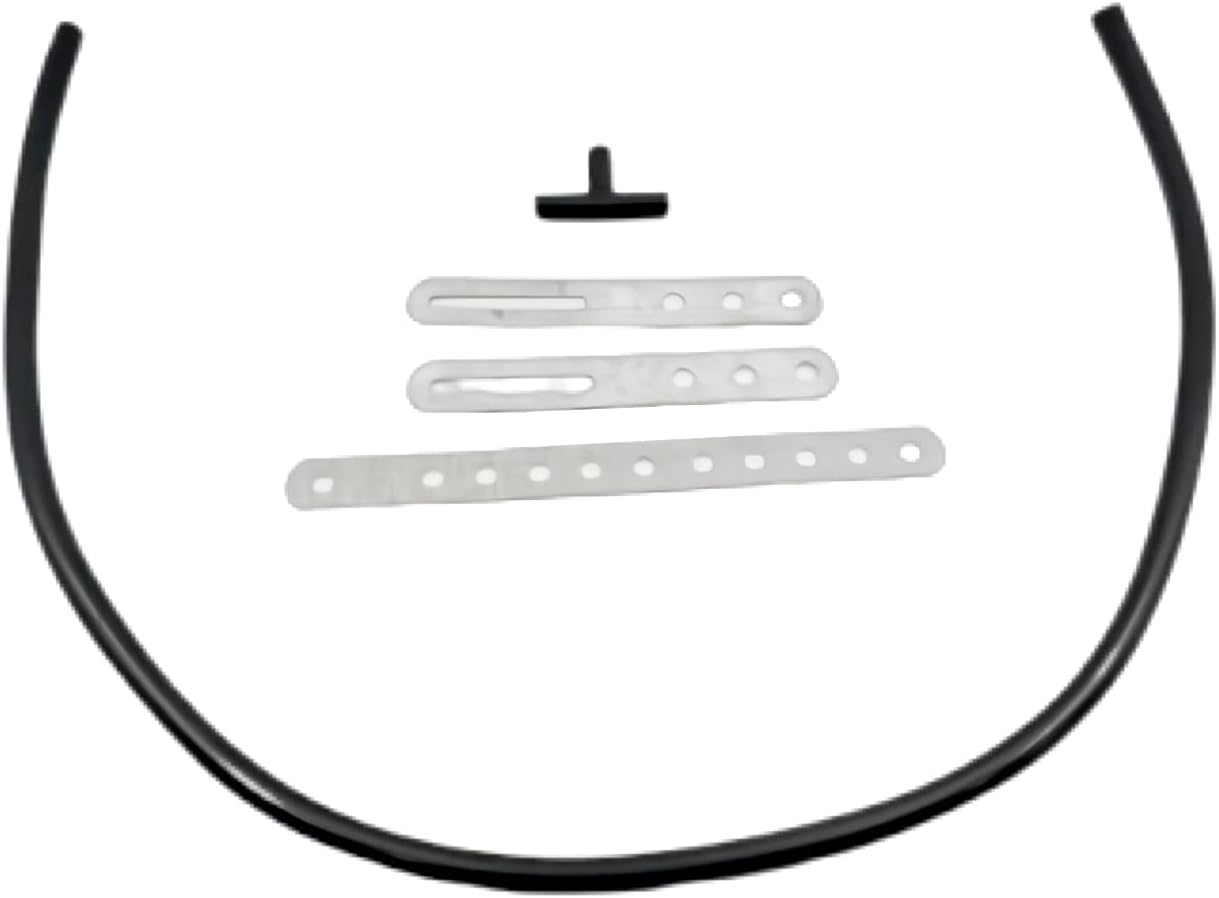
Figure 3: Detailed view of the drain hose, T-fitting, and mounting brackets. These components are essential for proper installation and drainage.
4. Setup and Installation
4.1 Pre-Installation Considerations
- This unit is an evaporator only. A complete A/C system (compressor, condenser, drier, and lines) must be installed in the vehicle for this unit to function.
- Determine a suitable mounting location under the dashboard that allows for proper airflow, access to controls, and clearance for refrigerant lines and drainage.
- Ensure the vehicle's electrical system can support the 12V, 8.5A power requirement of the unit.
4.2 Mounting the Evaporator Unit
- Position the evaporator unit in the desired underdash location.
- Use the provided universal mounting brackets to secure the unit. The brackets can be bent or modified to fit various vehicle configurations.
- Mark and drill any necessary mounting holes, ensuring no existing wiring or components are damaged.
- Attach the brackets to the unit and then to the vehicle's underdash structure using appropriate fasteners (not included). Ensure the unit is stable and does not obstruct pedals or other critical controls.
4.3 Electrical Connections
- Disconnect the vehicle's negative battery terminal.
- Connect the evaporator unit's power wire (typically red) to a fused 12V ignition-switched power source capable of handling 8.5A.
- Connect the ground wire (typically black) to a clean, secure chassis ground point.
- Connect any control wires (e.g., for fan speed switch, thermostat) according to the wiring diagram provided with your complete A/C system.
- Reconnect the vehicle's negative battery terminal after all electrical connections are complete and verified.
4.4 Refrigerant Connections
- The evaporator unit features O-ring/Flare type inlet/outlet connections.
- Connect the high-pressure and low-pressure refrigerant lines from the A/C system to the evaporator unit. Ensure proper O-rings are used and connections are tightened to specifications to prevent leaks.
- It is crucial to evacuate the entire A/C system using a vacuum pump to remove air and moisture before charging with refrigerant.
- Charge the system with the appropriate type and amount of refrigerant as specified by your complete A/C system manufacturer. This step should only be performed by a certified technician.
4.5 Drain Hose Installation
- Connect the provided drain hose to the evaporator's condensate drain port.
- Route the drain hose downwards and through a suitable opening in the vehicle's floorboard or firewall to allow condensate to drain outside the vehicle. Ensure the hose has a continuous downward slope to prevent water accumulation.
- Secure the drain hose to prevent kinking or dislodging.
5. Operating Instructions
5.1 Controls
The evaporator unit is typically controlled via a knob for fan speed and a button or knob for temperature (electric thermostat). These controls are usually integrated into the unit's housing or connected via the wiring harness to a dashboard-mounted switch.
- Fan Speed Control: Rotate the knob to select one of the three available fan speeds (Low, Medium, High) to adjust airflow.
- Temperature Control: Adjust the thermostat knob or button to set the desired cooling level. The electric thermostat will cycle the compressor (via the A/C system's controls) to maintain the set temperature.
5.2 Initial Operation
- After installation and system charging, start the vehicle engine.
- Turn on the A/C system.
- Set the fan speed to a desired level.
- Adjust the temperature control to the coldest setting initially to verify cooling performance.
- Check for proper airflow from the vents and listen for any unusual noises.
6. Maintenance
- Regular Inspection: Periodically inspect the evaporator unit, mounting brackets, and hoses for any signs of wear, damage, or loose connections.
- Condensate Drain: Ensure the condensate drain hose remains clear and free of obstructions. A clogged drain can lead to water accumulation inside the vehicle.
- Air Filter (if applicable): Some evaporator units may have an accessible air filter. If present, clean or replace it regularly according to the manufacturer's recommendations to maintain optimal airflow and cooling efficiency.
- Refrigerant Level: If cooling performance degrades, have the A/C system checked by a qualified technician for proper refrigerant levels and potential leaks.
7. Troubleshooting
| Problem | Possible Cause | Solution |
|---|---|---|
| No power to unit/fan not working | Blown fuse, loose electrical connection, faulty switch | Check vehicle's fuse box and unit's wiring. Verify connections. Test switch. |
| Weak airflow from vents | Clogged air filter (if applicable), obstructed vents, fan motor issue | Clean/replace air filter. Clear any obstructions from vents. Inspect fan motor. |
| Unit runs but no cooling | Low refrigerant, faulty compressor, expansion valve issue, electrical problem with A/C system | This indicates an issue with the overall A/C system. Consult a qualified technician for diagnosis and repair. |
| Water dripping inside vehicle | Clogged condensate drain hose, improperly routed drain hose | Clear any obstructions from the drain hose. Ensure the hose has a continuous downward slope and is routed correctly. |
8. Specifications
| Feature | Specification |
|---|---|
| Brand | Treeligo |
| Model Name | Universal Underdash Compact |
| Manufacturer Part Number | Treeligo-BEU-404-000.L12 |
| Voltage | 12 Volts |
| Power Consumption | 8.5A (102 Watts) |
| Air Flow Capacity | 390 Cubic Feet Per Minute (CFM) |
| Number of Speeds | 3 |
| Cooling Capacity | 3300 kcal./H |
| Evaporator Type | 32 Pass 4 Ways |
| Temperature Control | Electric Thermostat |
| Controls Type | Knob, Button |
| Inlet/Outlet Connections | O-ring/Flare |
| Product Dimensions (L x W x H) | 15.75" x 12.99" x 5.71" (400mm x 330mm x 145mm) |
| Weight | 4.8 kg |
| Color | Black |
