1. Introduction
Thank you for choosing the Wittime 2039A Wireless Weather Station. This device is designed to provide accurate indoor and outdoor temperature, humidity, and barometric pressure readings, helping you stay informed about your environment. This manual will guide you through the setup, operation, and maintenance of your weather station to ensure optimal performance.
2. Package Contents
- Wittime 2039A Main Unit (Indoor Display)
- Wireless Outdoor Sensor
- User Manual
- Battery (for main unit, as per product information)
3. Product Overview
Familiarize yourself with the components of your Wittime 2039A Weather Station.
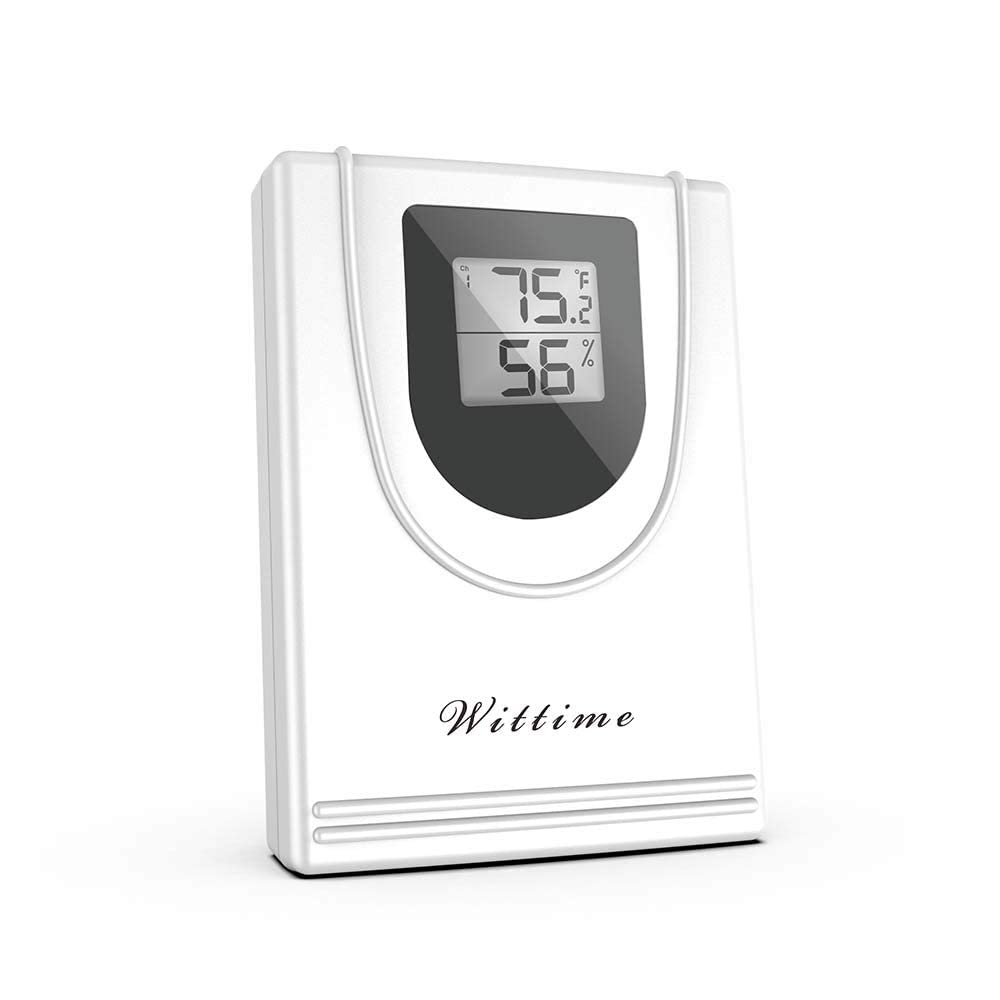
Figure 3.1: Main Unit Front View
This image shows the front of the Wittime 2039A main unit, featuring the large LCD display that shows indoor and outdoor temperature, humidity, and other relevant data. The Wittime logo is visible at the bottom.

Figure 3.2: Main Unit Back View
This image displays the rear of the Wittime 2039A main unit, highlighting the battery compartment cover and the integrated keyhole for wall mounting. Ventilation slots are also visible at the bottom.
4. Setup
4.1 Battery Installation
- Open the battery compartment cover on the back of the main unit and the wireless outdoor sensor.
- Insert 2 AAA batteries into each unit, observing the correct polarity (+ and -) as indicated inside the compartment.
- Close the battery compartment covers securely.
4.2 Sensor Placement
For accurate outdoor readings, consider the following:
- Place the sensor in a shaded area, away from direct sunlight, which can cause artificially high temperature readings.
- Ensure the sensor is protected from direct rain and snow.
- Mount the sensor vertically, allowing for proper air circulation around it.
- Keep the sensor within the effective wireless range of the main unit (typically up to 100 feet/30 meters, depending on obstacles).
4.3 Initial Setup and Pairing
Once batteries are installed in both units, they should automatically attempt to pair. The main unit's outdoor temperature display will show dashes or a searching icon until a connection is established. This process may take a few minutes. If pairing fails, try repositioning the sensor closer to the main unit or re-inserting the batteries in both units to force a re-scan.
5. Operating Instructions
5.1 Display Information
The LCD display on the main unit provides the following information:
- Indoor Temperature: Current temperature measured by the main unit.
- Outdoor Temperature: Current temperature transmitted from the wireless sensor.
- Indoor Humidity: Current humidity measured by the main unit.
- Outdoor Humidity: Current humidity transmitted from the wireless sensor.
- Barometric Pressure: Indication of atmospheric pressure (if applicable to model's display).
- Battery Indicators: Icons indicating low battery for the main unit and/or sensor.
5.2 Unit Switching (Celsius/Fahrenheit)
Locate the °C/°F button, usually on the back or side of the main unit. Press it to toggle between Celsius and Fahrenheit temperature display units.
6. Maintenance
6.1 Battery Replacement
When the low battery indicator appears on the display, replace the batteries in the respective unit (main unit or sensor) with fresh AAA batteries. Always replace all batteries in a unit at the same time.
6.2 Cleaning
Wipe the main unit and sensor with a soft, damp cloth. Do not use abrasive cleaners or solvents, as they may damage the plastic parts or the display. Ensure the sensor's ventilation openings remain clear of debris.
7. Troubleshooting
- No Display on Main Unit:
Check if batteries are inserted correctly with correct polarity. Replace with fresh batteries. - Outdoor Readings Not Displaying (Dashes):
Ensure the outdoor sensor has fresh batteries. Move the sensor closer to the main unit. Avoid large metal objects or thick walls between the units. Re-insert batteries in both units to force a re-pairing. - Inaccurate Temperature/Humidity Readings:
Ensure the outdoor sensor is not in direct sunlight or near heat sources. Ensure proper ventilation around both units. Allow units to stabilize for 15-30 minutes after setup. - Weak Signal Icon:
The sensor might be too far from the main unit or there might be interference. Try moving the sensor closer or adjusting its position.
8. Specifications
| Feature | Specification |
|---|---|
| Model Number | CASA-WT2-2039A |
| Power Source | Battery Powered (2 AAA batteries required per unit) |
| Temperature Accuracy | +/-2°F (1.11°C) |
| Humidity Accuracy | +/-5% |
| Special Features | Barometer, Humidity Monitor, Thermometer |
| Display Type | LCD |
| Item Weight | 82 g |
| Product Dimensions | 2 x 3 x 6 cm |
9. Warranty and Support
Wittime products are designed for reliability and performance. For specific warranty details, please refer to the warranty card included with your purchase or visit the official Wittime website. If you encounter any issues or require technical assistance, please contact Wittime customer support through their official channels. Please have your model number (CASA-WT2-2039A) and purchase information ready when contacting support.


