Important Safety Information
Read and understand all instructions before using this vacuum cleaner. Failure to follow all instructions listed below may result in electric shock, fire, and/or serious personal injury.
- Always disconnect the plug from the power outlet before making any adjustments, changing accessories, or storing the vacuum.
- Do not use the vacuum on wet surfaces when operating in dry vacuum mode.
- Do not pick up flammable or combustible liquids, such as gasoline, or use in areas where they may be present.
- Do not pick up anything that is burning or smoking, such as cigarettes, matches, or hot ashes.
- Keep hair, loose clothing, fingers, and all parts of the body away from openings and moving parts.
- Use extra care when cleaning on stairs.
- Do not use without filters in place.
- If the supply cord is damaged, it must be replaced by the manufacturer or its service agent or a similarly qualified person in order to avoid a hazard.
Product Overview
The STANLEY 12 Gallon Wet/Dry Vacuum (Model SL18199P) is a versatile cleaning tool designed for both wet and dry pickup, and also functions as a blower. It features a 5.5 peak horsepower motor and a 12-gallon collection tank.
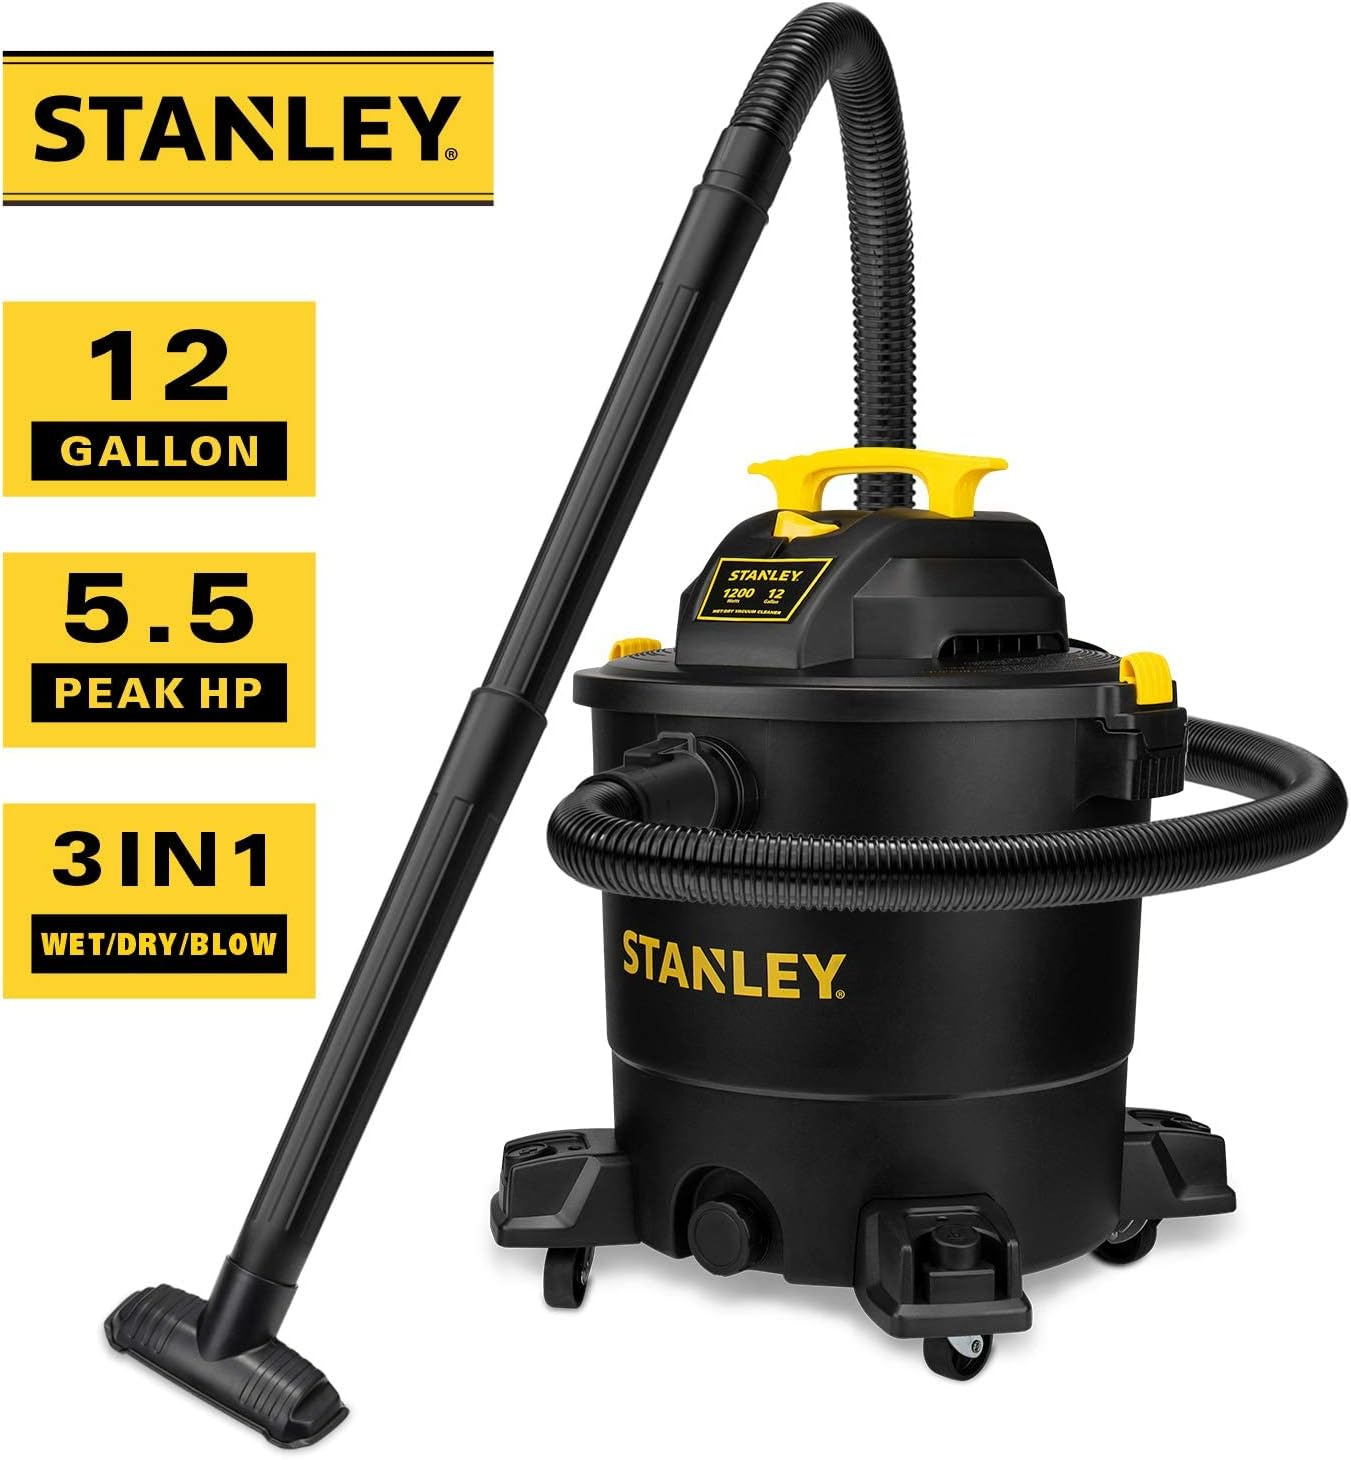
Figure 1: Product Components. This diagram illustrates the main parts of the vacuum: (1) Carry Handle, (2) Large On/Off Switch, (3) Vacuum Port, (4) Drain Port, (5) Blower Port, (6) Two Lid Latches, (7) Dust Tank, (8) Caster.
What's Included
Your STANLEY 12 Gallon Wet/Dry Vacuum package includes the following items:

Figure 2: Included Accessories. The package contains: (A) Crevice nozzle, (B) Extension wand x 2, (C) Floor nozzle, (D) Utility nozzle, (E) 1-7/8" Hose, (F) Cartridge filter, (G) Disposable filter bag, (H) Product manual.
- 1 x Stanley SL18199P Wet / Dry Vacuum
- 1 x 1-7/8"x6 Super Flexible Hose
- 2 x Extension Wands
- 1 x Gulper Nozzle (also referred to as Floor Brush)
- 1 x Floor Nozzle
- 1 x Crevice Nozzle
- 1 x Dust Bag
- 1 x Cartridge Filter
Setup Instructions
Follow these steps to assemble your wet/dry vacuum before first use.
- Unpack Components: Carefully remove all parts from the packaging. Ensure all items listed in the "What's Included" section are present.
- Install Casters:
- Turn the collection tank upside down.
- Insert each caster assembly into the designated slots on the base of the tank.
- Secure each caster with the provided screws using a screwdriver.
- Filter Installation:
- Release the lid latches and remove the motor head from the collection tank.
- For dry vacuuming, ensure the cartridge filter is securely installed over the filter cage on the underside of the motor head. Twist the filter cap to lock it in place.
- For wet vacuuming, remove the cartridge filter. A foam filter (not included in this model's description but standard for wet vacs) may be used for wet pickup, or the unit can be used without a filter for large liquid spills.
- If using a disposable dust bag for dry pickup, install it inside the tank, aligning the collar with the intake port.
- Attach Hose: Insert the larger end of the flexible hose into the vacuum port on the front of the collection tank until it clicks securely.
- Attach Extension Wands and Nozzle: Connect the extension wands to the smaller end of the hose. Then, attach the desired cleaning nozzle (e.g., floor nozzle, crevice nozzle) to the end of the extension wand.
Video 1: Product Installation and Use. This video demonstrates the assembly process, including filter installation, caster attachment, and connecting the hose and accessories. It also shows the vacuum in operation for various tasks.
Operating Instructions
The STANLEY 12 Gallon Wet/Dry Vacuum offers three primary functions: dry vacuuming, wet vacuuming, and blowing.
Dry Vacuuming
For dry pickup of debris, dust, and dirt:
- Ensure the cartridge filter is clean and properly installed. A disposable dust bag can also be used for easier debris disposal.
- Connect the hose to the vacuum port.
- Attach the desired dry cleaning accessory (e.g., floor nozzle for large areas, crevice nozzle for tight spaces).
- Plug the power cord into a suitable electrical outlet.
- Turn the vacuum ON using the large on/off switch.
- Guide the nozzle over the area to be cleaned.
- When finished, turn the vacuum OFF and unplug it.

Figure 3: Indoor Dry Vacuuming. The vacuum is effective for cleaning dry debris on various indoor surfaces.
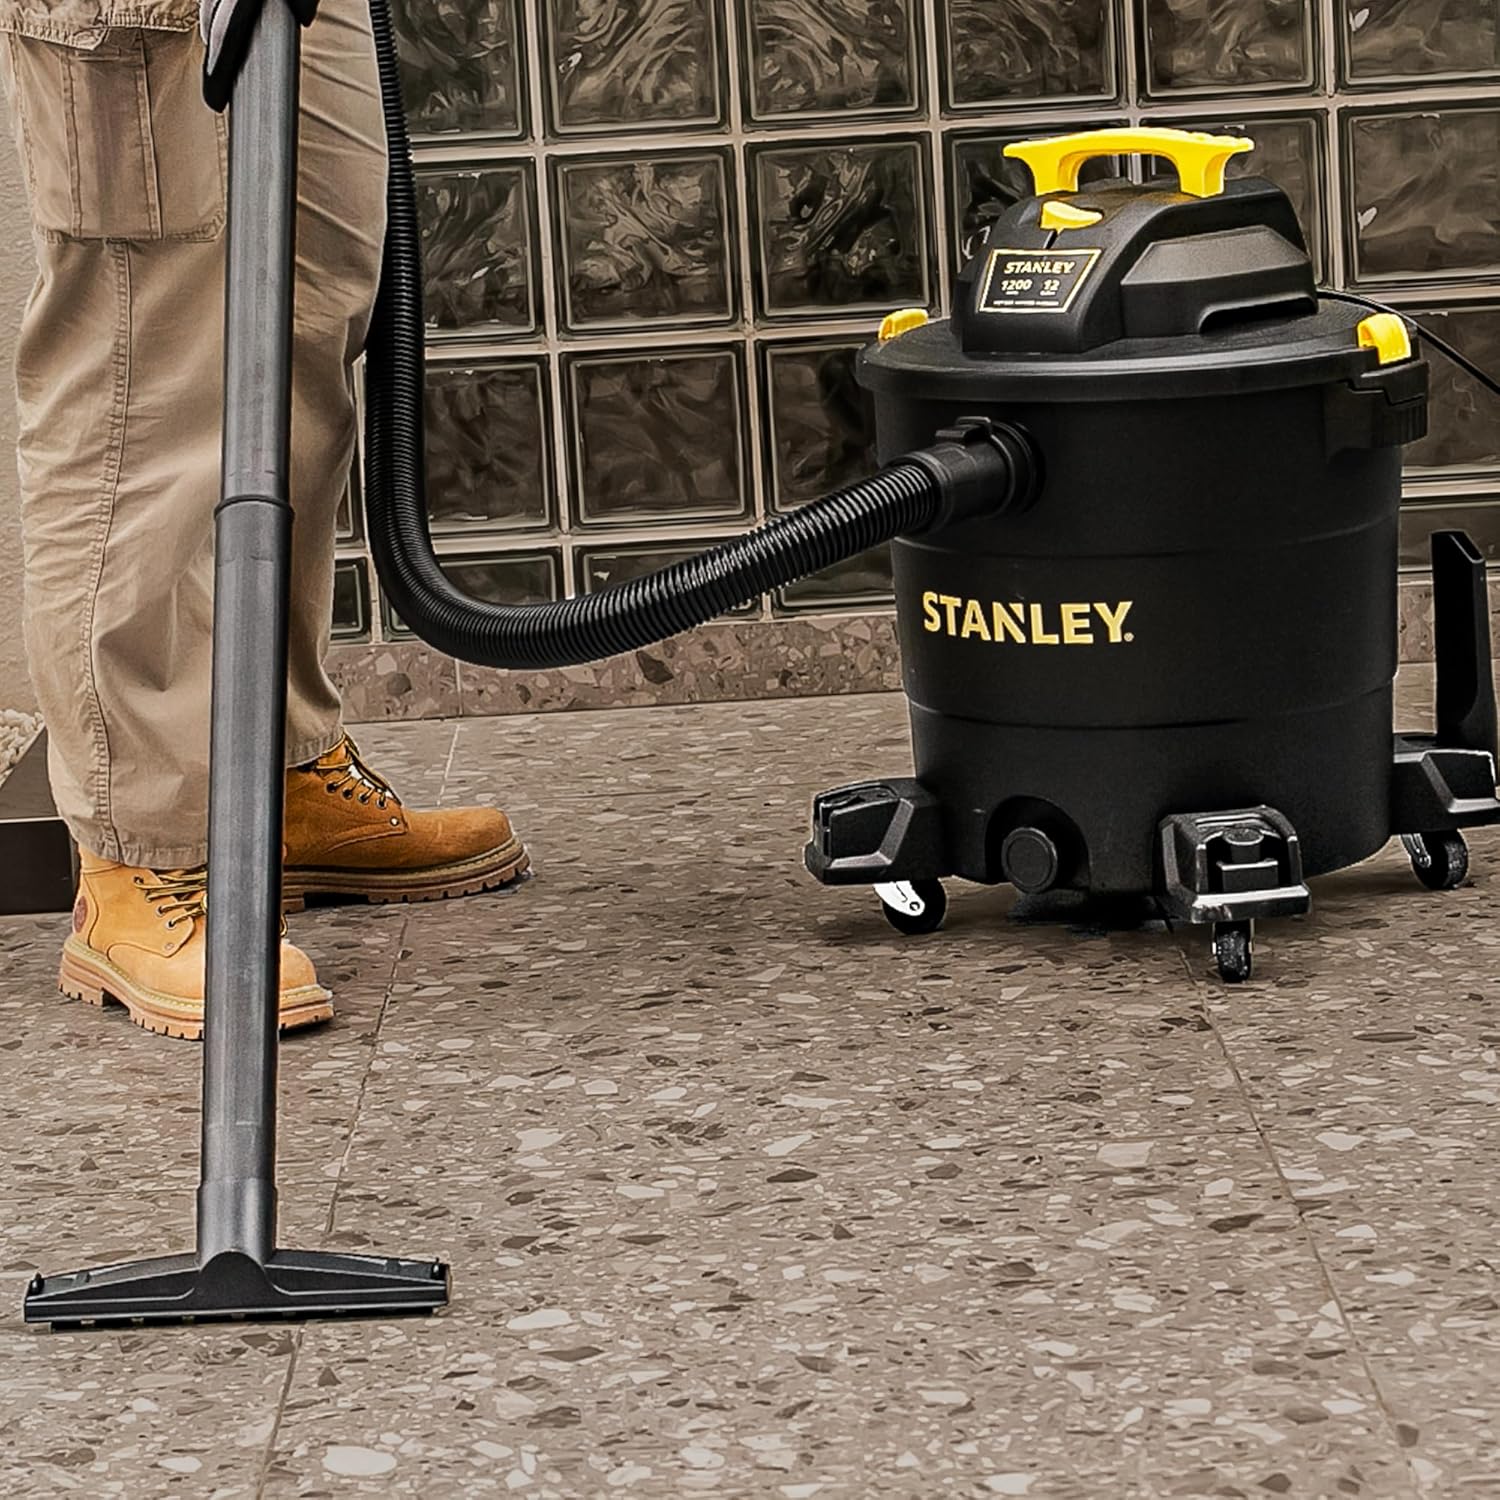
Figure 4: Floor Nozzle in Use. The floor nozzle is suitable for cleaning larger areas with dry debris like sawdust.

Figure 5: Crevice Nozzle in Use. The crevice nozzle is ideal for reaching into narrow gaps and corners, such as between couch cushions or car seats.
Wet Vacuuming
For picking up liquids:
- Remove Dry Filter: Before wet vacuuming, remove the cartridge filter and any disposable dust bag. Using a dry filter for wet pickup can damage the filter and the motor.
- Connect the hose to the vacuum port.
- Attach a wet-specific nozzle (e.g., utility nozzle or floor nozzle without brushes).
- Plug the power cord into a suitable electrical outlet.
- Turn the vacuum ON.
- Guide the nozzle over the liquid spill. The vacuum will automatically shut off when the liquid reaches a critical level in the tank (safety buoy technology).
- When finished, turn the vacuum OFF and unplug it.
- Empty the liquid from the tank using the drain port.

Figure 6: Wet Pickup Operation. The vacuum efficiently cleans liquid spills from hard surfaces.
Blower Function
To use the vacuum as a blower:
- Ensure the collection tank is empty and clean.
- Disconnect the hose from the vacuum port.
- Insert the hose into the blower port located on the motor head.
- Plug the power cord into a suitable electrical outlet.
- Turn the vacuum ON.
- Direct the hose towards the area where you want to blow debris (e.g., leaves, sawdust).
- When finished, turn the vacuum OFF and unplug it.

Figure 7: Blower Function. The blower port allows for clearing debris from outdoor areas or workshops.
Maintenance
Regular maintenance ensures optimal performance and extends the life of your vacuum cleaner.
- Filter Cleaning: The cartridge filter should be cleaned regularly, especially after dry vacuuming. Tap the filter gently to dislodge dust, or rinse it with water if heavily soiled. Allow it to air dry completely before reinstallation.
- Tank Cleaning: Empty and clean the collection tank after each use, especially after wet vacuuming, to prevent odors and mold growth.
- Hose and Accessories: Inspect the hose and accessories for blockages or damage. Clean as needed.
- Storage: Store the vacuum and its accessories in a clean, dry place. The onboard accessory storage helps keep everything organized.

Figure 8: Filter Maintenance. Regular cleaning of the cartridge filter and proper installation of the dust bag are crucial for performance.
Troubleshooting
If you encounter issues with your vacuum, refer to the following common problems and solutions:
| Problem | Possible Cause | Solution |
|---|---|---|
| Vacuum does not turn on. | No power, faulty switch, or tripped circuit breaker. | Check power cord connection, wall outlet, and circuit breaker. Ensure the switch is in the ON position. |
| Loss of suction. | Clogged hose/nozzle, full tank, dirty filter, or improper lid seal. | Check for blockages in hose/nozzle. Empty the tank. Clean or replace the filter. Ensure the motor head is securely latched. |
| Water leaking from tank. | Drain cap not secured, or tank/hose damage. | Ensure the drain cap is tightly closed. Inspect tank and hose for cracks or damage. |
| Motor overheats/shuts off. | Blocked airflow, full tank, or prolonged heavy use. | Clear any blockages. Empty the tank. Allow the motor to cool down before restarting. |
Specifications
| Feature | Detail |
|---|---|
| Brand | STANLEY |
| Model Name | Wet Dry Shop Vacuum |
| Item Model Number | SL18199P |
| Capacity | 12 Gallons |
| Motor Horsepower | 5.5 Peak HP |
| Hose Length | 6 feet (1.8 Meters) |
| Power Source | Corded Electric |
| Filter Type | Cartridge |
| Product Dimensions | 22"L x 22"W x 23.6"H |
| Item Weight | 19.4 pounds |
| Special Features | Bagged Collection, Corded, Wet/Dry, Blower Function, Wheels, On-board Accessory Storage |
Warranty and Support
This STANLEY product is covered by a 12-month warranty from the date of purchase. For warranty claims, technical support, or service inquiries, please contact the manufacturer's customer service. Keep your proof of purchase for warranty validation.
For further assistance, refer to the official STANLEY website or contact their customer support line.


