Introduction
This manual provides detailed instructions for the installation, operation, and maintenance of the 3nStar LDT114 Direct Thermal Label Printer. The LDT114 is designed for various labeling applications, offering reliable performance with its dual-wall framed construction and all-metal print head. Please read this manual thoroughly before using the printer to ensure proper setup and optimal functionality.
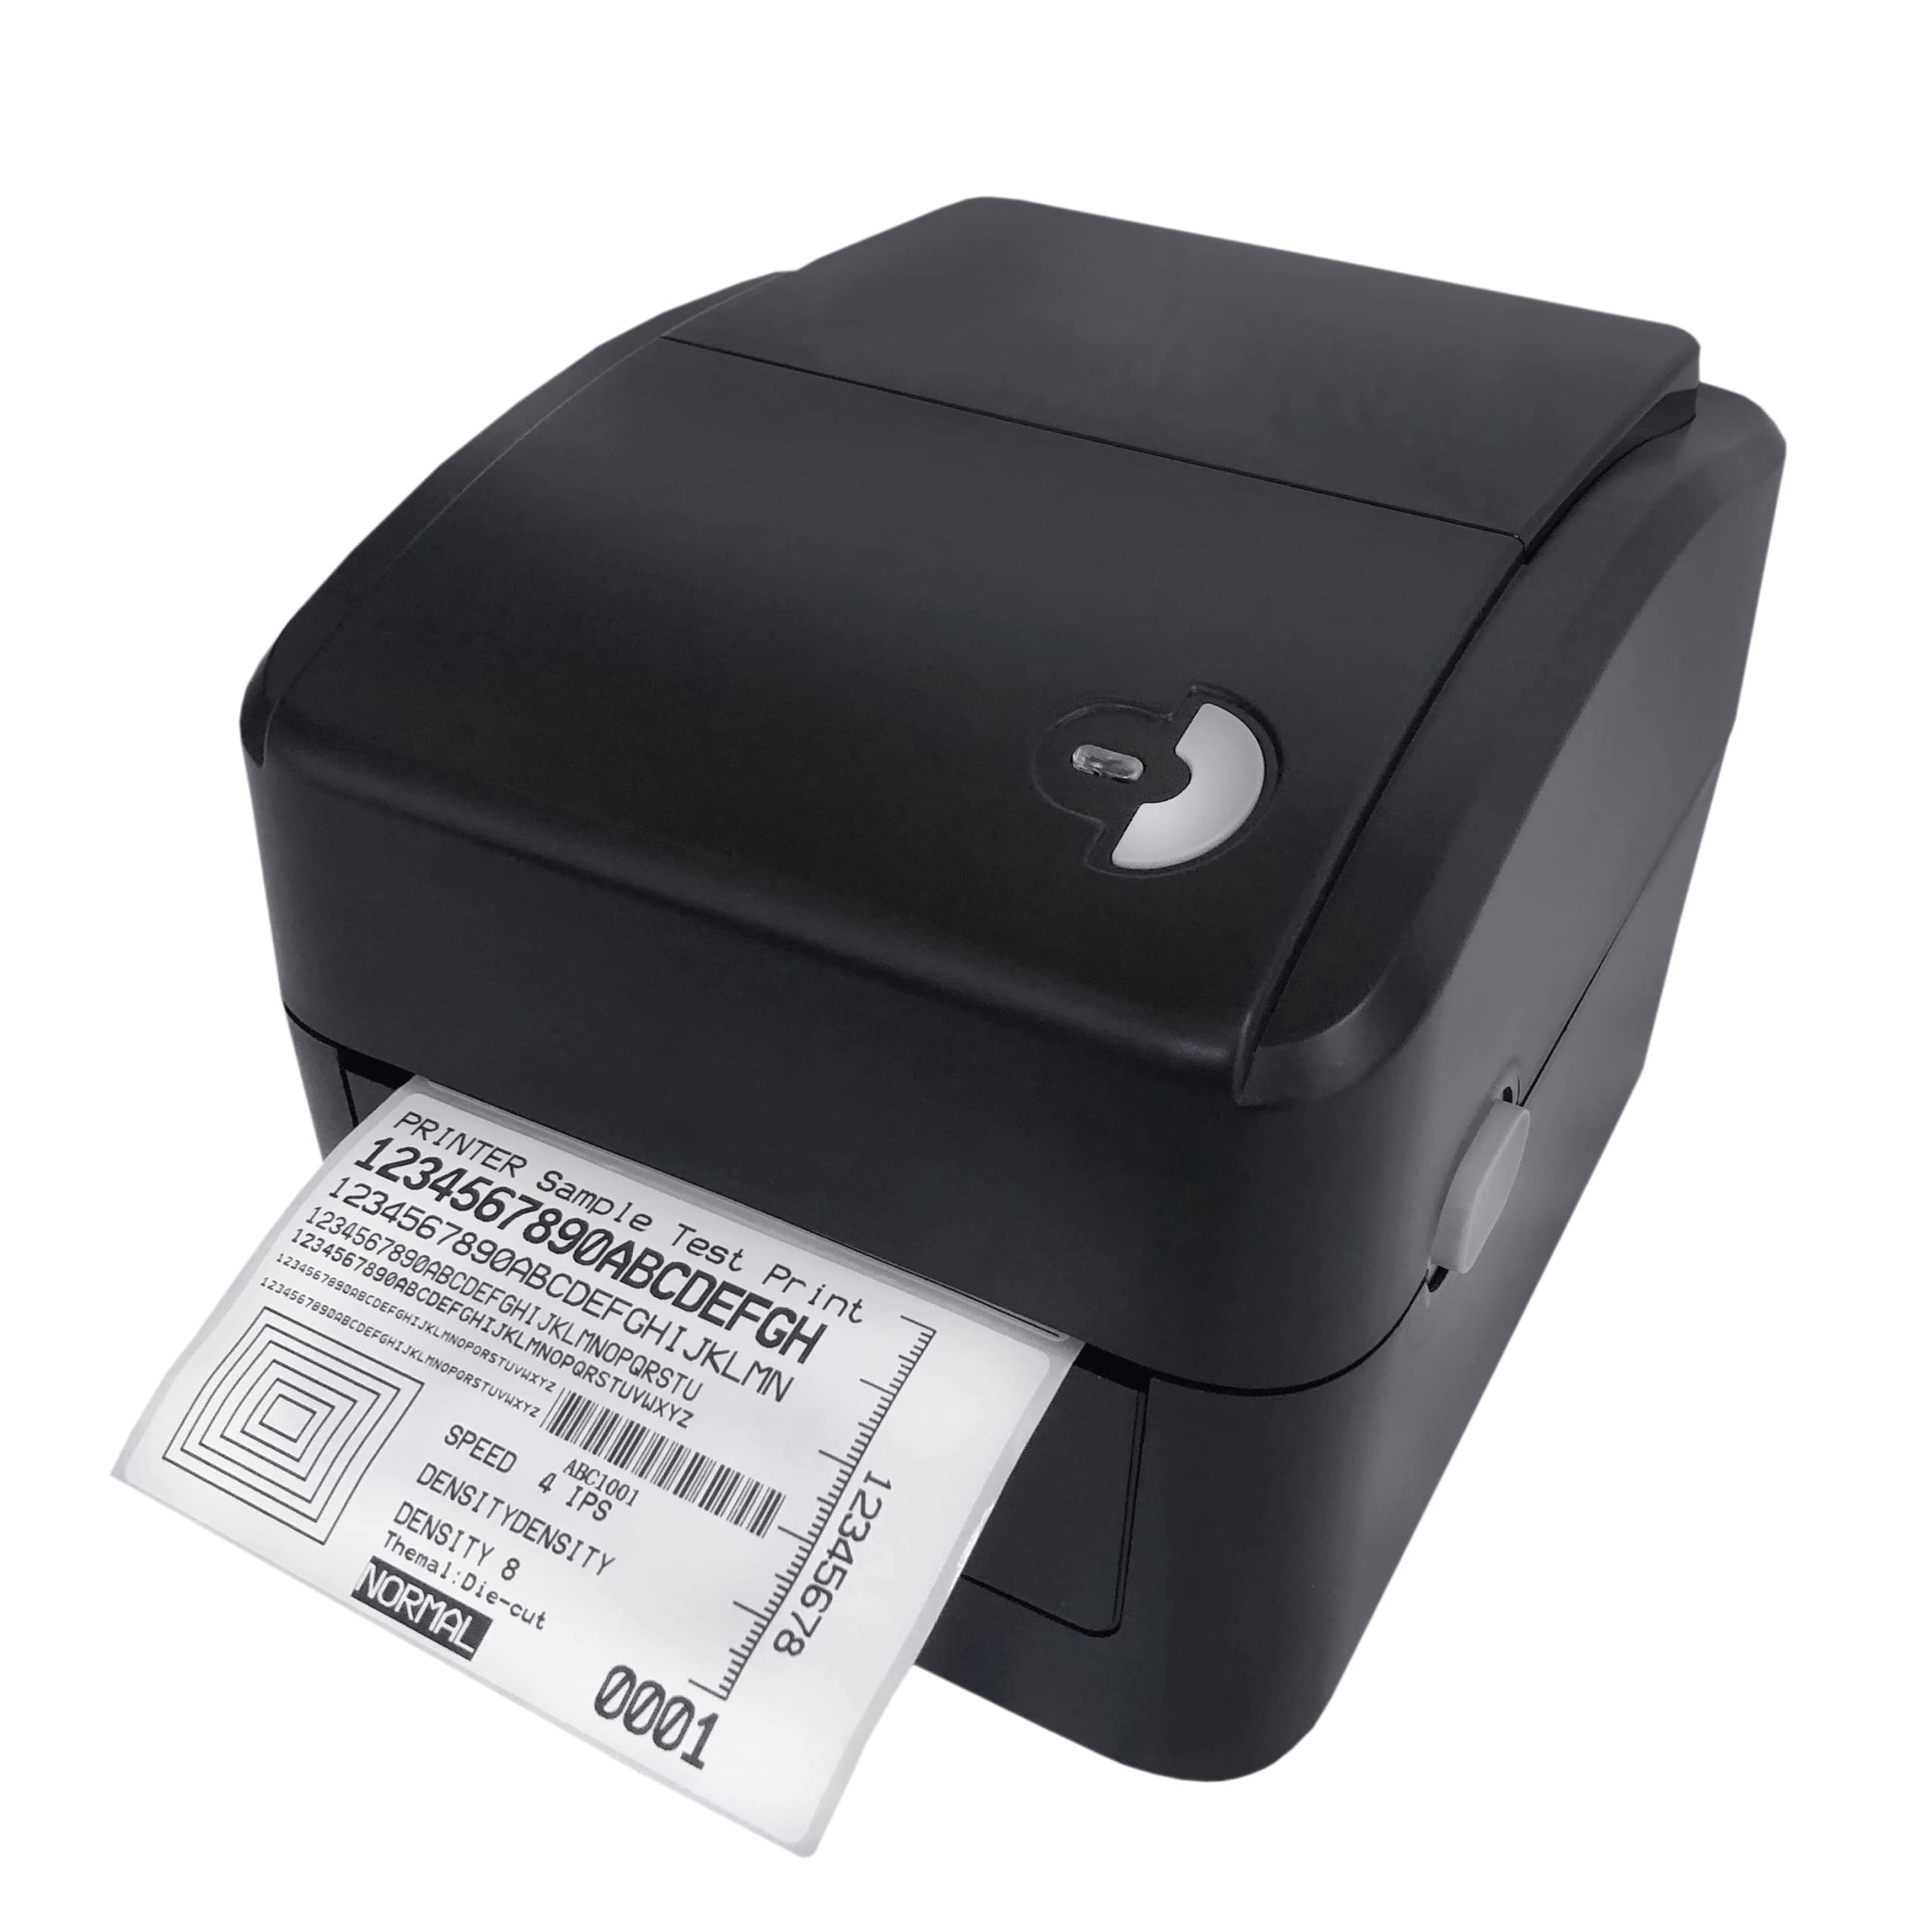
Image: The 3nStar LDT114 Direct Thermal Label Printer in operation, showing a sample label being printed.
1. Setup
1.1 Unpacking and Inspection
- Carefully remove the printer from its packaging.
- Verify that all included components are present: printer unit, power adapter, power cord, USB cable, quick start guide, and Windows labeling software driver CD.
- Inspect the printer for any visible damage. If damage is found, contact your vendor immediately.
1.2 Connecting the Printer
- Power Connection: Connect the external switching power adapter to the printer's power input port. Plug the power cord into the adapter and then into a suitable electrical outlet.
- Data Connection:
- USB Interface: Connect one end of the provided USB cable to the USB port on the printer and the other end to an available USB port on your computer.
- LAN (Ethernet) Interface: Connect an Ethernet cable to the LAN port on the printer and to your network router or switch.

Image: Rear panel of the LDT114 printer, highlighting the power, USB, and Ethernet connectivity ports.
1.3 Installing Drivers and Software
- Insert the provided Windows labeling software driver CD into your computer's CD/DVD drive.
- Follow the on-screen instructions to install the printer drivers and the Bartender Label Printing Software.
- For network setup, refer to the software documentation for configuring the printer on your LAN.
1.4 Loading Labels
- Ensure the printer is powered off.
- Open the top cover of the printer.
- Place the label roll onto the media holder, ensuring the labels feed from the bottom of the roll.
- Adjust the media guides to fit the width of your labels snugly, without pinching.
- Feed the leading edge of the labels through the print mechanism until it extends slightly past the print head.
- Close the top cover securely.

Image: The LDT114 printer with its top cover open, illustrating the internal mechanism for loading label rolls.
2. Operating Instructions
2.1 Powering On/Off
- To power on, ensure the power cord is connected and flip the power switch located at the rear of the printer to the 'ON' position.
- To power off, flip the power switch to the 'OFF' position.
2.2 Basic Printing
- Ensure the printer is connected to your computer and powered on.
- Open your label design software (e.g., Bartender) or any application from which you wish to print.
- Select the 3nStar LDT114 printer from the list of available printers.
- Configure your print settings, such as label size, orientation, and number of copies.
- Initiate the print command. The printer will begin printing labels at a speed of up to 6 IPS.
2.3 Label Calibration
For accurate label printing, especially when changing label sizes or types, calibration may be necessary. Refer to the Bartender Label Printing Software manual or the printer driver settings for specific calibration procedures. Typically, this involves a sensor adjustment to correctly detect the gaps between labels.
3. Maintenance
3.1 Cleaning the Print Head
Regular cleaning of the print head ensures optimal print quality and extends the life of the printer. It is recommended to clean the print head after every few label roll changes or if print quality degrades.
- Power off the printer and disconnect the power cord.
- Open the top cover.
- Using a cotton swab lightly moistened with 100% alcohol, gently wipe the print head surface from the center outwards. Avoid touching the print head with bare hands.
- Allow the print head to dry completely before closing the cover and reconnecting power.
3.2 Cleaning the Platen Roller
The platen roller helps feed the labels smoothly. Clean it regularly to prevent label jams and ensure consistent feeding.
- Power off the printer and disconnect the power cord.
- Open the top cover.
- Rotate the platen roller and wipe its surface with a cotton swab lightly moistened with 100% alcohol.
- Allow it to dry completely before closing the cover and reconnecting power.
4. Troubleshooting
| Problem | Possible Cause | Solution |
|---|---|---|
| Printer does not power on. | Power cord not connected; power outlet faulty. | Check power connections; try a different outlet. |
| No labels are printing. | Labels not loaded correctly; printer offline; driver issue. | Reload labels; check printer status; reinstall drivers. |
| Poor print quality (faded, lines). | Dirty print head; low-quality labels; incorrect print settings. | Clean print head; use recommended labels; adjust print density. |
| Labels are jamming. | Incorrect label loading; media guides too tight/loose; dirty platen roller. | Reload labels correctly; adjust media guides; clean platen roller. |
| Printer not recognized by computer. | USB/LAN cable disconnected; driver not installed or corrupted. | Check cable connections; reinstall printer drivers. |
5. Specifications
| Feature | Detail |
|---|---|
| Model | LDT114 |
| Printing Technology | Direct Thermal |
| Print Resolution | 203 DPI (Dots Per Inch) |
| Maximum Print Speed | 6 IPS (Inches Per Second) |
| Print Color | Monochrome (Black) |
| Connectivity | USB, Ethernet (LAN) |
| Memory | 8 MB SDRAM, 8 MB Flash (Micro SD Card Reader for expansion) |
| Emulation | TSPL (EPL, ZPL, DPL compatible) |
| Maximum Media Width | 4.5 inches |
| Maximum Print Length | 70 inches |
| Product Dimensions (D x W x H) | 17.8 x 20.3 x 15.2 Centimetres |
| Item Weight | 2 Kilograms |
| Power Consumption | 44 Watts (Operating) |
| Special Features | Network-Ready, Double-walled clamshell design |
| Included Components | Printer, Power Adapter, Power Cord, USB Cable, Quick Start Guide, Windows Labeling Software Driver CD |
6. Warranty Information
The 3nStar LDT114 Direct Thermal Label Printer comes with a 1 Year Limited Warranty from the date of purchase. This warranty covers defects in materials and workmanship under normal use. It does not cover damage caused by misuse, accidents, unauthorized modifications, or improper installation. Please retain your proof of purchase for warranty claims.
7. Support
For technical assistance, troubleshooting beyond this manual, or warranty inquiries, please contact 3nStar customer support. Refer to the contact information provided with your product packaging or visit the official 3nStar website for the most up-to-date support details.
- Online Resources: Check the 3nStar website for FAQs, updated drivers, and additional documentation.
- Contact: Refer to your product's quick start guide or packaging for specific customer service contact numbers or email addresses.