1. Introduction
This manual provides essential information for the installation, operation, maintenance, and troubleshooting of your Acer RE100 2.5-inch SATA III Solid State Drive (SSD). The Acer RE100 SSD is designed to enhance system performance with high-speed data transfer and robust data security features. Please read this manual thoroughly before using your SSD to ensure optimal performance and longevity.
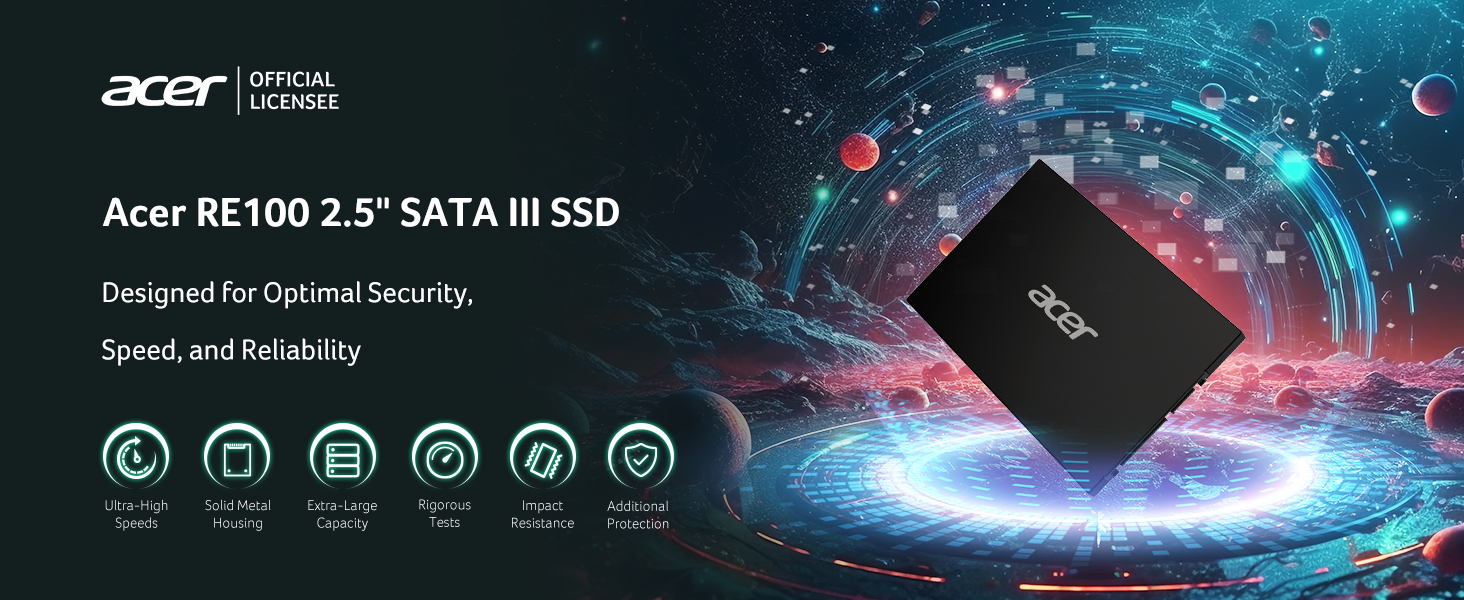
Image 1.1: Overview of Acer RE100 SSD features and design principles.
2. Key Features
The Acer RE100 SSD offers a range of features designed for reliable and efficient storage:
- High-Speed Performance: Achieves read speeds up to 560 MB/s, significantly reducing load times and improving system responsiveness.
- Robust Data Security: Incorporates dynamic and static wear-leveling, TRIM command support, S.M.A.R.T. (Self-Monitoring, Analysis, and Reporting Technology), and ECC (Error Correction Code) for enhanced data integrity and longevity.
- Durable Construction: Features a solid metal housing for improved durability, efficient heat dissipation, and impact resistance.
- Quiet Operation: Operates silently due to the absence of mechanical moving parts.
- Ample Storage Capacity: Available in various capacities, including the 1TB model, suitable for storing large files, applications, and operating systems.
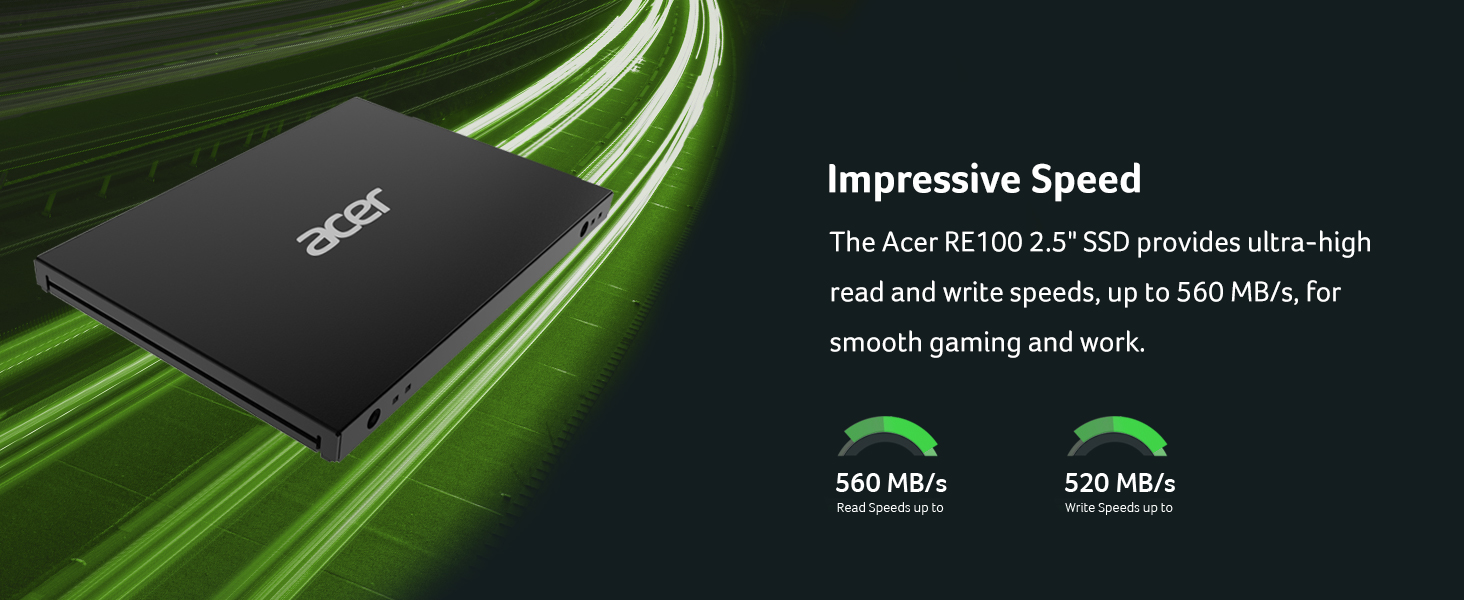
Image 2.1: Visual representation of the Acer RE100 SSD's impressive read and write speeds.
3. Setup and Installation
Installing the Acer RE100 SSD involves physical placement and initial software configuration. Ensure your computer is powered off and disconnected from the power source before beginning installation.
3.1 Physical Installation (Desktop PC)
- Open PC Case: Remove the side panel of your desktop computer case.
- Locate Drive Bay: Identify an available 2.5-inch drive bay. If only 3.5-inch bays are available, you may need a 2.5-inch to 3.5-inch adapter bracket (not included).
- Mount SSD: Secure the SSD into the drive bay using screws.
- Connect Cables: Connect a SATA data cable from the SSD to an available SATA port on your motherboard. Connect a SATA power cable from your power supply unit (PSU) to the SSD.
- Close PC Case: Replace the side panel and reconnect the power source.
3.2 Physical Installation (Laptop)
- Access Drive Bay: Depending on your laptop model, you may need to remove the back panel or a specific access door to reach the drive bay. Consult your laptop's manual for specific instructions.
- Remove Old Drive (if applicable): Disconnect and remove the existing hard drive or SSD.
- Install New SSD: Insert the Acer RE100 SSD into the drive bay. Secure it with any brackets or screws that held the previous drive.
- Close Laptop: Reassemble your laptop.

Image 3.1: Acer RE100 SSD connected to a laptop.
3.3 Initial Software Configuration
- Boot System: Power on your computer.
- Initialize Disk: For a new SSD, you will need to initialize it in Disk Management (Windows) or Disk Utility (macOS). Right-click on 'This PC' (Windows) or open Disk Utility (macOS), find the new drive, and initialize it.
- Format Drive: Create a new simple volume and format the drive with a suitable file system (e.g., NTFS for Windows, APFS for macOS).
- Data Migration (Optional): If you are replacing an existing drive, you may use disk cloning software to migrate your operating system and data to the new SSD. Acer may provide or recommend compatible software.
4. Operating Instructions
Once installed and configured, the Acer RE100 SSD operates like any other storage device. Its primary function is to store and retrieve data efficiently.
4.1 General Usage
- Data Storage: Use the SSD for installing your operating system, applications, and frequently accessed files to benefit from its high read/write speeds.
- File Transfers: Experience faster file transfers compared to traditional hard disk drives.
4.2 TRIM Command
The TRIM command helps maintain the performance of your SSD over time by allowing the operating system to inform the SSD which data blocks are no longer in use and can be wiped internally. Ensure TRIM is enabled in your operating system for optimal performance and longevity. Modern operating systems typically enable TRIM by default for SSDs.
4.3 S.M.A.R.T. Monitoring
S.M.A.R.T. (Self-Monitoring, Analysis, and Reporting Technology) allows the SSD to monitor its own health and report potential issues. You can use third-party utilities or your operating system's tools to check the S.M.A.R.T. status of your Acer RE100 SSD.
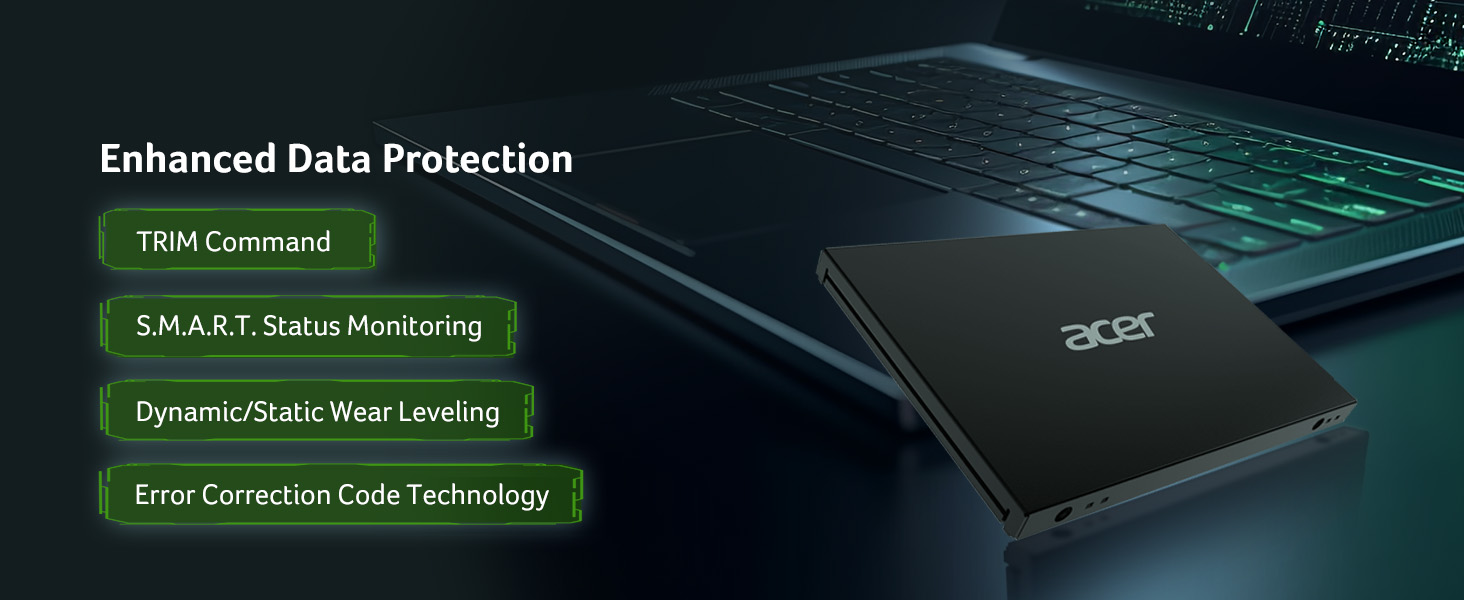
Image 4.1: Data protection features of the Acer RE100 SSD.
5. Maintenance
Proper maintenance ensures the longevity and consistent performance of your Acer RE100 SSD.
- Avoid Defragmentation: Unlike traditional HDDs, SSDs do not benefit from defragmentation. In fact, defragmenting an SSD can reduce its lifespan by increasing unnecessary write cycles. Ensure your operating system's defragmentation tool is set to skip SSDs.
- Keep Firmware Updated: Periodically check the Acer support website for firmware updates for your RE100 SSD. Firmware updates can improve performance, stability, and compatibility.
- Monitor Free Space: While SSDs perform well even when nearly full, maintaining some free space (e.g., 10-15%) can help sustain optimal performance and allow for wear-leveling operations.
- Regular Backups: Always back up your important data regularly to prevent data loss, regardless of the storage device type.
6. Troubleshooting
If you encounter issues with your Acer RE100 SSD, refer to the following common troubleshooting steps:
6.1 SSD Not Detected
- Check Connections: Ensure both the SATA data and power cables are securely connected to the SSD and the motherboard/PSU.
- BIOS/UEFI Settings: Enter your computer's BIOS/UEFI settings and verify that the SATA port to which the SSD is connected is enabled. Ensure the SATA mode is set to AHCI (Advanced Host Controller Interface) for optimal SSD performance.
- Try Another Port/Cable: Test the SSD with a different SATA data cable, power cable, or SATA port on the motherboard.
- Initialize Disk: If it's a new SSD, ensure it has been initialized and formatted in Disk Management (Windows) or Disk Utility (macOS).
6.2 Slow Performance
- TRIM Enabled: Verify that the TRIM command is enabled in your operating system.
- SATA Mode: Confirm that the SATA controller is set to AHCI mode in your BIOS/UEFI.
- Driver Updates: Ensure your motherboard's SATA controller drivers are up to date.
- Free Space: Check if the SSD is nearly full. Maintaining some free space can help performance.
- Overheating: While SSDs generate less heat than HDDs, ensure adequate airflow in your system to prevent thermal throttling.
7. Specifications
Detailed technical specifications for the Acer RE100 1TB 2.5-inch SATA III SSD:
| Feature | Specification |
|---|---|
| Brand | acer |
| Series | RE100 |
| Model Number | BL.9BWWA.109 |
| Digital Storage Capacity | 1 TB |
| Hard Disk Interface | Solid State |
| Connectivity Technology | SATA III (6Gb/s) |
| Hard Disk Form Factor | 2.5 Inches |
| Read Speed (Max) | Up to 560 MB/s |
| Item Weight | 2.82 ounces (approx. 80 grams) |
| Package Dimensions | 5.71 x 4.57 x 0.67 inches |
| Special Feature | Backward Compatible |
| Compatible Devices | Desktop, Laptop |
| Installation Type | Internal Hard Drive |
8. Warranty and Support
Acer provides a limited warranty for the RE100 SSD. For specific warranty terms, duration, and conditions, please refer to the warranty card included with your product or visit the official Acer support website. Keep your proof of purchase for warranty claims.
8.1 Technical Support
If you encounter issues that cannot be resolved using the troubleshooting steps in this manual, please contact Acer technical support. You can find contact information and additional resources on the official Acer support website:
- Acer Support Website: www.acer.com/support
When contacting support, please have your product model number (RE100) and serial number (if applicable) ready.