1. Introduction
The CNYST NDJ Series Digital Rotary Viscometer is an advanced instrument designed for precise viscosity measurements. This device offers high sensitivity and reliable test results, making it suitable for a wide range of applications in various industries. Its user-friendly operation and robust design ensure efficient and accurate performance.
This viscometer is ideal for determining the absolute viscosity of Newtonian fluids and the apparent viscosity of non-Newtonian fluids. It is widely used for measuring the viscosity of substances such as oils, paints, plastics, food products, coatings, detergents, and many other liquids.
2. Features
- High Sensitivity and Reliability: Provides accurate and consistent test results.
- Easy Operation: Designed for straightforward use with an elegant interface.
- Wide Measurement Range: Capable of measuring viscosity from 1 to 2,000,000 mPa.s.
- Multiple Rotors and Speeds: Equipped with 4 rotors (#1, #2, #3, #4) and 8 rotational speeds (0.3, 0.6, 1.5, 3, 6, 12, 30, 60 RPM), offering 32 combinations for diverse measurement needs.
- Automatic Selection: Automatically selects the appropriate rotor and speed for optimal measurement.
- Stable Reading Cursor Block: Ensures stable data display once the vertical cursor block is full.
- Digital LCD Display: Features a 4-digit LCD with blue backlight for clear data visibility.
- Microcomputer Control: Utilizes advanced mechanical design, manufacturing technology, and microcomputer control for precise data acquisition.
3. Components and What's in the Box
The NDJ Series Digital Rotary Viscometer comes with the following standard accessories:
- Digital Display Viscometer Host
- Rotors: #1, #2, #3, #4
- Power Adapter
- Protective Frame
- Base
- Lifting and Lowering Column
- Operation Manual
- Wrench
An optional #0 rotor is available for testing viscosities below 0.1 mPa.s. Please inquire if needed.
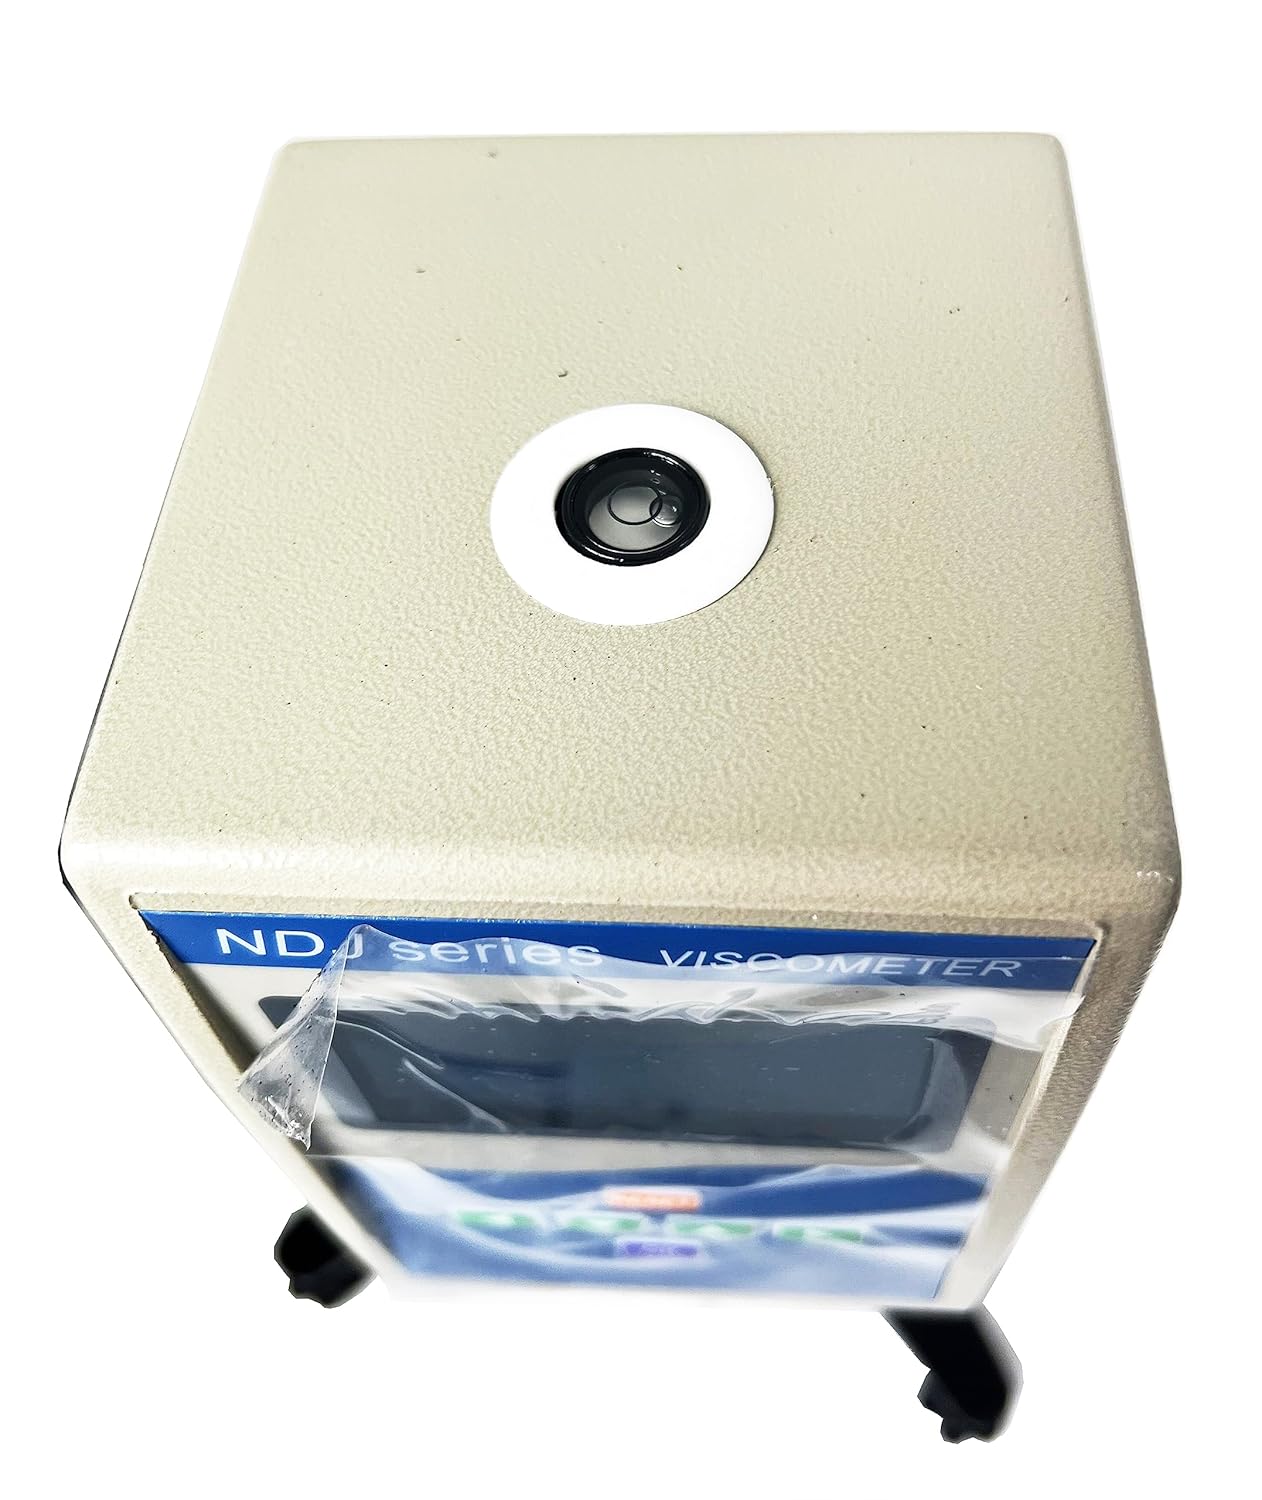
Image: All components of the CNYST NDJ Series Digital Rotary Viscometer laid out, including the main unit, stand, rotors in a case, power adapter, and wrench.
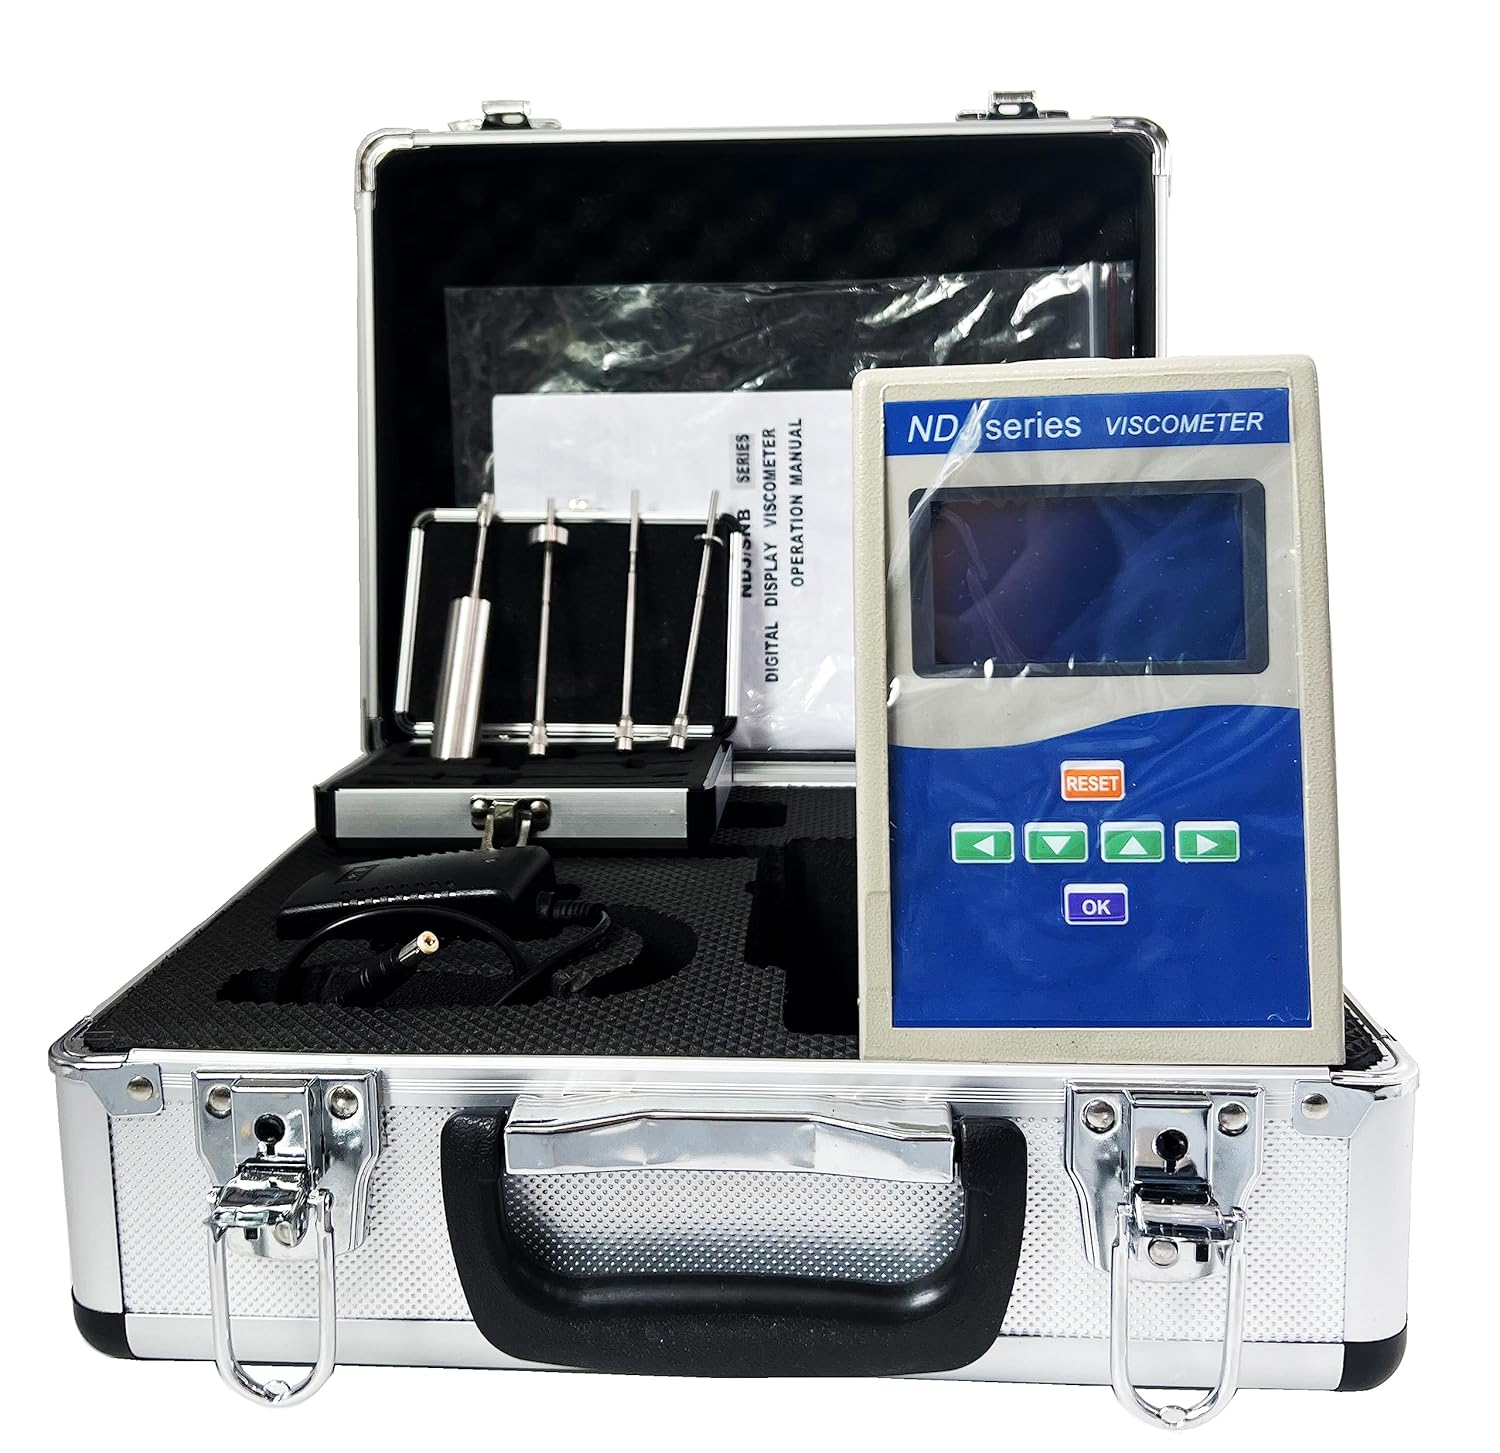
Image: The CNYST NDJ Series Digital Rotary Viscometer main unit and rotor set in their protective carrying case.
4. Setup Instructions
Follow these steps to assemble your viscometer:
- Assemble the Stand: Attach the vertical column to the base using the provided screws and wrench. Ensure it is stable.
- Mount the Viscometer Head: Secure the viscometer main unit onto the vertical column using the adjustable clamp. Tighten the knob to prevent movement.
- Install the Protective Frame: Attach the protective frame around the rotor connection point on the viscometer head. This protects the rotor during operation.
- Select and Attach Rotor: Choose the appropriate rotor for your sample's expected viscosity range. Carefully screw the rotor onto the coupling shaft at the bottom of the viscometer head. Ensure it is securely fastened.
- Connect Power: Plug the power adapter into the viscometer and then into a suitable power outlet (AC110V±10%, 50Hz±10%).
Video: This video demonstrates the unboxing and assembly process of the NDJ Series Digital Rotary Viscometer, showing how to set up the stand, attach the main unit, and prepare it for use.
Video: This video provides a detailed guide on assembling the viscometer, including attaching the protective frame and selecting the correct rotor for measurement.
5. Operating Instructions
To perform a viscosity measurement, follow these steps:
- Prepare the Sample: Ensure your liquid sample is at the desired temperature and free from air bubbles or impurities. Pour the sample into a suitable container.
- Position the Viscometer: Carefully lower the viscometer head so that the selected rotor is immersed in the sample liquid up to the immersion mark. Ensure the rotor is centered and not touching the bottom or sides of the container.
- Power On: Turn on the power switch located on the back of the viscometer. The LCD display will light up.
- Select Rotor and Speed: Use the arrow keys on the control panel to select the desired rotor number and rotational speed (RPM). The viscometer can automatically suggest appropriate settings.
- Set Measurement Time (Optional): If a specific measurement duration is required, use the controls to set the time.
- Start Measurement: Press the 'OK' button to start the measurement. The rotor will begin to rotate, and the viscosity value will be displayed on the screen.
- Read Results: Once the reading stabilizes (indicated by the stable reading cursor block), record the viscosity value.
- Stop Measurement: Press 'OK' again or the 'RESET' button to stop the measurement.
- Clean Up: Carefully lift the viscometer head, remove the rotor, and clean it thoroughly with an appropriate solvent.
Video: This video demonstrates the operational procedure of the NDJ Series Digital Rotary Viscometer, including power-on, setting parameters, and taking a viscosity reading.
6. Maintenance
Proper maintenance ensures the longevity and accuracy of your viscometer:
- Cleaning: Always clean the rotors immediately after use to prevent sample residue from hardening. Use a soft cloth and an appropriate solvent that will not damage the rotor material.
- Storage: Store the viscometer and its accessories in their protective case in a dry, clean, and temperature-controlled environment when not in use.
- Handling: Handle rotors and the viscometer head with care to avoid bending or damaging the delicate parts.
- Calibration: Regular calibration with standard viscosity oils is recommended to maintain measurement accuracy. Refer to the specific calibration procedure in the full manual.
- Fuse Replacement: If the device does not power on, check and replace the fuse located on the back panel if necessary. Ensure the replacement fuse has the correct rating.
7. Troubleshooting
If you encounter issues with your viscometer, consider the following common problems and solutions:
- No Power: Check the power adapter connection, the power outlet, and the fuse on the back panel. Replace the fuse if blown.
- Rotor Not Rotating: Ensure the rotor is correctly attached and not obstructed. Verify that the selected speed is active.
- Unstable Readings: Check if the viscometer is level using the bubble level on top. Ensure the rotor is fully immersed and centered in the sample, and that the sample is free of bubbles. Minimize vibrations in the testing environment.
- Incorrect Readings: Confirm that the correct rotor is selected for the sample's viscosity range. Ensure the sample temperature is stable and known. Recalibrate the instrument if necessary.
- Error Messages: Refer to the detailed error code section in the complete operation manual for specific error message interpretations and solutions.
If the problem persists after attempting these solutions, please contact customer support.
8. Specifications
| Feature | Specification |
|---|---|
| Display | 4-digit LCD |
| Measurement Range | 1 to 2 x 10^6 mPa.s |
| Rotors | #1, #2, #3, #4 (Standard) |
| Rotor Speeds | 0.3, 0.6, 1.5, 3, 6, 12, 30, 60 r/min |
| Measurement Accuracy | ±1% (for Newtonian fluids) |
| Power Supply | AC110V±10%, 50Hz±10% |
| Operating Conditions | Temperature: 5°C to 35°C, Relative Humidity: <80% |
| Dimensions (LxWxH) | 370 x 325 x 280 mm |
| Net Weight | 6.8 kg |
9. Warranty and Support
This product is covered by a standard manufacturer's warranty. For specific warranty terms and conditions, please refer to the warranty card included with your product or contact the seller directly.
For technical support, troubleshooting assistance, or inquiries regarding optional accessories, please contact your point of purchase or the manufacturer's customer service. Keep your purchase receipt and product model information handy when contacting support.