Introduction
This manual provides detailed instructions for the assembly, installation, operation, and maintenance of your Outsunny Window Awning Door Canopy (Model B70-058V02). Please read this manual thoroughly before beginning installation to ensure correct setup and safe operation. Retain this manual for future reference.
Safety Information
- Two-Person Assembly: For safety and efficiency, assembly and installation require a minimum of two individuals.
- Wall Compatibility: This awning is designed for installation on cement or brick walls. For wooden walls, additional wood screws (not included) are required. Do not install on wooden houses without appropriate fasteners.
- Weather Conditions: This awning is not suitable for areas experiencing strong winds or heavy snowfall.
- Clearance: Install awning brackets at least 11.8 inches (30 cm) above door openings or window frames to ensure optimal performance and prevent obstruction.
- Regular Inspection: Periodically check and tighten all accessories and connections to ensure stability and safety.
- Protective Film: The polycarbonate panels have a clear protective film on one side (intended to face outward) and a white protective film on the other. Ensure the clear side faces outward during installation. It is recommended to peel off only about 2 inches of the protective sheets on each side during assembly to protect the panels until installation is complete.
Package Contents
Verify that all components listed below are present and undamaged before beginning assembly. If any parts are missing or damaged, contact Outsunny customer support.
- Polycarbonate Panels (Quantity varies by size, typically 2-3 for 80" width)
- PP Brackets (Quantity varies by size, typically 3 for 80" width)
- Aluminum Bars (Front and Back)
- Wall Anchors and Screws (for cement/brick walls)
- Instruction Manual

Figure 1: Awning components and mounting hardware. This image displays the polycarbonate panels, black support brackets, aluminum bars, and various screws and anchors required for installation.
Assembly Instructions
Follow these steps carefully for proper assembly. A second person is highly recommended for this process.
- Prepare Panels: Identify the clear side of the polycarbonate panels. This side should face outwards once installed. Carefully peel back approximately 2 inches of the protective film from all edges of each panel.
- Assemble Outer Sections: Place one PP bracket on a flat surface. Slide the polycarbonate panels into the channels of the bracket. Repeat for the other outer bracket.
- Insert Middle Section (if applicable): If your awning consists of multiple panels and brackets, lay the assembled outer sections down. Insert the middle polycarbonate panel(s) and secure them with the remaining PP bracket(s).
- Attach Aluminum Bars: Secure the aluminum bars to the front and back edges of the assembled polycarbonate panels and brackets. Ensure they are firmly seated in the designated grooves.
- Optional: Seal Edges: For enhanced waterproofing, especially in areas with heavy rain or snow, apply a clear silicone caulking along all edges where the polycarbonate panels meet the brackets and aluminum bars. Pay particular attention to the middle aluminum bar to prevent water infiltration.

Figure 2: Detail of the heavy-duty PP bracket and anti-rust aluminum bar. This image highlights the structural components that hold the polycarbonate panels in place.
Installation Instructions
Proper installation is crucial for the awning's stability and performance. Ensure you have the necessary tools and assistance.
- Choose Location: Select a suitable location above a window or door. Ensure there is at least 11.8 inches (30 cm) of vertical clearance between the top of the door/window frame and the desired mounting height for the awning brackets. The door panel width should be shorter than 96 cm (37.8 inches) to avoid obstruction.
- Mark Drill Holes: With the help of a second person, hold the assembled awning against the wall at the desired installation height. Use a pencil to mark the positions for drilling the mounting holes through the bracket mounting points.
- Drill Holes: Using an appropriate drill bit for your wall type (cement/brick or wood), drill holes at the marked positions. Ensure the holes are deep enough for the provided anchors or your chosen wood screws.
- Insert Anchors: For cement or brick walls, insert the provided wall anchors into the drilled holes. For wooden walls, prepare your wood screws.
- Mount Awning: Align the awning brackets with the drilled holes. Insert the screws through the brackets and into the anchors/wood screws. Tighten all screws securely. Ensure the awning is level. Note: The provided washers may be thin; consider using galvanized steel or stainless steel washers for better durability, especially on uneven surfaces like exploded face bricks.
- Final Protective Film Removal: Once the awning is securely mounted, carefully remove any remaining protective film from the polycarbonate panels.
- Consider Pitch (for snow): If you reside in an area with heavy snow, consider installing the awning with a slight pitch (e.g., 1% slope) and at a 95-degree angle to the wall to aid snow shedding.

Figure 3: Important clearance considerations for outward opening doors. This diagram illustrates the minimum 27 cm (10.6 inches) clearance needed between the top of the awning and the top of the door frame, and that the door panel width should be less than 96 cm (37.8 inches).

Figure 4: Overall dimensions of the Outsunny awning. This image provides the length (78.7 inches / 200 cm), width (37.8 inches / 96 cm), and height (10.6 inches / 27 cm) of the assembled unit.

Figure 5: Example of the Outsunny awning installed above double doors, providing shade and protection.
Operation
The Outsunny Window Awning Door Canopy is a fixed installation designed to provide continuous protection from various weather elements.
- UV Protection: The polycarbonate panels feature a 50-micron UV resistance layer, effectively reducing harmful UV rays and helping to lower indoor temperatures.
- Rain Protection: The curved design and polycarbonate material minimize rain noise and aid in water drainage, preventing seepage during light to medium rain.
- Snow Protection: Provides shelter from gentle snow accumulation. Refer to safety guidelines regarding heavy snow.
- Weather Resistance: The materials are designed to withstand a range of temperatures, from freezing cold (-30°C) to scorching heat (60°C).

Figure 6: Visual representation of the awning's UV protection capabilities, showing reduced sunlight penetration.
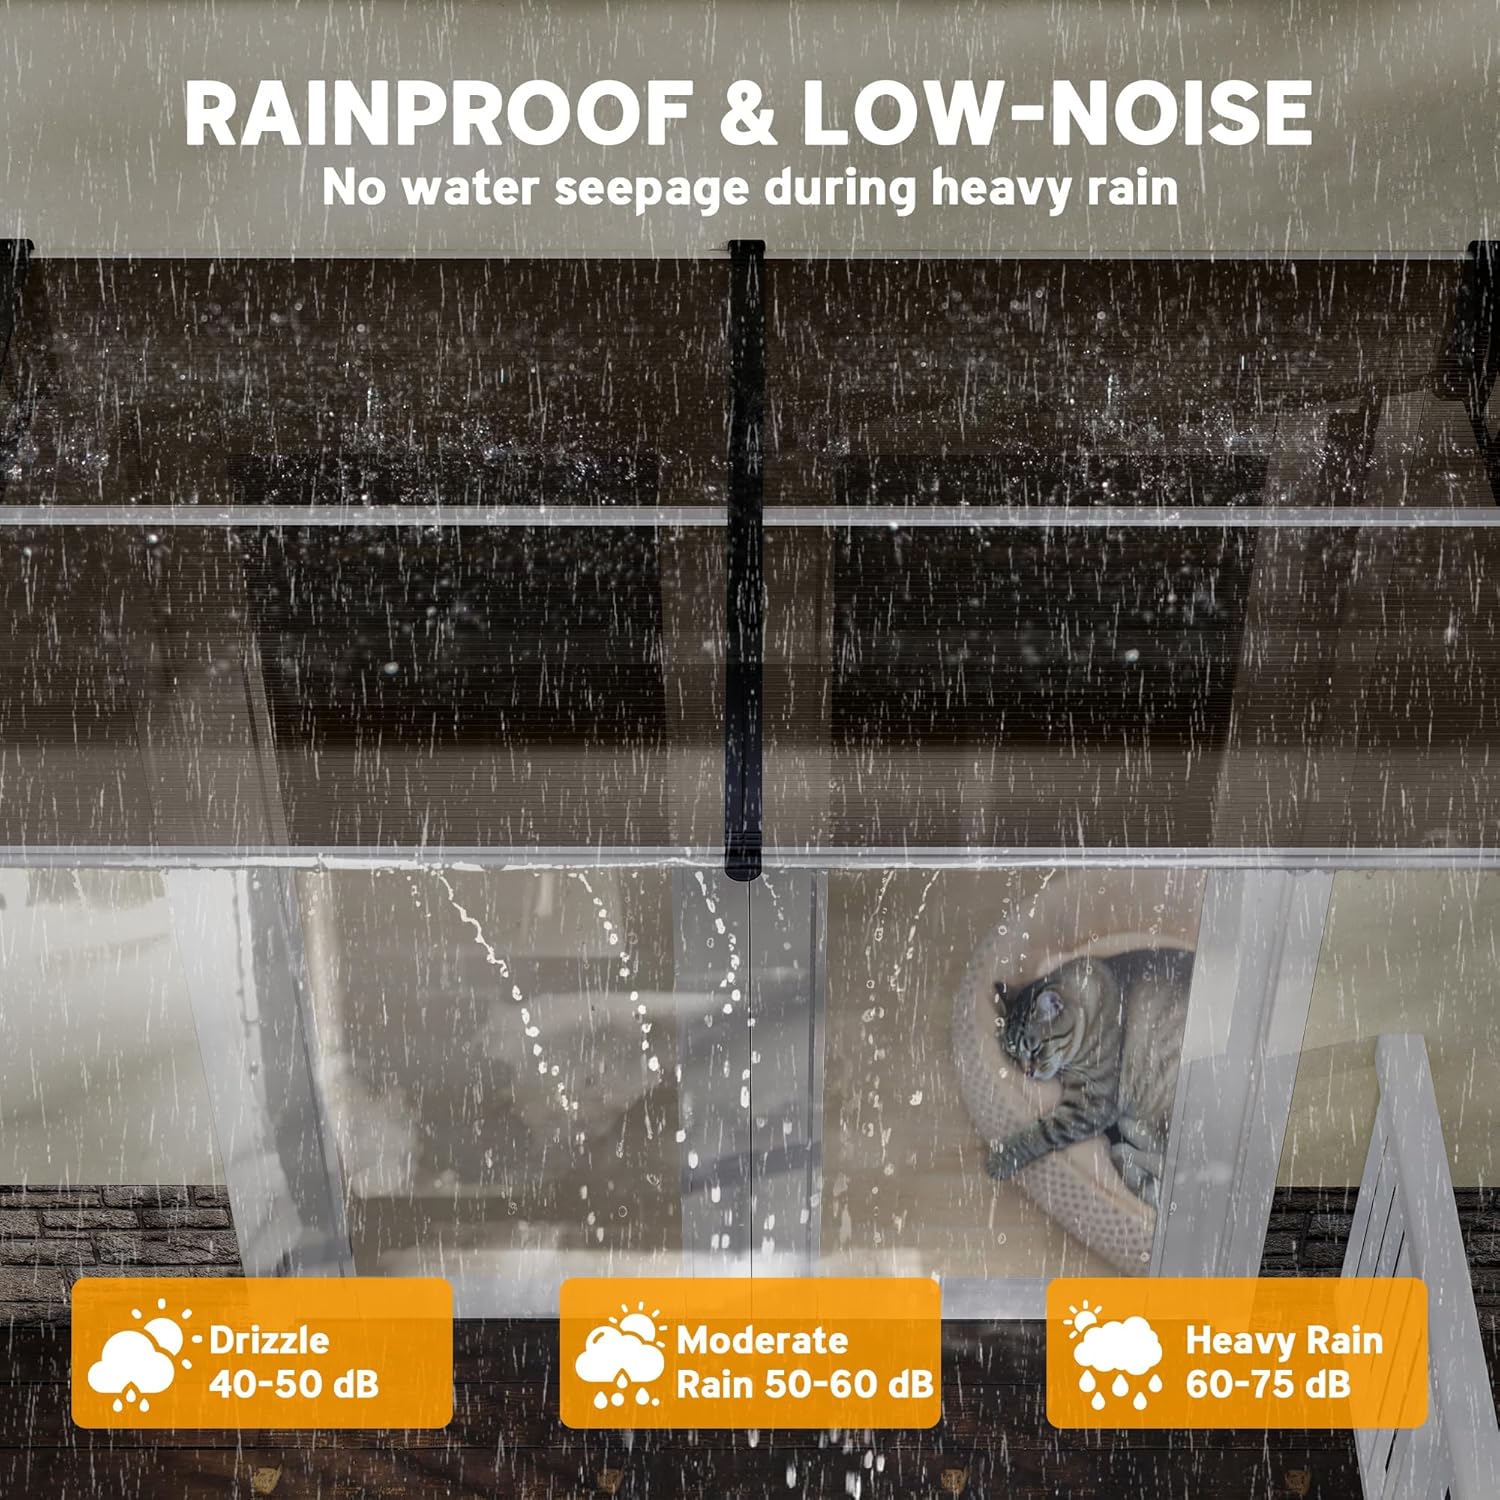
Figure 7: Illustration of the awning's rainproof and low-noise design, demonstrating water runoff and reduced sound levels during rainfall.

Figure 8: Depiction of the awning's ability to withstand extreme temperatures, from 60°C (140°F) to -30°C (-22°F).
Maintenance
- Cleaning: Clean the polycarbonate panels periodically with a soft cloth, mild soap, and water. Avoid abrasive cleaners or harsh chemicals that could damage the material.
- Hardware Check: Regularly inspect all mounting hardware, screws, and connections. Tighten any loose fasteners to ensure the awning remains securely attached to the wall.
- Drainage: Ensure that the curved design allows for proper water drainage. Clear any debris that may accumulate on the awning surface.
Troubleshooting
- Water Seepage: If water infiltrates the panels or edges, re-inspect the assembly. Consider applying clear silicone caulking to all panel-to-bracket and panel-to-bar joints, especially if not done during initial assembly.
- Loose Awning: If the awning feels unstable, immediately check all mounting screws and wall anchors. Tighten them securely. If anchors are failing, consider replacing them with more robust hardware suitable for your wall type.
- Panel Discoloration/Damage: While designed for UV protection, prolonged exposure to extreme conditions or impacts can cause wear. Ensure proper cleaning and avoid harsh chemicals.
Specifications
| Feature | Specification |
|---|---|
| Model Number | B70-058V02 |
| Overall Dimensions | 78.7" L x 37.8" W x 10.6" H (200 x 96 x 27 cm) |
| Wall Bracket Dimensions | 37.8" L x 10.6" W (96 x 27 cm) |
| Material | Polycarbonate, Aluminium, PP |
| Color | Brown (Panels), Black (Brackets) |
| Snow Accumulation Thickness | Up to 2" (5 cm) |
| Minimum Clearance (above door/window) | 11.8" (30 cm) |
| Item Weight | 13.9 Pounds (6.3 kg) |
| Assembly Required | Yes |
Warranty and Support
For warranty information, technical support, or to order replacement parts, please contact Outsunny customer service directly. Refer to the contact information provided on the product packaging or the official Outsunny website.
Outsunny Official Website: www.aosom.com/brands/outsunny/


