1. Introduction
This manual provides essential information for the safe and efficient operation, maintenance, and troubleshooting of your Juki HZL-8370AT Home Electronic Sewing Machine. Please read this manual thoroughly before using the machine and keep it for future reference.
2. Safety Instructions
- Always unplug the machine from the electrical outlet immediately after using, before cleaning, or when making any user servicing adjustments.
- Do not operate the machine with a damaged cord or plug. If the machine is not working properly, has been dropped, damaged, or dropped into water, return it to the nearest authorized service dealer for examination, repair, electrical or mechanical adjustment.
- Keep fingers away from all moving parts. Special care is required around the sewing machine needle.
- Always use the proper needle plate. The wrong plate can cause the needle to break.
- Do not pull or push fabric while stitching. This may deflect the needle causing it to break.
- Use only accessories recommended by the manufacturer as contained in this manual.
- This appliance is not intended for use by persons (including children) with reduced physical, sensory or mental capabilities, or lack of experience and knowledge, unless they have been given supervision or instruction concerning use of the appliance by a person responsible for their safety.
3. Product Overview
The Juki HZL-8370AT is a versatile home electronic sewing machine designed for various sewing projects. It features 19 stitch types and a robust one-piece metal frame for stability.
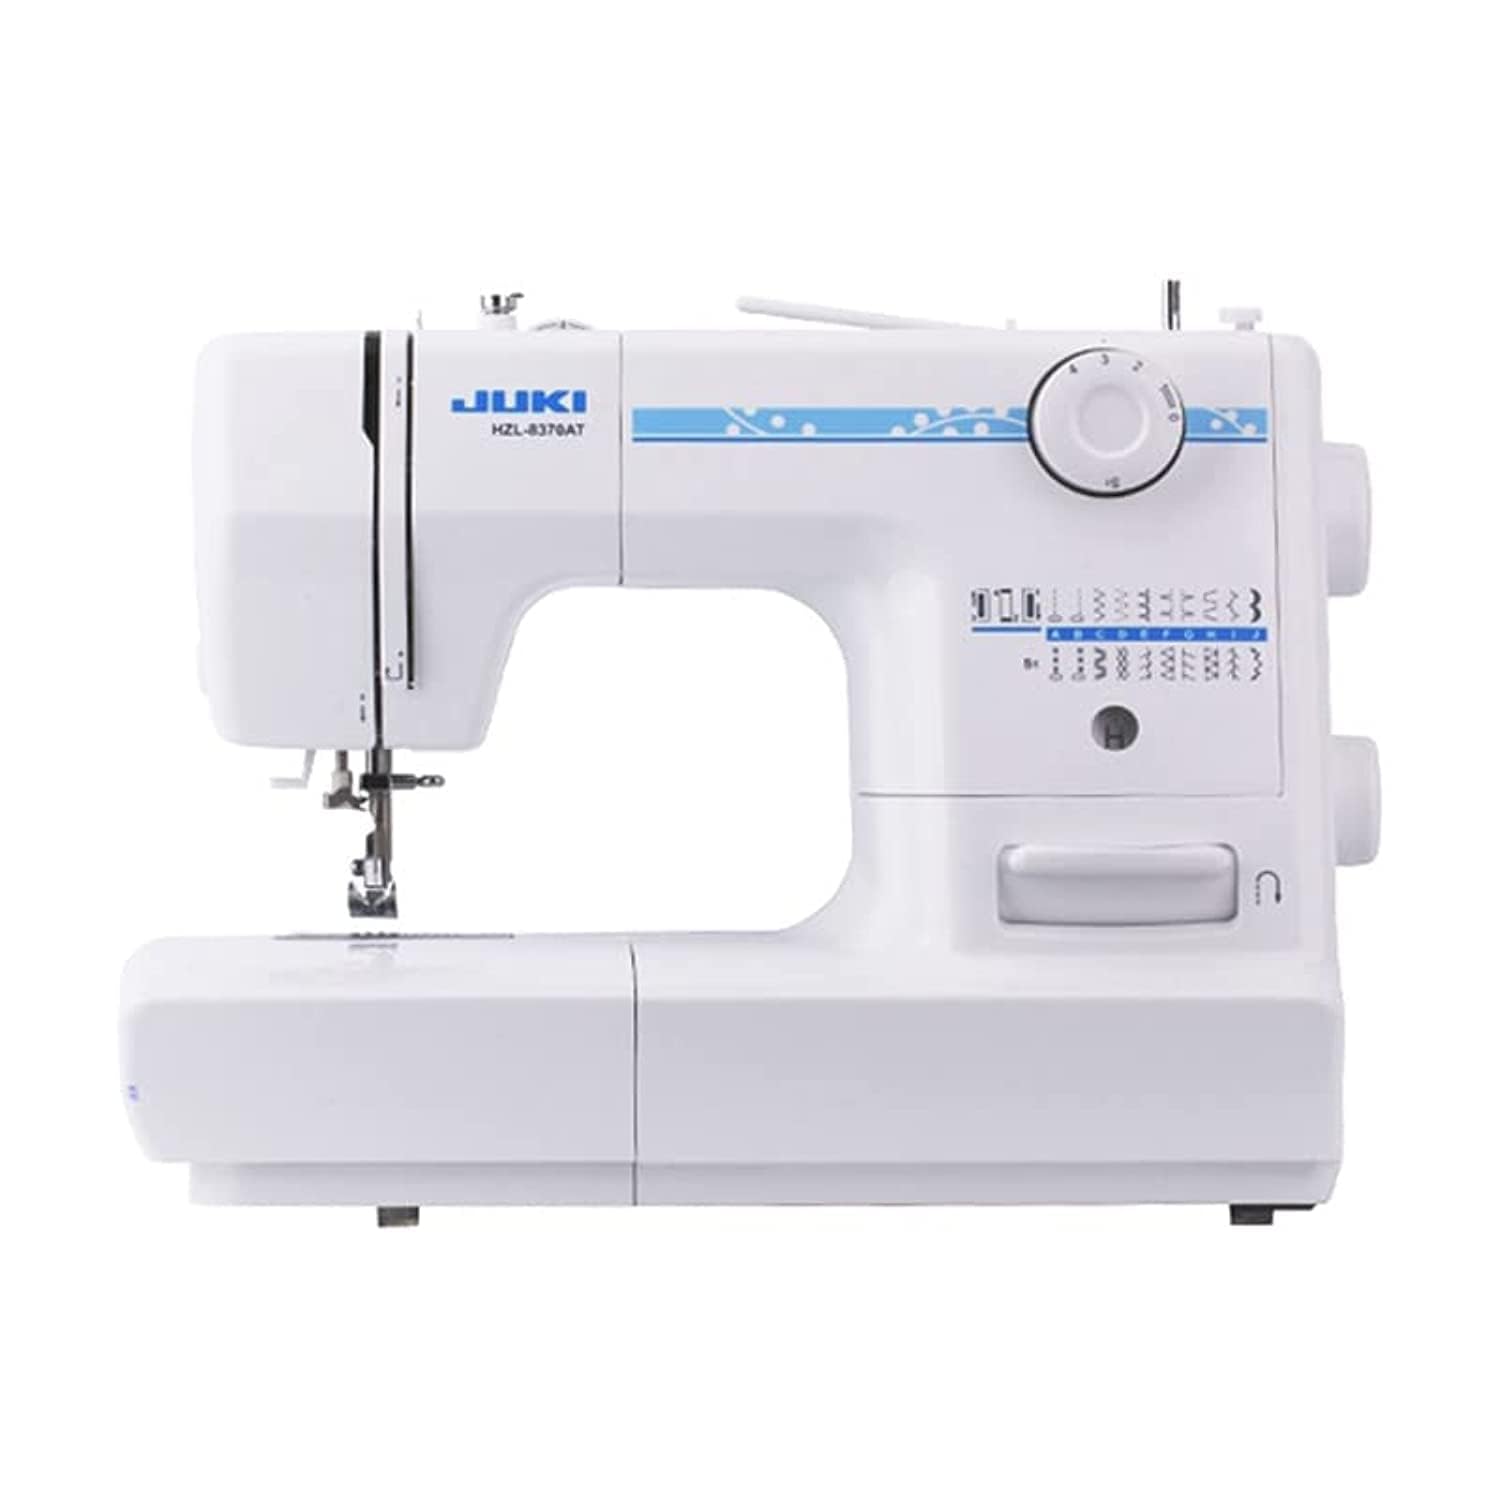
Figure 1: Front view of the Juki HZL-8370AT Home Electronic Sewing Machine. This image shows the main body of the machine, including the needle area, stitch selection dial, and various controls.
Key Components:
- Stitch Selection Dial: Used to choose from the 19 available stitch patterns.
- Thread Tension Dial: Adjusts the tension of the upper thread.
- Needle Bar and Presser Foot: Holds the needle and applies pressure to the fabric.
- Bobbin Winder: For winding thread onto the bobbin.
- Handwheel: Manually raises and lowers the needle.
- Foot Pedal Connector: For connecting the foot pedal to control sewing speed.
4. Setup
4.1 Unpacking and Placement
- Carefully remove the machine from its packaging.
- Place the machine on a stable, flat surface. Ensure there is adequate space around the machine for comfortable operation.
- Connect the foot pedal and power cord to the machine and then to a suitable electrical outlet.
4.2 Installing the Needle
- Turn the handwheel towards you to raise the needle to its highest position.
- Loosen the needle clamp screw.
- Insert a new needle with the flat side facing the back of the machine, pushing it up as far as it will go.
- Tighten the needle clamp screw securely.
4.3 Winding the Bobbin
- Place a spool of thread on the spool pin.
- Guide the thread through the bobbin winding tension disc.
- Place an empty bobbin onto the bobbin winder spindle.
- Wrap the thread around the bobbin a few times, then push the bobbin winder spindle to the right.
- Press the foot pedal gently to start winding. Stop when the bobbin is full.
- Cut the thread and return the bobbin winder spindle to the left.
4.4 Threading the Machine
- Raise the presser foot and needle to their highest positions.
- Place the spool of thread on the spool pin.
- Follow the numbered threading path indicated on the machine, ensuring the thread passes through all guides and the take-up lever.
- Thread the needle from front to back.
- Insert the wound bobbin into the bobbin case under the needle plate, ensuring the thread feeds correctly.
- Hold the upper thread, turn the handwheel to lower and raise the needle, catching the bobbin thread. Pull both threads under the presser foot and towards the back.
5. Operating Instructions
5.1 Selecting a Stitch
Turn the Stitch Selection Dial to choose one of the 19 available stitch patterns. Refer to the stitch chart on the machine for visual guidance.

Figure 2: Close-up of the stitch selection dial and various stitch patterns available on the Juki HZL-8370AT. This shows the range of stitches from basic to decorative.
5.2 Adjusting Stitch Length and Width
- The maximum stitch length is 5 mm. Adjust the stitch length dial according to your fabric and desired stitch appearance.
- The maximum stitch width is 7 mm. Adjust the stitch width dial for zigzag or decorative stitches.
5.3 Starting to Sew
- Place the fabric under the presser foot.
- Lower the presser foot lever.
- Gently press the foot pedal to start sewing. The sewing speed is up to 800 stitches per minute.
- Guide the fabric gently, do not pull or push.
5.4 Reverse Sewing
To reinforce a seam, press and hold the reverse lever/button while sewing. Release it to continue sewing forward.
6. Maintenance
6.1 Cleaning the Machine
- Always unplug the machine before cleaning.
- Remove the needle plate and bobbin case.
- Use a small brush to remove lint and dust from the feed dogs and bobbin area.
- Wipe the exterior of the machine with a soft, dry cloth. Do not use harsh chemicals.
6.2 Changing Needles
Change the needle regularly, especially if it becomes bent, dull, or if you notice skipped stitches. Refer to section 4.2 for needle installation instructions.
7. Troubleshooting
Common Issues and Solutions:
- Skipped Stitches: Ensure the needle is inserted correctly and is not bent or dull. Use the correct needle type for your fabric.
- Thread Breaking: Check if the machine is threaded correctly, the thread tension is appropriate, and the needle is not damaged. Ensure the thread is not tangled.
- Machine Jamming: Remove any tangled threads from the bobbin area. Ensure the bobbin is wound and inserted correctly.
- Uneven Stitches: Adjust the thread tension. Ensure the fabric is fed evenly without pulling.
If problems persist after attempting these solutions, please contact customer support.
8. Specifications
| Feature | Specification |
|---|---|
| Model | HZL-8370AT |
| Type | Home Electronic Sewing Machine |
| Number of Stitches | 19 |
| Maximum Stitch Length | 5 mm |
| Maximum Stitch Width | 7 mm |
| Sewing Speed | 800 stitches per minute |
| Power | 70 Watts |
| Frame Material | Metal (one-piece) |
| Color | White |
| Item Weight | 6.93 Kilograms |
| Shipping Dimensions | 42.5 x 35 x 22.5 cm |
| Recommended Uses | Home sewing, clothing repair, craft projects, textile manufacturing |
| GTIN (UPC) | 06936986883709 |
9. Warranty and Support
For warranty information and customer support, please refer to the documentation included with your purchase or visit the official Juki website. Keep your proof of purchase for warranty claims.