1. Introduction
Thank you for purchasing the Austepax Portable Bluetooth CD Player KC-718. This manual provides detailed instructions for the proper setup, operation, and maintenance of your device. Please read this manual thoroughly before use to ensure optimal performance and longevity of the product. Keep this manual for future reference.
2. Product Overview
2.1 Package Contents
Verify that all items are present in the package:
- CD player x 1
- Remote control x 1
- 5V-2A USB adaptor x 1
- User Manual x 1
- 3.5mm male-to-male audio cable x 1
- 2.3m dedicated power cord x 1
2.2 Device Components and Controls
Familiarize yourself with the various parts and controls of your CD player.

Image 2.2.1: Front and side view of the Austepax CD Player with labels indicating the CD dust cover, CD lid, loudspeaker, mode switch, volume controls, previous/next buttons, DC-5V IN port, USB port, AUX port, and LED display.
The device features an LED display for mode indication and various ports for connectivity. The main controls are located on the top/side of the unit, and a remote control is included for convenient operation.

Image 2.2.2: The Austepax Portable Bluetooth CD Player shown alongside its remote control, highlighting its compact design.
3. Setup
3.1 Power Connection
- Connect the dedicated power cord to the DC-5V IN port on the CD player.
- Plug the 5V-2A USB adaptor into a standard wall outlet.
- The device will power on, and the LED display will illuminate.
3.2 Initial Placement
Place the CD player on a stable, flat surface. Ensure there is adequate ventilation around the unit. Avoid placing it near heat sources or in direct sunlight.
4. Operating Instructions
4.1 General Controls
- Mode Switch: Press to cycle through available modes: CD, Bluetooth, FM, AUX, USB, TF. The current mode will be shown on the LED display.
- Volume +/-: Adjusts the playback volume.
- Previous/Next: Skips to the previous or next track/station depending on the mode.
- Play/Pause: Starts or pauses playback.
- Stop: Stops playback.
4.2 CD Playback
- Open the CD lid.
- Carefully place a CD (compatible formats: CD, CD-R, CD-RW, MP3, WMA) onto the spindle with the label side facing up.
- Close the CD lid.
- Press the Mode button until 'CD' appears on the LED display.
- The player will automatically read the disc and begin playback. If not, press the Play/Pause button.
4.3 Bluetooth Mode
The CD player supports Bluetooth 5.1 for both transmitting and receiving audio.

Image 4.3.1: Diagram illustrating the Bluetooth 5.1 capabilities of the Austepax CD Player, functioning as both a receiver for mobile devices and a transmitter for Bluetooth headphones or speakers.
4.3.1 As a Bluetooth Receiver
To play audio from your mobile phone, tablet, or laptop through the CD player's speakers:
- Press the Mode button until 'BLUE' appears on the LED display. The device will enter pairing mode.
- On your mobile device, enable Bluetooth and search for available devices.
- Select 'KC-718' (or similar name) from the list to pair.
- Once paired, you can play audio from your mobile device, and it will output through the CD player's speakers.
4.3.2 As a Bluetooth Transmitter
To transmit audio from the CD player (e.g., CD playback) to Bluetooth headphones or speakers:
- Ensure your Bluetooth headphones/speaker are in pairing mode.
- Press the Mode button on the CD player until 'BLUE' appears.
- The CD player will automatically search for and connect to nearby Bluetooth audio devices.
- Once connected, audio from the CD player will be transmitted to your Bluetooth headphones/speaker.
4.4 FM Radio
The CD player includes an FM radio function (76MHz-108MHz).

Image 4.4.1: The Austepax CD Player displaying an FM radio frequency, indicating its radio functionality.
- Press the Mode button until 'FM' and a frequency appear on the LED display.
- Use the Previous/Next buttons to manually tune to a station.
- To auto-scan and save stations, press and hold the Play/Pause button. The player will scan and store available FM stations.
4.5 AUX Mode
Connect external audio devices using the provided 3.5mm audio cable.
- Connect one end of the 3.5mm audio cable to the AUX port on the CD player.
- Connect the other end to the audio output jack of your external device (e.g., smartphone, MP3 player).
- Press the Mode button until 'LINE' appears on the LED display.
- Play audio from your external device.
4.6 USB/TF Card Playback
Play audio files directly from a USB flash drive or TF (Micro SD) card.
- Insert a USB flash drive into the USB port or a TF card into the TF card slot.
- Press the Mode button until 'USB' or 'TF' appears on the LED display.
- The player will automatically detect and begin playing compatible audio files (e.g., MP3, WMA).
4.7 Timer Function (Sleep/Wake)
The remote control allows you to set sleep and wake timers.

Image 4.7.1: The Austepax CD Player positioned on a nightstand, illustrating its sleep/wake timer functionality for personalized audio experiences.
4.7.1 Setting a Sleep Timer
While playing music, press the 'TIMER' button on the remote control repeatedly to cycle through preset sleep times (e.g., 15, 30, 60, 90 minutes). The player will automatically turn off after the selected duration.
4.7.2 Setting a Wake Timer
Refer to the remote control section for specific instructions on setting a wake-up alarm, which allows the player to start playing at a designated time.
4.8 Remote Control
The included remote control provides full functionality for operating the CD player from a distance.
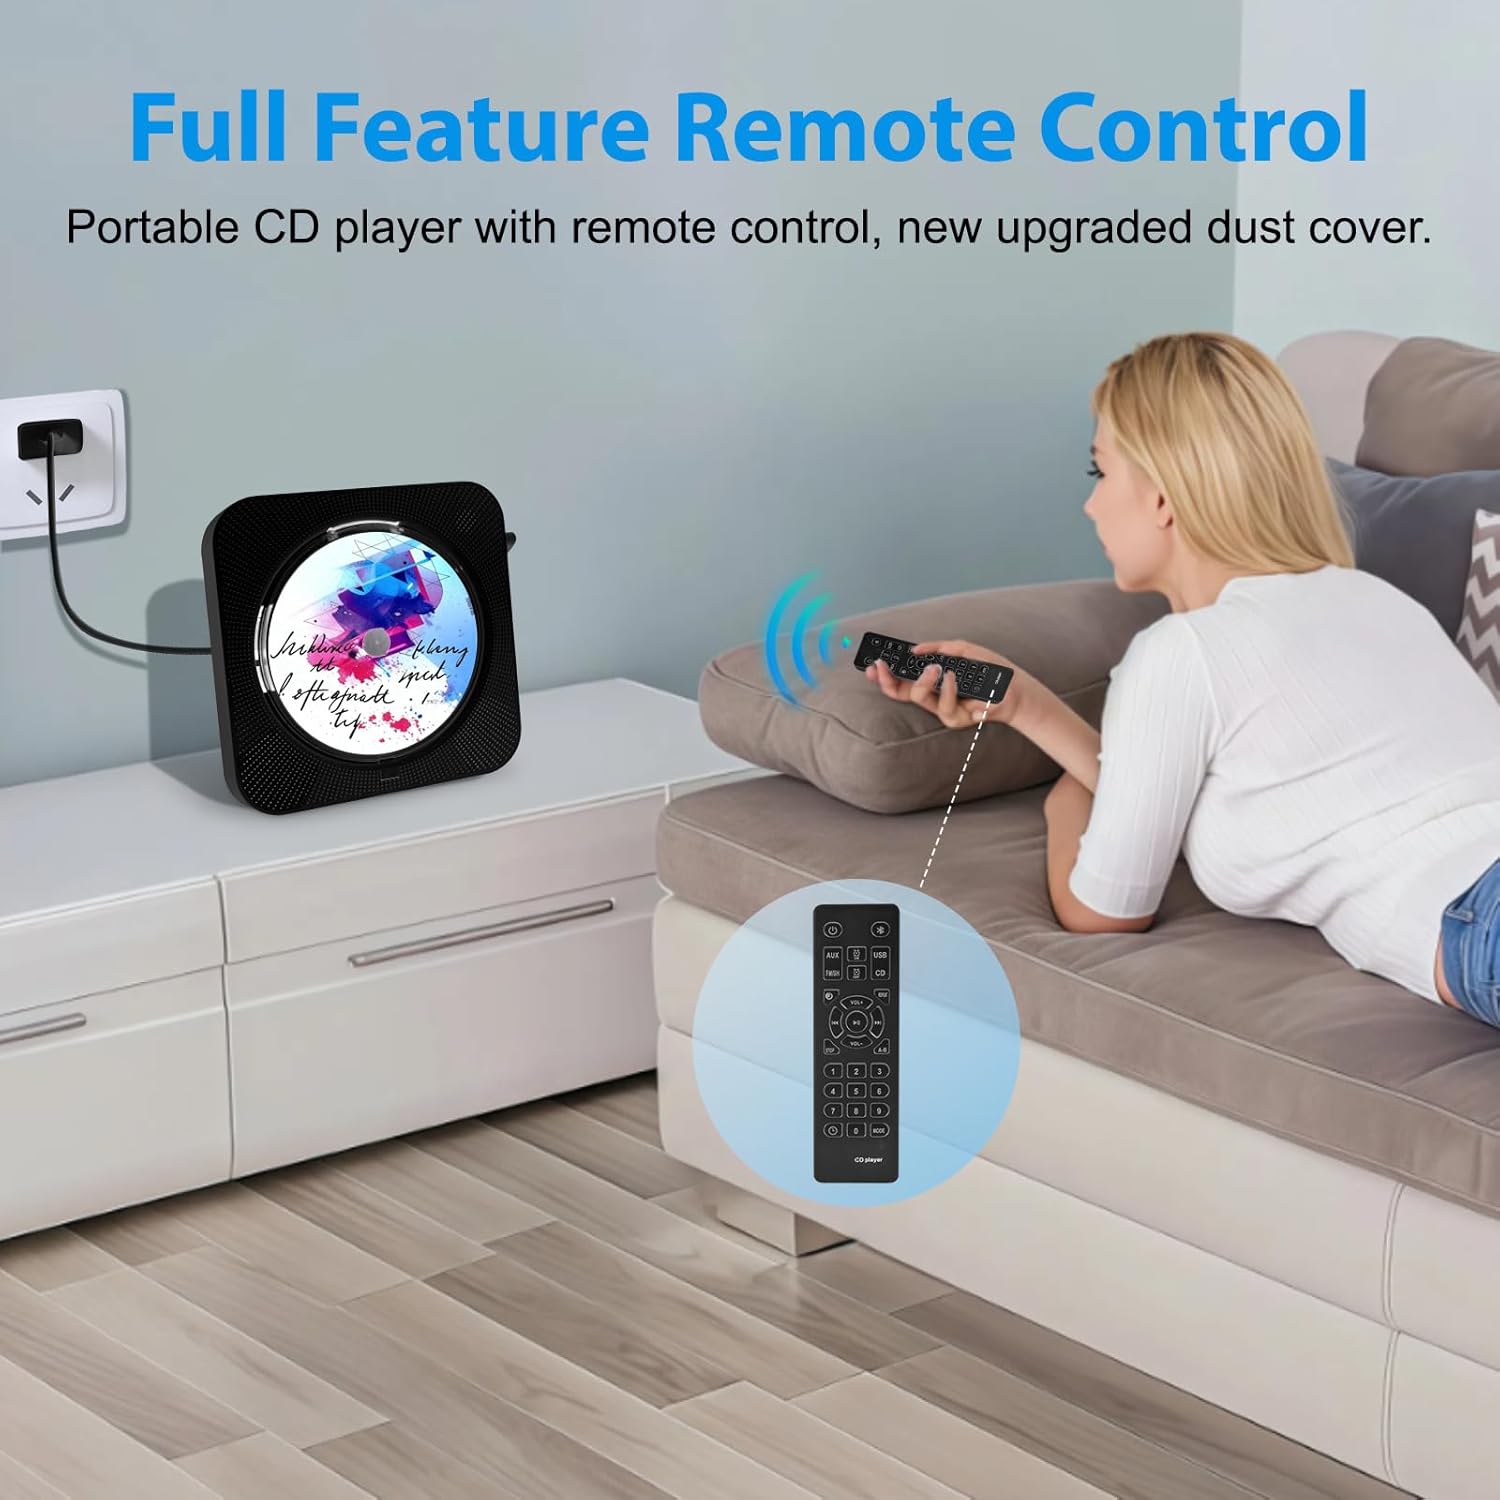
Image 4.8.1: A user operating the Austepax CD Player with its remote control from a comfortable distance.
Buttons on the remote include:
- Power: Turns the unit on/off.
- Mode (AUX, USB, FM, CD, Bluetooth): Direct selection of playback modes.
- Volume +/-, Previous/Next, Play/Pause, Stop: Standard playback controls.
- Repeat: Cycles through repeat modes (e.g., repeat one, repeat all, random).
- EQ: Adjusts equalizer settings (if available).
- Timer: Sets sleep timer.
- Numeric Buttons (0-9): For direct track selection on CD/USB/TF or FM station input.
5. Maintenance
5.1 Cleaning
- Always unplug the device before cleaning.
- Use a soft, dry cloth to wipe the exterior of the unit.
- For stubborn marks, lightly dampen the cloth with water; avoid harsh chemicals or abrasive cleaners.
- To clean the CD lens, use a specialized CD lens cleaner disc. Do not touch the lens directly.
5.2 CD Handling
- Handle CDs by their edges to avoid fingerprints and scratches.
- Store CDs in their cases when not in use.
- Do not expose CDs to direct sunlight or extreme temperatures.
6. Troubleshooting
If you encounter issues with your CD player, refer to the following table for common problems and solutions.
| Problem | Possible Cause | Solution |
|---|---|---|
| No power | Power cord not connected properly; Power outlet not working. | Ensure power cord is securely connected. Try a different power outlet. |
| CD not playing / Skipping | CD is dirty or scratched; CD inserted incorrectly; Incompatible CD format. | Clean the CD with a soft cloth. Reinsert the CD correctly. Ensure CD format is supported (CD, CD-R, CD-RW, MP3, WMA). |
| No sound | Volume too low; Mute activated; Incorrect mode selected. | Increase volume. Check if mute is active. Ensure correct playback mode (CD, Bluetooth, AUX, etc.) is selected. |
| Bluetooth pairing failure | Device too far; Bluetooth not enabled on external device; Incorrect pairing procedure. | Ensure devices are within range. Enable Bluetooth on your external device. Follow pairing instructions in Section 4.3. |
| FM radio static | Weak signal; Interference. | Adjust the player's position. Try auto-scanning for stronger signals. |
7. Specifications
- Model Number: KC-718
- Product Dimensions: 7.44 x 7.44 x 2.8 inches
- Item Weight: 1.6 pounds
- Brand: Austepax
- Color: Black
- Connectivity Technology: USB, Bluetooth 5.1, AUX
- Supported CD Formats: CD, CD-R, CD-RW, MP3, WMA
- FM Radio Frequency: 76MHz - 108MHz
- Power Input: 5V-2A
8. Warranty and Support
For warranty information or technical support, please refer to the contact details provided with your purchase documentation or visit the official Austepax website. Please retain your proof of purchase for any warranty claims.