1. Introduction
Thank you for purchasing the Generic Mini 3-Key USB Programmable Mechanical Gaming Keypad. This compact and versatile keypad is designed for enhanced gaming and productivity, featuring hot-swappable Cherry Red switches and customizable RGB backlighting. This manual provides detailed instructions to help you set up, operate, and maintain your new keypad.
2. Package Contents
Please verify that all items listed below are included in your package:
- 1 x Mini 3-Key Black Keypad
- 1 x Shaft-Puller (Keycap/Switch Puller)
- 1 x 1.5M USB Data Cable
- 1 x Instruction Manual (this document)

Image: The Mini 3-Key Keypad, USB cable, and a shaft-puller are included in the package.
3. Setup
- Connect the Keypad: Insert the micro-USB end of the provided USB data cable into the port on the side of the Mini 3-Key Keypad. Connect the standard USB-A end to an available USB port on your computer.

Image: Side view of the keypad with the USB cable connected to the micro-USB port.
- Automatic Recognition: The keypad is a standard Human Interface Device (HID) and should be automatically recognized by your operating system (Windows, macOS, Linux) without requiring additional drivers.
- Software Installation (for Programming): To customize key functions and RGB lighting, you will need to download and install the dedicated programming software. This software is typically provided by the manufacturer or available for download from their support website. (Please refer to the software's instructions for installation.)
- Cross-Platform Compatibility: The keypad saves programmed instructions directly to its internal memory. Once programmed on a Windows system, the custom settings will function on macOS or Linux systems without needing the software installed on those operating systems.
4. Operating Instructions
4.1. Key Programming and Macros
The Mini 3-Key Keypad is fully programmable, allowing you to assign custom functions, macros, and even mouse simulations to each of its three keys. The programming application features an understandable English interface for ease of use.
- Launch the Software: Open the dedicated programming application on your Windows computer.
- Select a Key: Within the software interface, select the key you wish to program.
- Assign Function: Choose from various options:
- Standard Key: Assign a single keyboard key (e.g., 'A', 'Enter', 'Shift').
- Macro: Record a sequence of keystrokes and delays.
- Mouse Function: Simulate mouse clicks (left, right, middle) or movements.
- Multimedia Controls: Play/Pause, Volume Up/Down, etc.
- Save to Device: After configuring your desired functions, ensure you save the settings to the keypad's onboard memory through the software. This ensures your custom settings persist even when the keypad is connected to a different computer or after a restart.

Image: A user interacting with the keypad, demonstrating the illuminated keys.
4.2. RGB Backlighting Control
The keypad features customizable RGB backlighting. You can control the light color and gradient modes using the programming software.
- Access Lighting Settings: Within the programming software, navigate to the lighting or RGB settings section.
- Customize Effects: Choose from various options such as:
- Static color for each key or the entire keypad.
- Dynamic lighting effects (e.g., breathing, wave, ripple).
- Adjust brightness and speed of effects.
- Apply Settings: Apply and save your preferred lighting configuration through the software.

Image: The keypad displaying a multi-color RGB lighting effect.
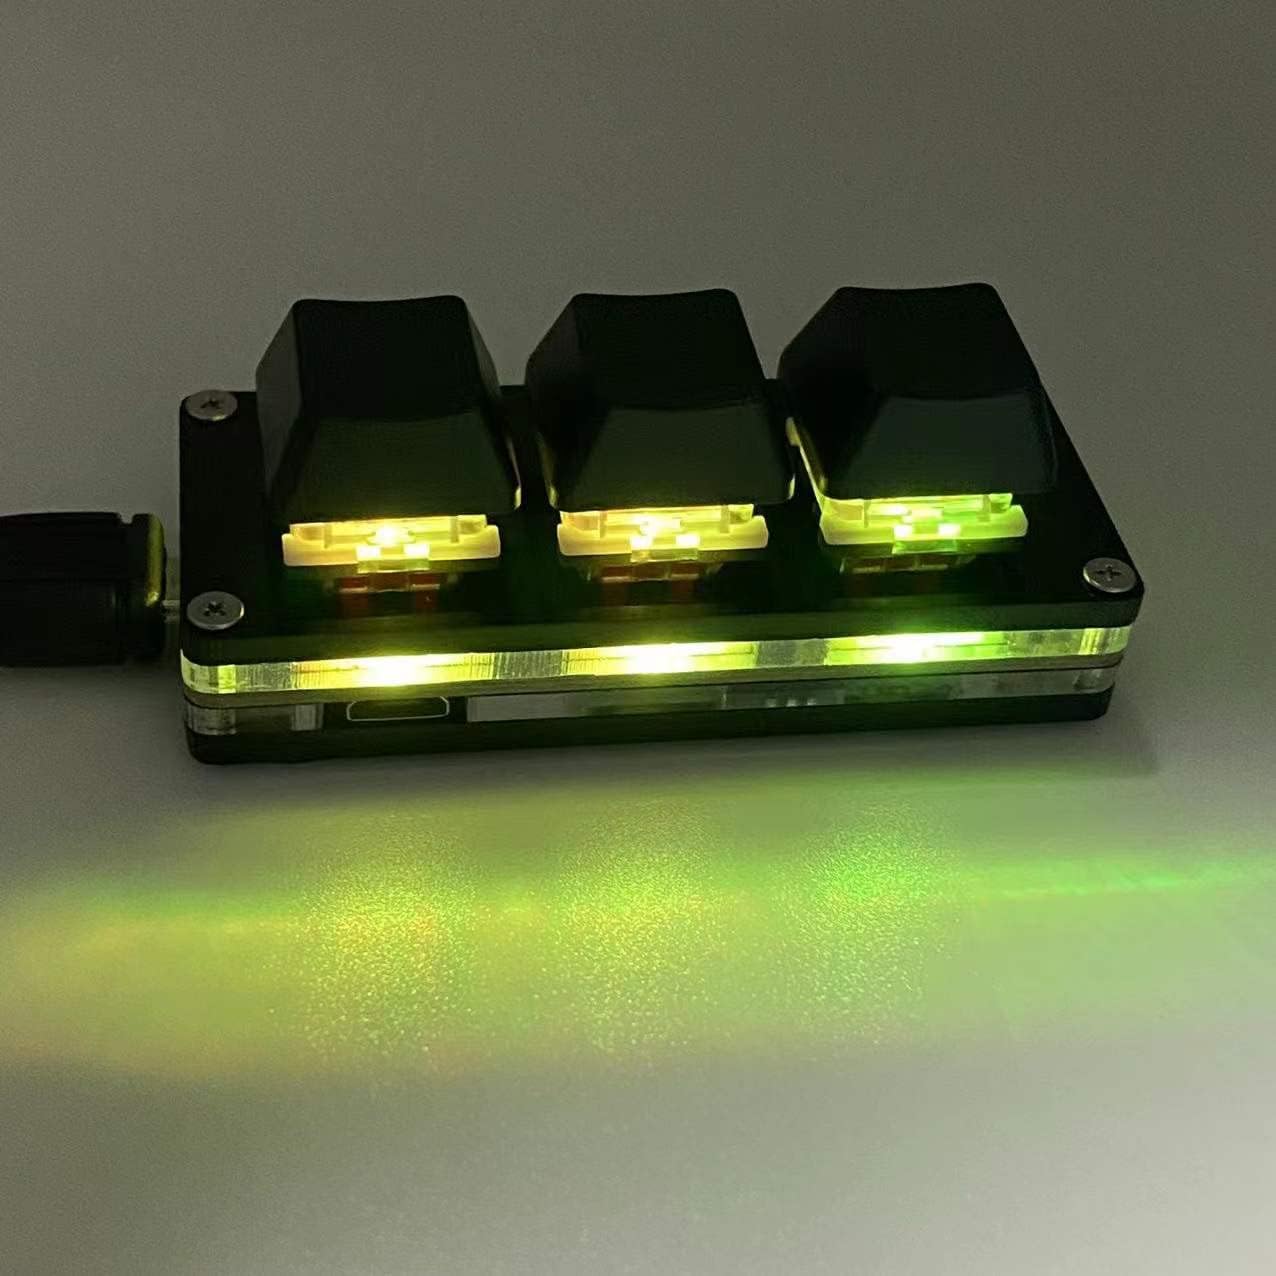
Image: The keypad displaying a uniform green RGB lighting effect.

Image: The keypad displaying a purple and red RGB lighting effect.
5. Maintenance
Proper maintenance ensures the longevity and optimal performance of your keypad.
- Cleaning: Use a soft, dry cloth to wipe the surface of the keypad. For stubborn dirt, a slightly damp cloth with mild soap can be used, ensuring no liquid enters the device.
- Keycap Removal: The provided shaft-puller can be used to carefully remove keycaps for cleaning or switch replacement. Gently hook the puller onto the keycap and pull upwards.
- Switch Replacement: The keypad features hot-swappable switches. If a switch needs replacement, use the shaft-puller to carefully remove the keycap, then use the same tool or a switch puller to gently extract the switch. Align the pins of the new switch with the sockets and press firmly until it clicks into place.

Image: A close-up view of a Cherry Red mechanical switch, illustrating its design.
- Storage: When not in use for extended periods, store the keypad in a clean, dry environment away from direct sunlight and extreme temperatures.
6. Troubleshooting
If you encounter issues with your keypad, please refer to the following common solutions:
| Problem | Possible Solution |
|---|---|
| Keypad not recognized by computer. |
|
| Keys are not performing assigned functions. |
|
| RGB lighting is not working or incorrect. |
|
| A key is not responding. |
|
7. Specifications
| Model Name | Sayo Device 3-Key / Soyo Device 3-Key |
| Product Dimensions | 2.8 x 1.2 x 1.1 inches (7.1 x 3.0 x 2.8 cm) |
| Item Weight | 1.4 ounces (40 grams) |
| Switches | Hot-swappable Cherry Red Mechanical Switches |
| Connectivity | USB (Micro-USB to USB-A cable included) |
| Backlighting | RGB Backlit, customizable via software |
| Material | Plastic |
| Compatible Operating Systems | Windows 10 (for programming), macOS, Linux (for use after Windows programming) |
| Included Components | Mini 3-Key Keypad, USB Cable, Shaft-Puller |
| Manufacturer | Newhui |
8. Warranty and Support
For any problems or inquiries regarding your Generic Mini 3-Key Keypad, please contact the seller or manufacturer's customer support. They will assist you with troubleshooting, warranty claims, and any other product-related concerns as quickly as possible.
Please retain your purchase receipt for warranty purposes.


