
NIFER CT-1380WR
NIFER Replacement Belts for Pioneer CT-1380WR Dual/Double Cassette Player Deck
Instruction Manual
Introduction
This manual provides instructions for the proper installation and maintenance of NIFER replacement belts for the Pioneer CT-1380WR Dual/Double Cassette Player Deck. These belts are designed to restore optimal performance to your cassette deck by replacing worn or broken drive belts. Please read all instructions carefully before proceeding with installation.
Safety Information
Always prioritize safety when working with electronic devices. Failure to follow these safety guidelines may result in injury or damage to the equipment.
- Disconnect Power: Before beginning any installation or maintenance, ensure the Pioneer CT-1380WR cassette deck is completely unplugged from the power outlet.
- Static Discharge: Discharge any static electricity from your body by touching a grounded metal object before handling internal components.
- Handle with Care: Internal components can be delicate. Handle circuit boards and wires gently to avoid damage.
- Professional Assistance: If you are uncomfortable or unfamiliar with disassembling electronic equipment, seek assistance from a qualified technician.
- Keep Away from Children: Small parts can be a choking hazard. Keep replacement belts and tools out of reach of children.
Setup and Installation
This section outlines the general steps for replacing the drive belts in your Pioneer CT-1380WR cassette deck. Specific disassembly procedures may vary slightly depending on the exact unit. Refer to the original service manual for your Pioneer CT-1380WR if available for detailed disassembly instructions.
Tools Required
- Small Phillips head screwdriver
- Small flathead screwdriver (for prying, if necessary)
- Tweezers or small pliers (for handling belts)
- Clean, lint-free cloth
- Isopropyl alcohol (for cleaning pulleys)
Installation Steps
- Prepare the Work Area: Choose a clean, well-lit, and static-free workspace. Lay down a soft cloth or mat to protect the cassette deck and its components.
- Disconnect Power: Ensure the cassette deck is unplugged from the wall outlet.
- Remove Outer Casing: Carefully remove the screws securing the outer casing of the Pioneer CT-1380WR. Note the location of each screw for reassembly. Gently lift and remove the casing.
- Locate Drive Mechanism: Identify the cassette drive mechanism. The belts are typically located around the motor, flywheels, and various pulleys.
- Document Existing Belts: Before removing old belts, take clear photos or make a diagram of how the existing belts are routed. This will be crucial for correct reinstallation.
- Remove Old Belts: Carefully remove the old, worn, or broken belts. Use tweezers if necessary. Note if any belt residue is present.
- Clean Pulleys: Use a lint-free cloth dampened with isopropyl alcohol to thoroughly clean all pulleys and surfaces where the new belts will sit. Remove any old belt residue or grime. Allow to dry completely.
- Install New Belts: Using your photos or diagram, carefully route and install the new NIFER replacement belts onto the appropriate pulleys. Ensure the belts are not twisted and sit correctly in their grooves. The kit includes 3 belts for the Pioneer CT-1380WR.
- Verify Belt Tension: Gently rotate the flywheels by hand to ensure the new belts move smoothly and have appropriate tension. They should be snug but not overly tight, allowing for free movement.
- Test Functionality (Before Reassembly): Temporarily connect the power cord and briefly power on the unit to observe if the motor and flywheels rotate correctly. Do not touch internal components while powered on. Disconnect power immediately after this brief test.
- Reassemble Casing: Once satisfied with the belt installation, carefully reattach the outer casing, ensuring all screws are tightened securely but not overtightened.
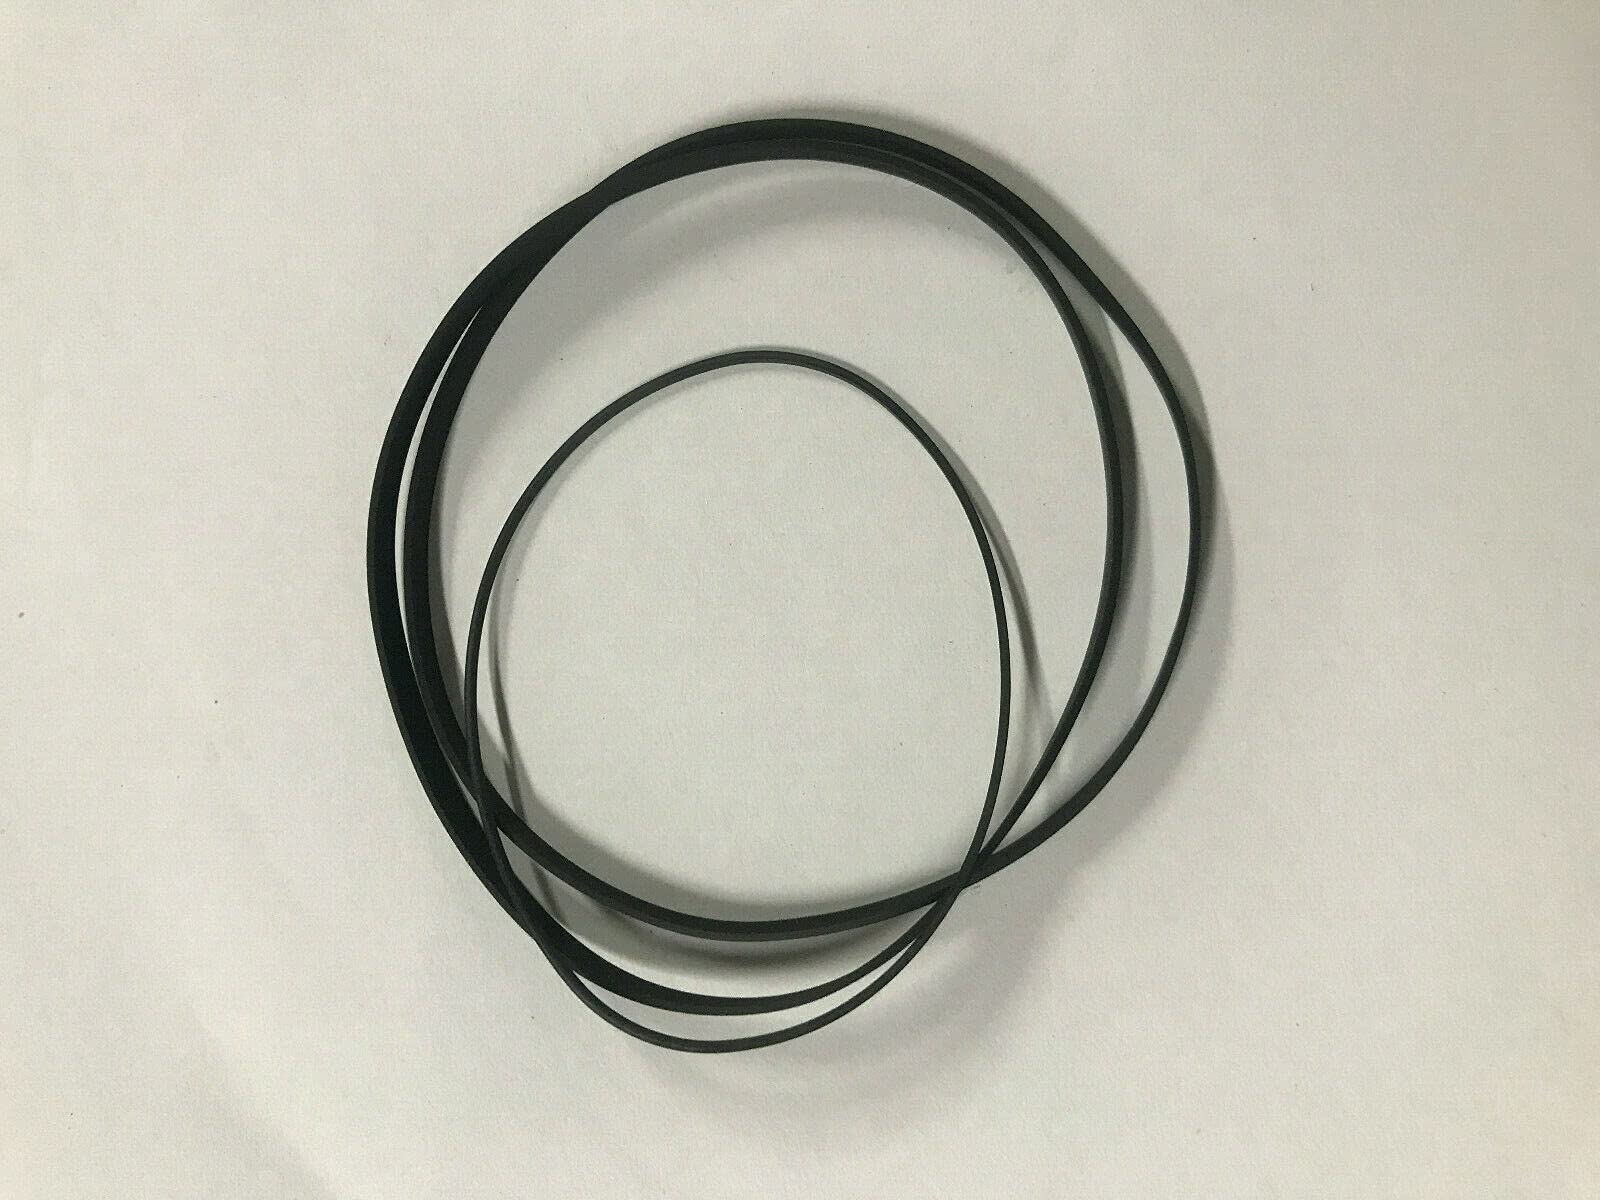
Image: NIFER replacement drive belts. This image shows the three new belts that will replace the old ones in your cassette deck.
Post-Installation Check and Operation
After successfully installing the new belts and reassembling your Pioneer CT-1380WR, perform the following checks to ensure proper operation.
- Power On: Connect the cassette deck to a power outlet and turn it on.
- Insert Cassette: Insert a known good audio cassette into both Deck A and Deck B.
- Test Playback: Press the PLAY button for both decks. Listen for consistent tape speed and clear audio. Check for any wow or flutter (speed variations).
- Test Fast Forward/Rewind: Test the fast forward (FF) and rewind (REW) functions for both decks. The tape should move smoothly and at an appropriate speed.
- Test Recording (if applicable): If your deck has recording capabilities, test this function to ensure proper tape movement during recording.
- Observe Mechanical Noise: Listen for any unusual grinding, squeaking, or excessive mechanical noise during operation.
If any issues are observed, refer to the Troubleshooting section.
Maintenance
Proper maintenance can extend the life of your cassette deck and its new belts.
- Regular Cleaning: Periodically clean the tape heads, capstans, and pinch rollers with a specialized tape head cleaner or isopropyl alcohol and cotton swabs. This prevents tape residue buildup that can affect belt performance and tape path.
- Dust Prevention: Keep the cassette deck covered when not in use to prevent dust accumulation, which can interfere with mechanical parts and belts.
- Belt Inspection: If you notice any performance degradation, you may need to open the deck again to visually inspect the belts for signs of wear, stretching, or slippage.
- Avoid Extreme Temperatures: Store and operate the cassette deck in a stable environment, avoiding extreme temperature fluctuations, which can affect rubber belt elasticity.
Troubleshooting
If you encounter issues after installing the replacement belts, consider the following common problems and solutions:
| Problem | Possible Cause | Solution |
|---|---|---|
| Tape not moving or moving slowly | Belts incorrectly installed, twisted, or slipped off pulleys. Pulleys are dirty. | Re-open the deck, verify belt routing against your diagram/photos. Clean pulleys thoroughly with isopropyl alcohol. |
| Wow and Flutter (unstable tape speed) | Belts not seated correctly, uneven tension, or dirty capstan/pinch roller. | Check belt seating. Clean capstan and pinch rollers. Ensure belts are not rubbing against other components. |
| No sound or distorted sound | Dirty tape heads. Incorrect wiring (if any was disturbed). | Clean tape heads. Recheck any connections that may have been loosened during installation. |
| Unusual mechanical noise | Belt rubbing, foreign object inside, or other mechanical issue. | Carefully inspect the interior for any obstructions or misaligned parts. Ensure belts are not touching other components. |
If troubleshooting steps do not resolve the issue, professional service may be required.
Specifications
- Product: Replacement Drive Belts
- Brand: NIFER
- Compatibility: Pioneer CT-1380WR Dual/Double Cassette Player Deck
- Quantity: 3 Belts per set
- Part Number (Mfr): bel2112250715
- ASIN: B09PD1T775
Warranty and Support
As an aftermarket replacement part, specific warranty details may vary. Please refer to the seller or manufacturer (NIFER) for information regarding warranty coverage and return policies.
For technical support or inquiries regarding these replacement belts, please contact the NIFER customer service department through the platform where the purchase was made.
Ask a question about this manual
Ask about setup, troubleshooting, compatibility, parts, safety, or missing instructions. Manuals+ will review the question and use this page’s manual context to help answer it.