Introduction
Thank you for choosing the Abask Dashcam J05. This manual provides detailed instructions on how to set up, operate, and maintain your dashcam to ensure optimal performance and safety. Please read this manual thoroughly before using the device.
Package Contents
Upon opening the package, please verify that all items listed below are present and in good condition:
- Abask Dashcam J05 Unit
- Windshield Suction Mount
- Car Charger (Cigarette Lighter Adapter)
- 32GB Micro SD Card
- User Manual (This document)

Image: The Abask Dashcam J05 unit, including the main camera, suction cup mount, and a 32GB Micro SD card.
Product Overview
The Abask Dashcam J05 features dual cameras for simultaneous front and interior recording, a compact design, and essential safety features.
Key Components:
- Front Lens: Records the road ahead (170° wide angle).
- Interior Lens: Records the vehicle cabin (140° wide angle) with IR night vision.
- Display Screen: 1.5-inch screen for live view and menu navigation.
- Control Buttons: Power, Menu, OK, Up/Down navigation.
- Microphone: Records audio inside the cabin.
- Speaker: For playback audio and alerts.
- Micro SD Card Slot: Supports up to 64GB (32GB card included).
- Mini USB Port: For power supply.
Setup Instructions
- Insert Micro SD Card: Gently insert the provided 32GB Micro SD card into the card slot until it clicks into place. Ensure the card is inserted correctly to avoid damage.
- Attach Suction Mount: Secure the suction mount to the dashcam unit. Choose a location on your windshield that does not obstruct your view of the road. Press the suction cup firmly against the glass and flip the lever to lock it in place.
- Connect Power: Plug the car charger into your vehicle's cigarette lighter socket. Connect the Mini USB cable from the charger to the dashcam's Mini USB port. The dashcam will automatically power on and begin recording when the vehicle's ignition is turned on.
- Adjust Camera Angle: Adjust the front and interior lenses to ensure they cover the desired viewing areas. The front lens should capture the road ahead, and the interior lens should cover the cabin.

Image: Illustration of the dashcam mounted on the windshield and the power cable routed neatly along the car's interior.
Important Note: The dashcam requires continuous power from the car's cigarette lighter to function correctly during driving. The built-in 200mAh battery is for emergency power only (1-2 minutes) and not for continuous operation.
Operating Instructions
Basic Operation:
- Power On/Off: The dashcam powers on automatically with vehicle ignition and powers off when the ignition is turned off. You can manually power on/off by pressing and holding the Power button.
- Recording: Once powered on, the dashcam automatically starts recording. A red indicator light or icon on the screen typically confirms recording is active.
- Menu Navigation: Press the MENU button to access settings. Use the UP/DOWN buttons to navigate and OK to confirm selections.
- Playback: In standby mode, press the MENU button to enter playback mode. Select the desired video file and press OK to play.
Dual Camera Recording:
The Abask J05 records simultaneously from both the front and interior cameras, providing a comprehensive view of your journey and cabin activity.

Image: A visual representation of the dual 1080p HD video recording capability, capturing both the road ahead and the vehicle's interior.
Key Features Explained
Super Night Vision:
Equipped with 1080p recording and HDR technology, the dashcam ensures clear and accurate video quality even in low-light conditions. The interior camera features 4 discreet infrared (IR) lights to capture clear video inside the cabin during darkness, making it suitable for night driving.

Image: Depiction of the dashcam's Super Night Vision feature, showing clear video capture in a dark environment with IR LED lights, dual 1080p, and HDR icons.
310° Wide-Angle Field of View:
The front lens offers a 170-degree wide-angle view, covering both sides of the front of the car without blind spots. The interior lens provides a 140-degree view, sufficient to capture the entire cabin and its occupants.

Image: A diagram illustrating the 310° total wide-angle field of view, composed of a 170° front camera view and a 140° interior camera view.
Loop Recording & G-Sensor:
- Loop Recording: The dashcam continuously records video. When the Micro SD card is full, it automatically overwrites the oldest unlocked video files to make space for new recordings.
- G-Sensor: The built-in G-sensor detects sudden impacts or collisions. In such an event, it automatically locks the current video segment, preventing it from being overwritten by loop recording. These locked files serve as crucial evidence.

Image: A visual explanation of G-Sensor and Loop Recording, showing how video files are overwritten, and important files are locked during an impact.
24-Hour Parking Monitoring & Motion Detection:
With parking monitoring activated, the dashcam can record when your car is parked and detects an impact or motion. This feature helps protect your vehicle from vandalism or hit-and-runs while unattended.
Note: To utilize the 24-hour parking monitoring feature, a separate "Dash Cam Hardwire Kit Mini USB" is required (not included) to provide continuous power to the dashcam when the vehicle is off.
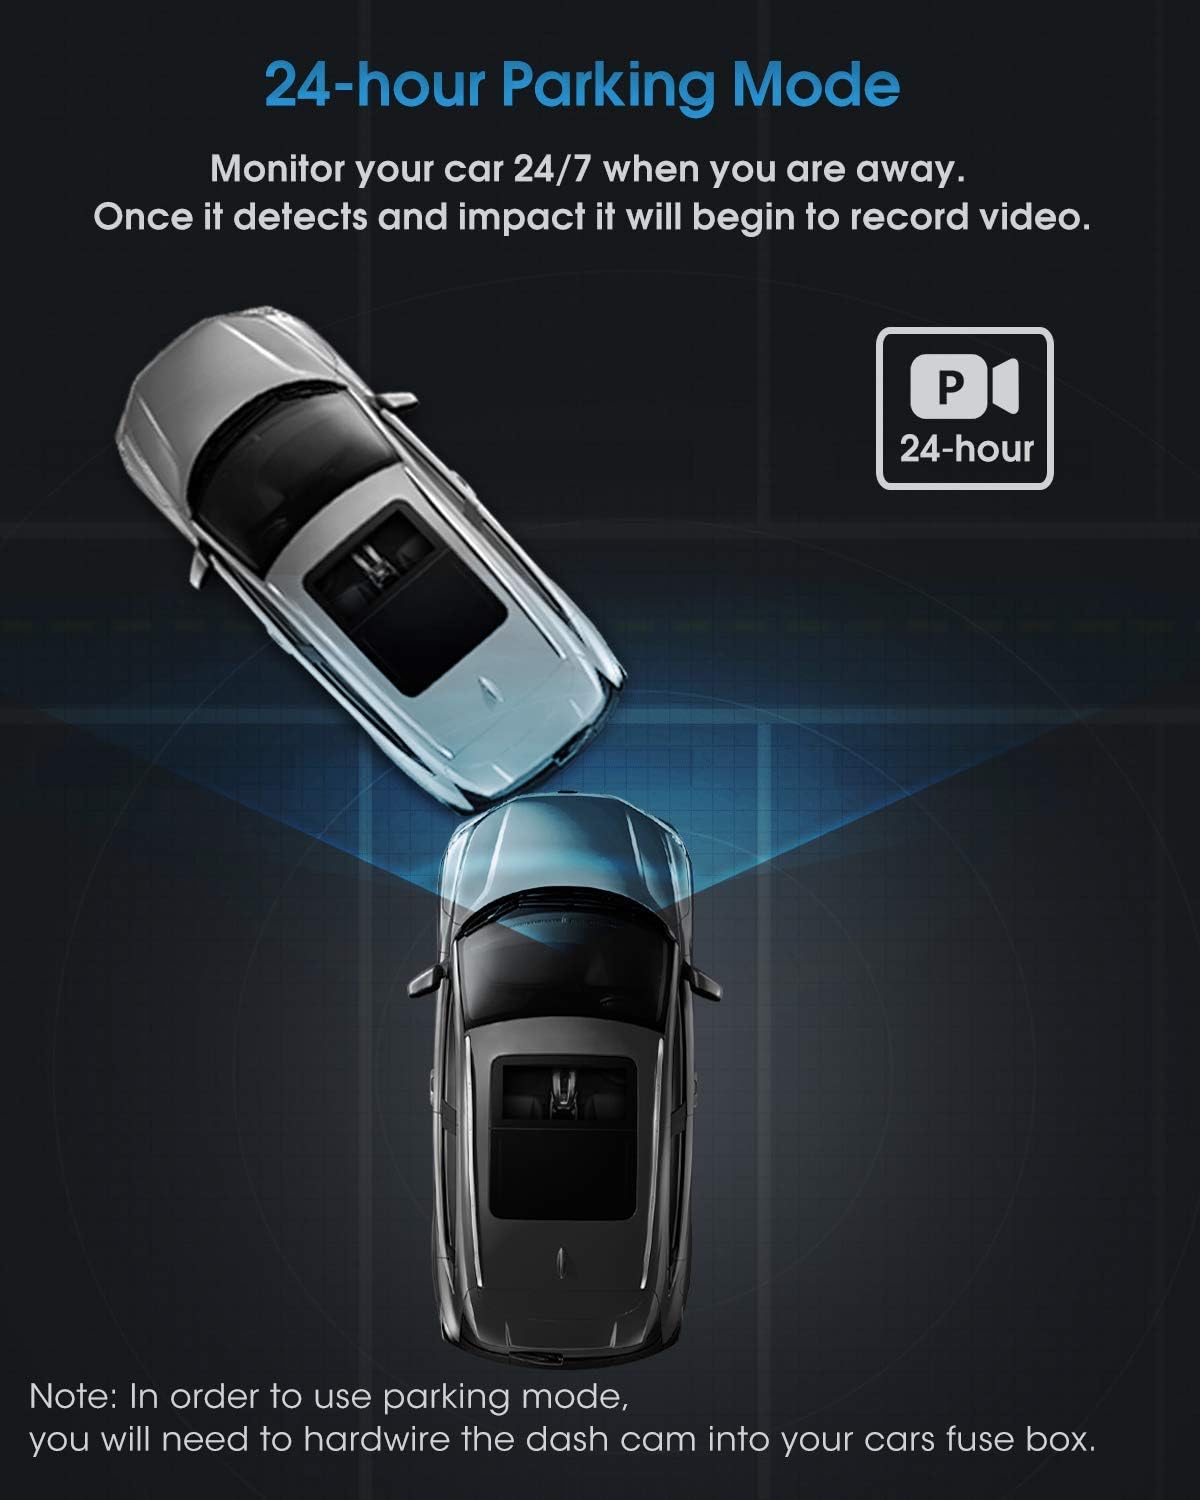
Image: An overhead view illustrating the 24-hour parking mode, showing the dashcam monitoring the vehicle for impacts.
Maintenance
- Clean Lenses: Regularly clean the camera lenses with a soft, lint-free cloth to ensure clear video quality. Avoid abrasive materials.
- Micro SD Card: Format the Micro SD card periodically (e.g., once a month) through the dashcam's menu to maintain optimal recording performance and prevent data corruption. Back up any important files before formatting.
- Temperature: Avoid exposing the dashcam to extreme temperatures for extended periods, as this can affect battery life and device performance.
- Firmware Updates: Check the official Abask website for any available firmware updates to improve performance and add new features.
Troubleshooting
| Problem | Possible Cause / Solution |
|---|---|
| Dashcam does not power on. |
|
| Recording stops or freezes. |
|
| Video quality is poor or blurry. |
|
| Parking Monitor does not work. |
|
Specifications
| Brand | ABASK |
| Model Number | J05 |
| Color | Black |
| Screen Size | 1.5 inches |
| Video Resolution | Dual 1080p (Front & Interior) |
| Front Lens Field of View | 170 degrees |
| Interior Lens Field of View | 140 degrees |
| Special Features | G-Sensor, Night Vision (IR), Loop Recording, Parking Monitor, Motion Detection |
| Storage | Supports Micro SD card up to 64GB (32GB included) |
| Battery | Built-in 200mAh Lithium-ion (for emergency power) |
| Mounting Type | Windshield Suction Mount |
Safety Information
- Do not operate the dashcam or adjust settings while driving. Always pull over safely before making any adjustments.
- Ensure the dashcam is installed in a location that does not obstruct your view of the road or interfere with airbag deployment.
- Use only the original car charger provided or a compatible Mini USB hardwire kit for power. Using incompatible chargers may damage the device.
- Keep the device away from water, moisture, and direct sunlight for prolonged periods.
- Do not attempt to disassemble or repair the dashcam yourself. Contact customer support for assistance.
Warranty and Support
Abask products come with a standard manufacturer's warranty. For specific warranty details, technical support, or service inquiries, please refer to the warranty card included in your package or visit the official Abask website. Please have your model number (J05) and purchase information ready when contacting support.
Manufacturer: ABASK
ASIN: B09PBS7DSP


