1. Introduction
The AlphaRex NOVA-Series full LED headlights are designed to enhance visibility and aesthetics for your vehicle. These headlights feature patented Ice Cube 3D LED projectors with Osram Oslon black flat LED chips, ensuring a precise projection cut-off line compliant with American LHD regulations. They include a signature activation light feature, which provides a sequential light show upon vehicle ignition, along with a white DRL light tube. Amber reflector lenses and halogen light bulbs for turn signals are integrated for safety.
The headlight lenses are made of polycarbonate plastic and treated with an anti-fog agent for clear light output in various weather conditions. An additional coating protects against yellowing and oxidation. All NOVA-Series projector headlights comply with SAE and DOT FMVSS108 regulations and are certified to ISO-9000, ISO-9001, and ISO-9002 standards.
2. Setup and Installation
This section outlines the general steps for installing your new AlphaRex NOVA-Series Projector Headlights. While these instructions provide a comprehensive guide, professional installation is recommended.
2.1 Tools Recommended
- Trim Pad Remover
- 1/4" Drive Ratchet
- 10mm Socket
- 8mm Socket
- Plastic Pry Bar
- Phillips Head Screwdriver
2.2 Pre-Installation Steps
Raise the Hood: Open your vehicle's hood to access the engine bay.

Image: Front view of a white Dodge Ram truck with the hood open, showing the engine bay.
Remove Radiator Cover: Use a trim pad remover or panel popper to carefully remove the six plastic clips securing the top radiator cover. Once clips are removed, lift the cover off and set it aside.
Remove Front Grille: Locate and remove the four 10mm bolts securing the front grille at the top. Gently pull the grille outwards from the bottom to release any remaining clips. The grille should detach from the vehicle.
Access Headlight Retainer: Remove the two 8mm bolts located at the side of the front bumper. Pull out the wheel liner to gain access to the headlight retainer. Push up the retainer to unlock the factory headlight housing.
2.3 Headlight Removal
Remove Headlight Mounting Bolts: Remove the two 10mm headlight mounting bolts visible from the front.
Disconnect Headlight Harness: Carefully pull the factory headlight housing out. Disconnect the headlight harness by sliding up the red tab and depressing the main connector. Remove the signal light socket from the factory headlight by twisting and pulling. Remove the signal light bulb from the socket.

Image: Rear view of a removed factory headlight assembly, showing wiring harnesses and bulb sockets.
2.4 New Headlight Installation
Install Signal Light Socket: Install the signal light socket (from the factory headlight) into the signal wire plug of the new headlight housing. Ensure it is securely twisted into place.

Image: Close-up of the rear of the new headlight assembly, showing the signal light socket being installed.
Connect Headlight Harness: Connect the new headlight harness to the vehicle's wiring. Ensure all connections are secure. The new headlights come with a harness adapter for compatibility with different vehicle models (e.g., 2013+ models with a single connector, or older halogen versions).

Image: Close-up of wiring harnesses and connectors on the rear of the new headlight assembly.
Seat New Headlight Assembly: Carefully seat the new headlight assembly into its position in the vehicle. Align the body pin and push firmly until it clicks into place.
Lock Headlight Housing: From the wheel liner access hole, pull down the retainer to lock the headlight housing securely.
Reinstall Mounting Bolts: Reinstall the two 10mm mounting bolts at the front of the headlight.
Reinstall Wheel Liner: Reinstall the wheel liner and the two 8mm bolts at the side of the front bumper.
Reinstall Front Grille: Carefully reattach the front grille, ensuring all clips are engaged and the four 10mm mounting bolts at the top are secured.
Reinstall Radiator Cover: Place the radiator cover back into position and secure it with the six plastic clips.
Close Hood: Close the vehicle's hood to complete the physical installation.
2.5 Installation Videos
AmeriLite 2009-2018 Dodge RAM 1500 Headlight Installation
Video: Detailed installation guide for 2009-2018 Dodge RAM 1500 headlights, demonstrating removal of old lights and installation of new ones.
Partsam How to Install Led Headlights on a Dodge Ram
Video: Step-by-step instructions for installing LED headlights on a Dodge Ram, including grille and bumper removal.
GFORCE USA 2LHE-RAM09JM-SQ-RS Installation Video
Video: Installation process for 2LHE-RAM09JM-SQ-RS headlights, covering wiring and mounting.
3. Operating Instructions
The NOVA-Series headlights offer various lighting functions for optimal visibility and safety.
3.1 Lighting Functions
Activation Light Feature: Upon vehicle ignition, the headlights perform a sequential light show.
Daytime Running Lights (DRL): A white LED tube functions as the DRL, providing enhanced visibility during daylight hours.

Image: Close-up of the NOVA-Series headlight with white LED Daytime Running Lights (DRL) illuminated.
Low Beam: The quad projector design illuminates all four projectors for the low beam, providing a wide and clear light pattern for regular driving.

Image: Front view of the NOVA-Series headlight with low beam projectors illuminated.
High Beam: Built-in LEDs at the center of the projectors activate for high beam functionality, offering maximum illumination.
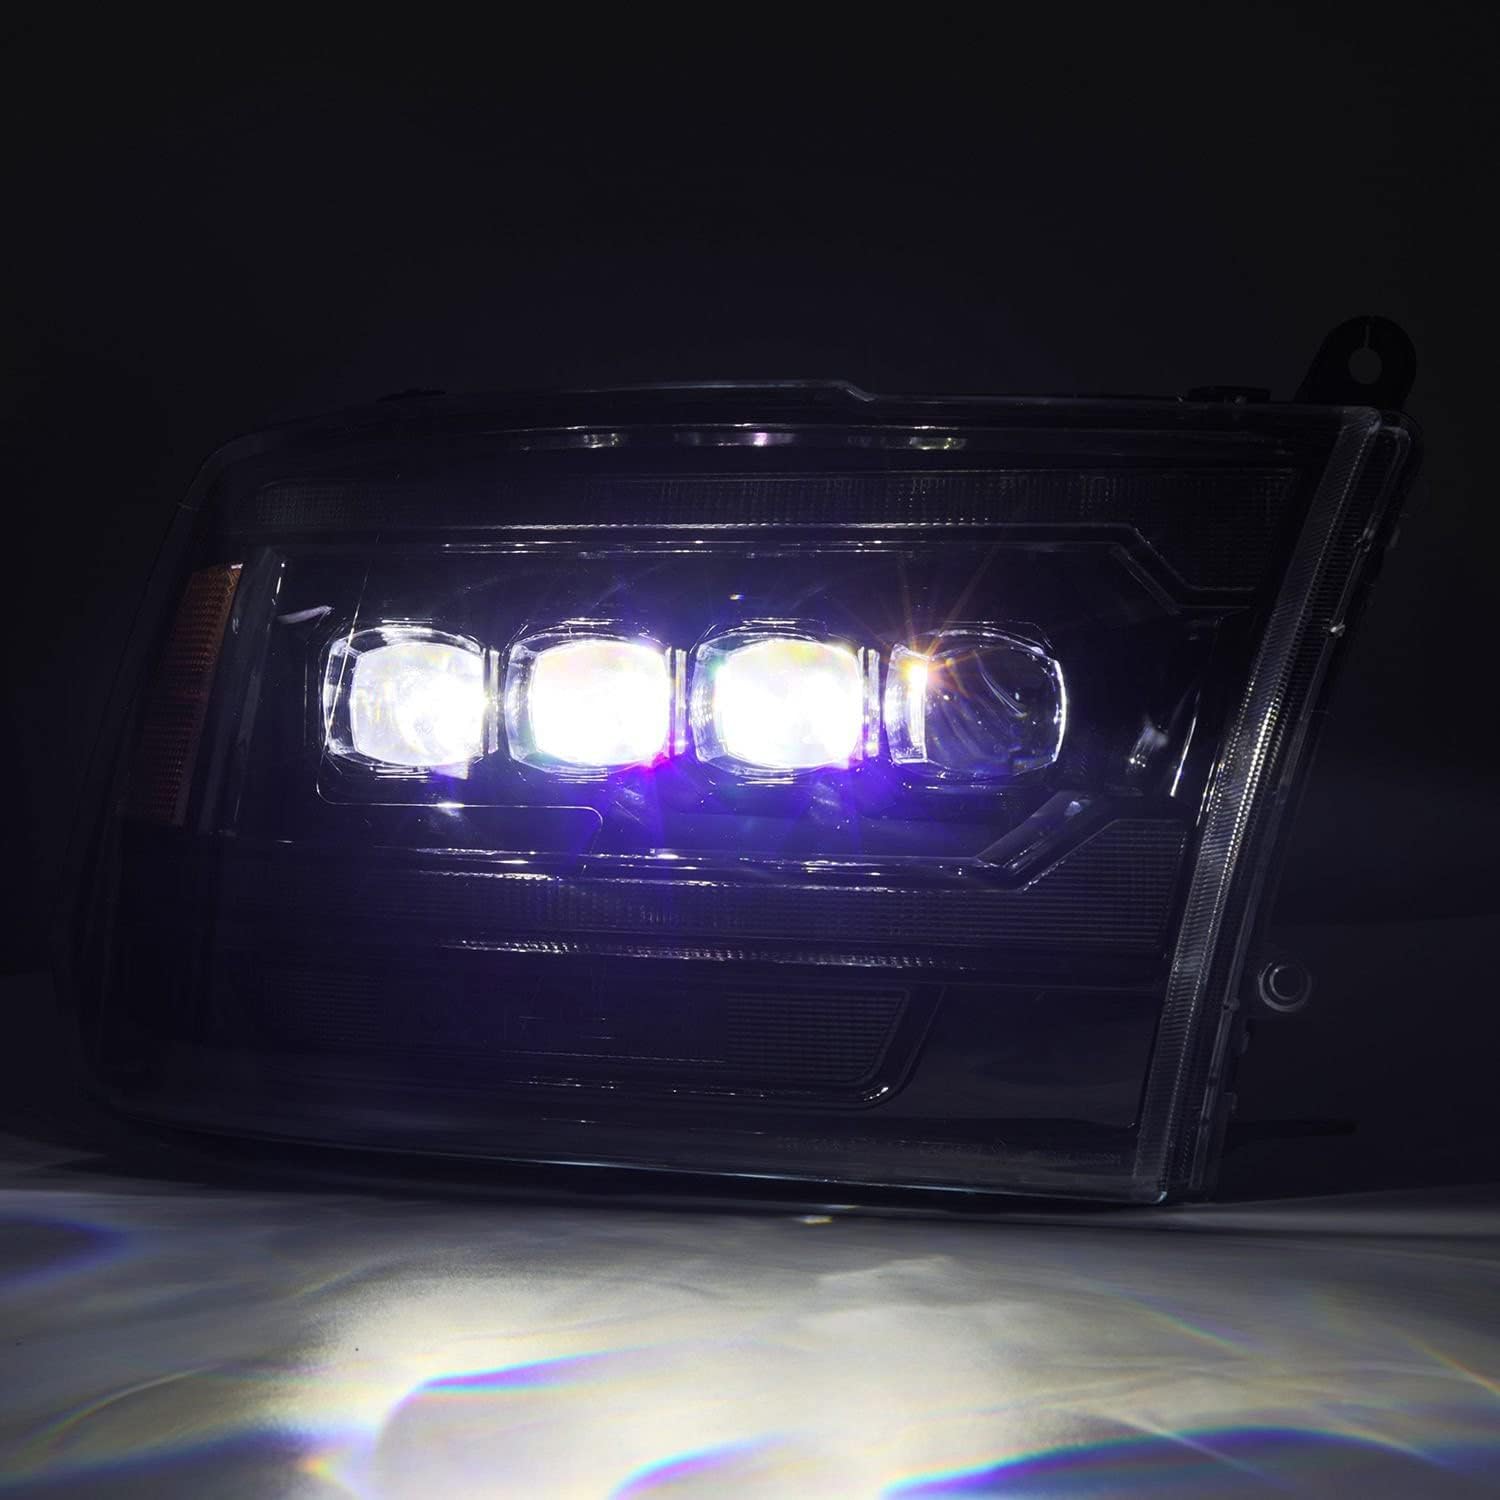
Image: Front view of the NOVA-Series headlight with high beam LEDs illuminated.
Turn Signals: Amber halogen light bulbs at the bottom of the headlights, along with amber reflector lenses on the side, provide clear turn signal indication.

Image: Front view of the NOVA-Series headlight with amber turn signal illuminated.
3.2 Operation Videos
ModifyStreet® G3-DR09 Headlight Functions
Video: Demonstrates the DRL, turn signal, and high beam functions of the headlights.
AKKON 09-18 Dodge Ram LED DRL Projector Headlight Features
Video: Showcases the LED DRL and projector headlight functions on a Dodge Ram.
AmeriLite 09-18 Dodge RAM 1500 LED Bar Black Headlight Functions
Video: Illustrates the LED bar and various lighting modes of the black headlights.
GFORCE USA 2LHE-RAM09JM-SQ-RS Lighting Video
Video: Demonstrates the lighting features and effects of the 2LHE-RAM09JM-SQ-RS headlights.
4. Maintenance
To ensure the longevity and optimal performance of your AlphaRex NOVA-Series Projector Headlights, follow these maintenance guidelines:
Cleaning: Clean the polycarbonate plastic lenses regularly with a soft cloth and mild soap solution. Avoid abrasive cleaners that could damage the protective coating.
Anti-Fog Agent: The lenses are pre-treated with an anti-fog agent. If fogging occurs internally, ensure proper sealing during installation. External fogging can be wiped away.
UV Protection: The lenses include a coating to protect against yellowing and oxidation. Avoid prolonged exposure to harsh UV rays when possible, and consider using automotive-grade UV protectants for plastics if desired.
Bulb Replacement: Access to low and high beam bulbs is provided via a bulb cover on the rear of the housing. Refer to the specific bulb type for replacement instructions.
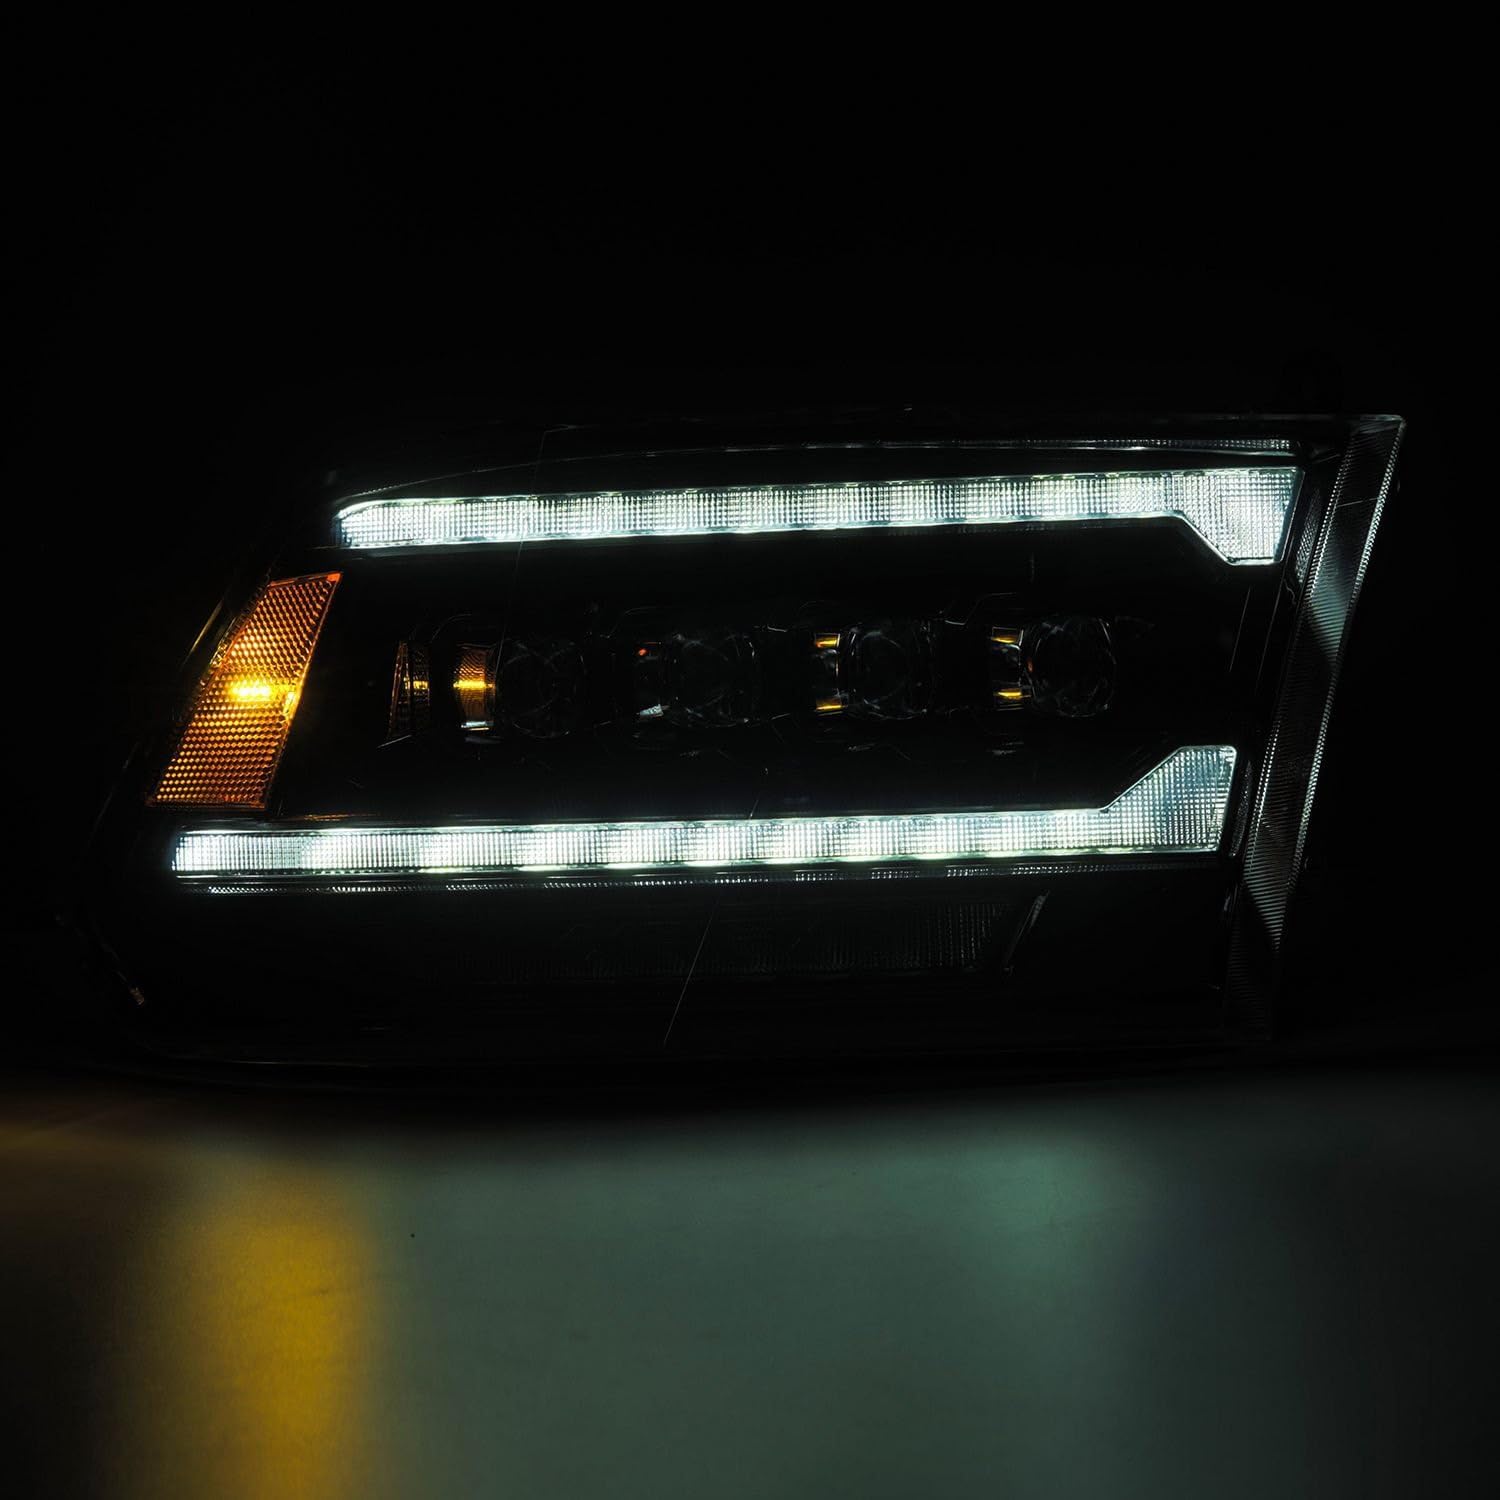
Image: Close-up of the rear of the headlight assembly, showing the bulb covers and adjustment points.
5. Troubleshooting
This section addresses common issues you might encounter with your headlights.
Hyper Flash or Error Messages: If you experience hyper-flashing turn signals or error messages on your dashboard, ensure the provided resistor is correctly installed in the wiring harness. The resistor helps regulate the flash rate for LED turn signals.
Light Beam Adjustment: To adjust the vertical aim of your low and high beams, locate the adjuster screw on the rear of the headlight housing. Use a Phillips head screwdriver to turn the screw. Adjust the beam up or down to prevent blinding oncoming traffic and ensure proper road illumination.
Moisture Inside Headlight: Small amounts of condensation can occur due to temperature changes. This usually dissipates. If excessive moisture or water accumulation is observed, check the housing for cracks or improper sealing and ensure the bulb covers are securely in place.
6. Specifications
| Feature | Detail |
|---|---|
| Brand | AlphaRex |
| Model Number | 880557 |
| UPC | 810015614396 |
| Specific Uses For Product | Head Lights |
| Vehicle Service Type | Car, Truck |
| Lens Material | Polycarbonate, Plastic |
| Lens Color | Amber |
| Special Feature | High Beam |
| Item Dimensions (L x W x H) | 25 x 23.8 x 13.7 inches |
| Item Weight | 22.5 pounds |
| Assembly Required | No |
| Automotive Fit Type | Vehicle Specific Fit |
| Compliance | SAE, DOT FMVSS108, ISO-9000, ISO-9001, ISO-9002 |
7. Warranty and Support
AlphaRex NOVA-Series Projector Headlights are manufactured to high-quality standards and comply with industry regulations. For specific warranty information, please refer to the product packaging or the official AlphaRex website.
If you encounter any difficulties during installation or operation that are not covered in this manual, please contact AlphaRex customer support or seek assistance from a certified automotive professional.