1. Introduction
This manual provides detailed instructions for the safe and effective operation, maintenance, and troubleshooting of your Hoover CleanSlate XL Deep Cleaning Carpet + Upholstery Spot Cleaner Machine. Please read all instructions carefully before initial use and retain this manual for future reference.
The Hoover CleanSlate XL is designed for permanent stain removal on carpets and upholstery, offering powerful suction and specialized tools for various cleaning tasks.
2. Product Overview and Components
Familiarize yourself with the components of your Hoover CleanSlate XL spot cleaner.

Image 2.1: Overview of the Hoover CleanSlate XL and its included accessories, such as the trial size cleaning solution, rubber nub pet tool, and bristle tool.
Included Components:
- Hoover CleanSlate XL Unit
- Solution Tank (96 fl. oz. capacity)
- Dirty Water Tank
- Power Cord
- 7-inch WidePath Tool
- TightSpot Tool
- Pet Tool
- Hose Rinse Tool
- Trial Size Cleaning Solution
3. Setup
3.1 Filling the Solution Tank
- Remove the clean water/solution tank from the unit.
- Unscrew the cap from the bottom of the tank.
- Fill the tank with warm tap water up to the indicated fill line.
- Add Hoover Portable Spot Cleaner Solution to the solution fill line. Do not overfill.
- Securely replace the cap and reinsert the tank into the unit until it clicks into place.

Image 3.1: Filling the solution tank with water and cleaning solution. Ensure the cap is securely fastened after filling.
3.2 Attaching Cleaning Tools
Select the appropriate tool for your cleaning task and firmly attach it to the end of the hose until it locks into position.
- WidePath Tool: Ideal for larger areas such as carpeted stairs or broad upholstery sections.
- TightSpot Tool: Designed for reaching into narrow crevices, corners, and tight spaces.
- Pet Tool: Specialized for tackling tough pet messes and embedded stains.
4. Operating Instructions
4.1 Pre-Cleaning Steps
- Vacuum: Thoroughly vacuum the area to be cleaned to remove loose dirt and debris.
- Pretreat (Optional): For tough or set-in stains, apply a Hoover pre-treatment solution directly to the stain and allow it to sit for a few minutes as directed by the pre-treatment product.
4.2 Spot Cleaning Process
Follow these steps for effective spot and stain removal:
- Plug the unit into a grounded electrical outlet.
- Turn on the power switch.
- Spray: Hold the cleaning tool over the stain and press the trigger to spray cleaning solution onto the area.
- Scrub: Release the trigger and gently scrub the stain with the bristles of the cleaning tool. For stubborn stains, allow the solution to penetrate for a few minutes.
- Suction: Tilt the tool slightly and apply downward pressure while pulling it slowly over the treated area to extract the dirty solution. Repeat until no more dirty solution is being extracted.

Image 4.1: The three-step process of spray, scrub, and suction for effective stain removal on carpeted surfaces.
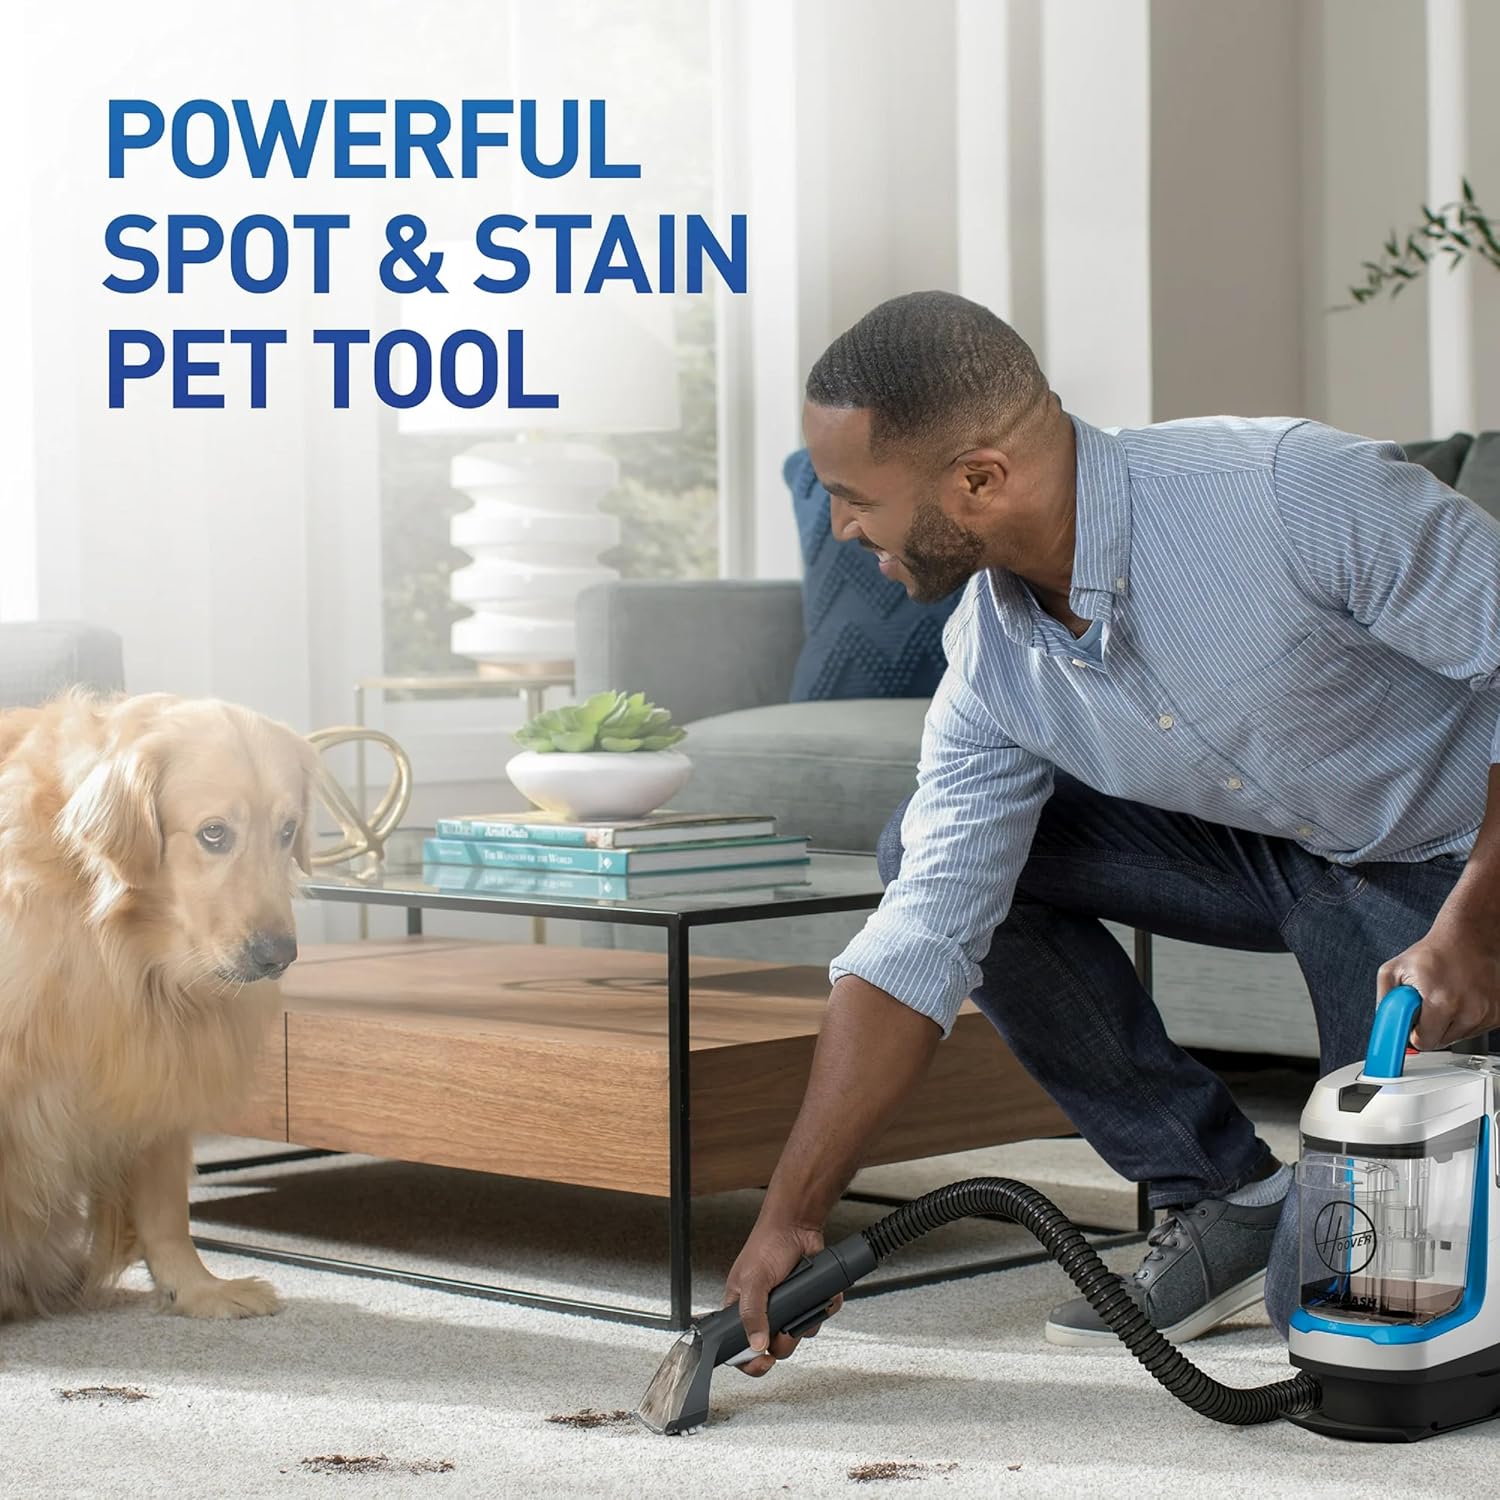
Image 4.2: Demonstrating the use of the pet tool on a carpet stain, highlighting its effectiveness for pet messes.

Image 4.3: The portable design allows for easy cleaning of carpeted stairs and other elevated surfaces.
4.3 Emptying the Dirty Water Tank
Empty the dirty water tank when it reaches the 'MAX FILL' line or after each use.
- Turn off the unit and unplug it from the electrical outlet.
- Remove the dirty water tank from the unit.
- Unlatch the lid of the dirty water tank and pour out the dirty water into a sink or drain.
- Rinse the tank and lid with clean water.
- Replace the lid and reinsert the tank into the unit.

Image 4.4: The easy-empty dual tank system allows for convenient disposal of dirty water and rinsing.
5. Maintenance
5.1 Cleaning the Machine and Tools
- Hose Rinse Tool: After emptying the dirty water tank, fill the clean water tank with clean water only. Attach the hose rinse tool to the end of the hose. Turn on the unit and press the spray trigger until clean water flows through the hose into the dirty water tank, flushing out any residual dirt and solution.
- Cleaning Tools: Detach all cleaning tools and rinse them thoroughly under running water. Remove any hair or debris from the bristles.
- Exterior: Wipe down the exterior of the unit with a damp cloth.
5.2 Storage
Store the Hoover CleanSlate XL in a dry, indoor area. Ensure all tanks are empty and clean, and all components are dry before storage.

Image 5.1: The compact design allows for convenient storage in cabinets or closets.
6. Troubleshooting
Review the following common issues and solutions before contacting customer support.
| Problem | Possible Cause | Solution |
|---|---|---|
| No spray from nozzle | Solution tank is empty or not properly seated. Clogged nozzle. | Refill solution tank and ensure it is securely in place. Clean nozzle with a small brush. |
| No suction | Dirty water tank is full or not properly seated. Hose or tool is clogged. | Empty dirty water tank and ensure it is securely in place. Check hose and tool for blockages and clear them. |
| Unit leaks | Solution tank cap is loose or gasket is missing/damaged. Tanks not properly seated. | Ensure solution tank cap is tightened and gasket is present. Re-seat both tanks firmly. |
| Reduced cleaning performance | Dirty water tank is full. Cleaning tools are dirty. | Empty dirty water tank. Clean all tools and the hose using the hose rinse tool. |
7. Specifications
- Brand: Hoover
- Model Name: CleanSlate Plus Carpet & Upholstery Spot Cleaner
- Model Number: FH14052
- Capacity: 96 Fluid Ounces (Solution Tank)
- Power Source: Corded Electric
- Item Weight: 9.28 pounds
- Package Dimensions: 16 x 12 x 9 inches
- UPC: 073502050903
- Specific Instructions for Use: Carpet, Upholstery
8. Warranty and Support
8.1 Warranty Information
Your Hoover CleanSlate XL Deep Cleaning Carpet + Upholstery Spot Cleaner Machine is covered by a manufacturer's warranty. Please refer to the warranty card included with your product for specific terms, conditions, and duration of coverage. Retain your proof of purchase for warranty claims.
8.2 Customer Support
For technical assistance, replacement parts, or warranty service, please contact Hoover Customer Support. Contact information can typically be found on the Hoover official website or on the product packaging.


