
1. Introduction
Thank you for choosing the Xbuyee LED Linear High Bay Light. This manual provides essential information for the safe and efficient installation, operation, and maintenance of your new lighting fixture. Please read this manual thoroughly before installation and retain it for future reference.

Image: Two Xbuyee LED Linear High Bay Lights, showcasing their design and hanging mechanism.
2. Product Features
- Power Tunable: Offers 3-level power options (165W, 110W, 80W) for customizable brightness and energy efficiency.
- High Efficiency & Energy Saving: 140LM/W efficiency, producing up to 23,100 lumens at 5000K, replacing 600W equivalent fixtures.
- 0-10V Dimmable: Allows smooth dimming from 0% to 100% (dimmer switch not included).
- Excellent Heat Dissipation: Constructed with heavy-duty steel shell and multiple air vents for optimal heat management and extended lifespan.
- Anti-glare & Non-dazzling: Features a frosted polycarbonate lens for comfortable lighting.
- Long Lifespan: Rated for 50,000 hours, equivalent to 17 years based on 8 hours per day.

Image: Illustration of the power tunable feature, showing 165W, 110W, and 80W settings with corresponding lumen outputs.
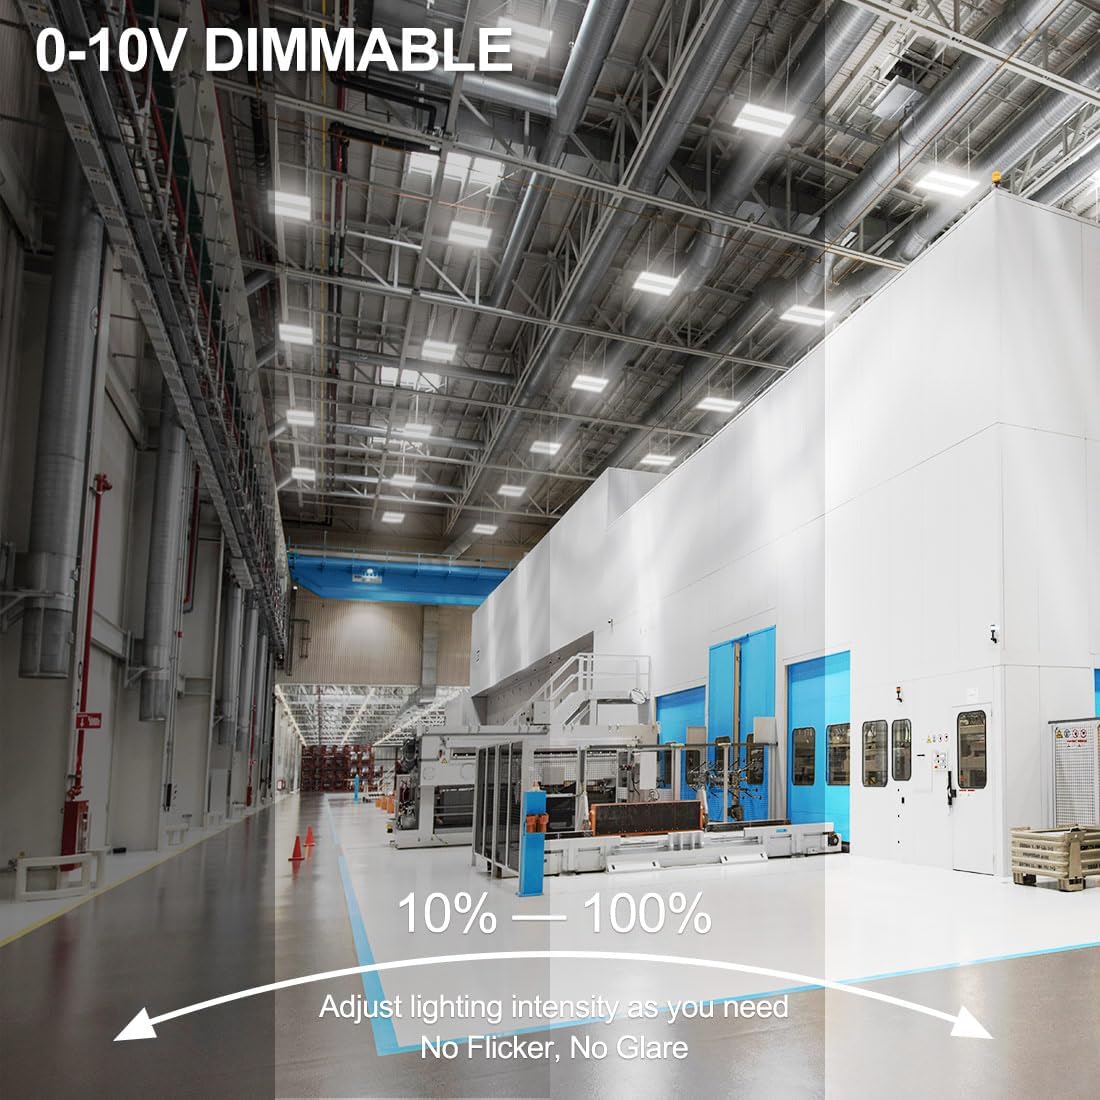
Image: Visual representation of the 0-10V dimming range from 10% to 100% intensity.

Image: Diagram highlighting the multiple air vents and heavy-duty steel construction for excellent heat dissipation, ensuring a long lifespan.
3. What's in the Box
Your Xbuyee LED Linear High Bay Light package includes the following components:
- 2 x LED Linear High Bay Light Fixtures
- Mounting Hardware (V-shaped hooks, suspending chains, wire nuts)

Image: A detailed view of the high bay light fixture along with its included accessories: heavy-duty steel body, high-quality SMD2835 LED chips, anti-glare frosted polycarbonate lens, strong suspending chains, and hassle-free mounting V-shaped hooks.
4. Specifications
| Attribute | Value |
|---|---|
| Brand | Xbuyee |
| Model Name | SS-LHB06-L3 -165/110/80 W-H-TP(50)- Y |
| Power Options | 165W / 110W / 80W (Tunable) |
| Brightness (165W) | 23,100 Lumens |
| Color Temperature | 5000K Daylight |
| Voltage | 120-277V |
| Dimmable | 0-10V |
| Lifespan | 50,000 Hours |
| Material | Polycarbonate Lens, Steel Housing |
| Product Dimensions | 23.62"L x 11.81"W x 1.87"H |
| Item Weight | 9.98 pounds |
| Certification | ETL Qualified |

Image: Illustration of 120° wide beam angle and a table detailing typical installation height and lighting coverage for 165W, 220W, and 300W models.
5. Safety Information
WARNING: Risk of Fire or Electric Shock.
- Installation must be performed by a qualified electrician in accordance with the National Electrical Code and local codes.
- Disconnect power at the fuse or circuit breaker before installation or servicing.
- Ensure the supply voltage is compatible with the fixture's requirements (120-277V).
- Do not handle live wires.
- Do not install near combustible materials.
- This fixture is for indoor use only.
- Wear safety glasses and gloves during installation.
6. Installation Guide
Follow these steps for a safe and proper installation:
- Prepare for Installation: Turn off power at the circuit breaker. Ensure the mounting surface can support the weight of the fixture.
- Attach Mounting Hooks: Insert the V-shaped hooks into the slotted holes on the top of the fixture.
- Hang the Fixture: Hook the suspending chains to the V-shaped hooks and secure the other end of the chains to a sturdy ceiling structure. Ensure the fixture is level and securely suspended.
- Wiring Connections:
- Connect the black wire from the fixture to the live (L) wire from the power supply.
- Connect the white wire from the fixture to the neutral (N) wire from the power supply.
- Connect the green/yellow wire from the fixture to the ground (GND) wire from the power supply.
- For 0-10V dimming, connect the purple wire to the DIM+ wire and the gray wire to the DIM- wire from your 0-10V dimmer (dimmer not included). Cap unused dimming wires if not using dimming functionality.
- Secure all connections with wire nuts.
- Secure Wiring: Insert the terminal cap and wires into the driver box to protect connections.
- Restore Power: Once all connections are secure and the fixture is properly mounted, restore power at the circuit breaker.

Image: A four-step visual guide demonstrating the hassle-free mounting process, including inserting hooks, hooking chains to the ceiling, making wiring connections, and inserting the terminal cap.
Video: An official product video from Xbuyee demonstrating the features and installation process of the 165W 2FT LED Linear High Bay Light. This video highlights the power tunability, dimming capabilities, and robust design.
7. Operation Guide
The Xbuyee LED Linear High Bay Light offers flexible operation modes:
- Power Tuning: Before final installation and wiring, locate the DIP switch on the fixture. Use this switch to select your desired wattage (80W, 110W, or 165W). Adjusting this switch will change the light output.
- On/Off Control: Use a standard wall switch connected to the fixture's power supply to turn the light on or off.
- Dimming Control: If a 0-10V dimmer switch is installed (sold separately), use the dimmer to adjust the light intensity from 0% to 100%.

Image: A visual demonstration of the 3-wattage switchable feature, allowing easy adjustment of desired brightness.

Image: An illustration showing the 0-10V dimming functionality, with a dimmer switch controlling light intensity from 10% to 100%.
8. Maintenance
The Xbuyee LED Linear High Bay Light is designed for minimal maintenance. Follow these guidelines to ensure optimal performance and longevity:
- Cleaning: Periodically clean the exterior of the fixture with a soft, dry cloth. For stubborn dirt, use a slightly damp cloth with mild soap, then wipe dry. Do not use abrasive cleaners or solvents.
- Inspection: Regularly inspect the fixture for any signs of damage, loose connections, or wear. Address any issues promptly.
- Power Disconnection: Always disconnect power to the fixture before performing any cleaning or maintenance.
- No User-Serviceable Parts: There are no user-serviceable parts inside the fixture. Do not attempt to open or repair the unit. Contact qualified personnel for any repairs.
9. Troubleshooting
If you encounter issues with your Xbuyee LED Linear High Bay Light, refer to the following common problems and solutions:
| Problem | Possible Cause | Solution |
|---|---|---|
| Light does not turn on | No power supply Loose wiring connection Faulty switch or dimmer | Check circuit breaker and power source. Verify all wiring connections are secure (power off first). Test switch/dimmer functionality. |
| Light flickers or dims unexpectedly | Incorrect dimmer type Loose wiring Voltage fluctuations | Ensure a compatible 0-10V dimmer is used. Check wiring connections (power off first). Consult an electrician to check power supply stability. |
| Light output is too low/high | Incorrect wattage setting Dimmer setting | Adjust the DIP switch to the desired wattage (80W/110W/165W). Adjust the 0-10V dimmer to the desired brightness level. |
| Buzzing noise | Loose components Incompatible dimmer | Ensure all mounting hardware is tight. Verify dimmer compatibility. |
If the problem persists after attempting these solutions, please contact Xbuyee customer support for assistance.
10. Warranty and Support
Xbuyee provides a 5-year warranty for this commercial-grade high bay LED shop light. This warranty covers defects in materials and workmanship under normal use and service.
For warranty claims, technical support, or any inquiries, please contact Xbuyee customer service via Amazon or through the contact information provided on the official Xbuyee website. Please have your purchase details and model number ready when contacting support.
Online Resources:
- Official Xbuyee Store: Visit the Xbuyee Store on Amazon
- Installation Manual (PDF): Download PDF
