1. Introduction
Thank you for choosing the COCONISE 64GB MP3 Player. This device is designed to provide a high-quality audio experience with versatile features including Bluetooth 5.2 connectivity, FM radio, voice recording, and e-book functionality. Please read this manual carefully to ensure proper use and maintenance of your device.
2. Product Features
- 64GB Large Capacity Memory: Store up to 5000 lossless music files.
- Color Display & Touch Buttons: Clear and beautiful color screen with 7 high-sensitivity touch buttons for easy navigation.
- Upgraded Bluetooth 5.2: Faster and more stable data transmission, reduced power consumption, and extended battery life. Supports APE / FLAC / WAV / WMA / MP3 and other lossless formats.
- HiFi Lossless Sound Quality: Equipped with an intelligent DSP chip for high-fidelity audio, restoring original sound with clear treble, accurate midrange, and deep bass.
- Built-in High-Definition Speakers: Dual-magnet speakers allow music sharing without earphones, providing high volume without distortion.
- Lightweight & Stylish Design: Compact and portable, made from hard and light zinc alloy, weighing only 67 grams.
- Multi-functional: Includes FM Radio, Voice Recording, and E-Book reading capabilities.
3. Package Contents
Please check the package for the following items:
- COCONISE 64GB MP3 Player (Model: M6-P)
- USB Charging Cable
- User Manual
- Earphones (may vary by package)
4. Product Overview

Figure 4.1: Front and side view of the COCONISE 64GB MP3 Player. The device is pink with a large color display showing an image of pink flamingos. Below the screen are touch-sensitive controls for navigation and playback. The right side of the device features physical buttons.

Figure 4.2: This image highlights the multifunctional capabilities of the MP3 player, displaying icons for Recording, E-book, Radio, and Picture functions alongside the device.
4.1 Device Layout
Familiarize yourself with the buttons and ports on your MP3 player:
- Display Screen: Color LCD for navigation and content display.
- Touch Controls: Located below the screen for menu, back, play/pause, and navigation.
- Power Button: Typically on the side, used to turn the device on/off or lock/unlock the screen.
- Volume Buttons: Usually on the side, to adjust audio output.
- USB-C Port: For charging and data transfer.
- 3.5mm Headphone Jack: For wired audio output.
- MicroSD Card Slot: For expandable storage (supports up to 512GB, FAT32 format recommended).
5. Setup
5.1 Charging the Device
Before first use, fully charge the MP3 player. Connect the provided USB cable to the device's USB-C port and the other end to a USB power adapter (not included) or a computer's USB port. The battery indicator on the screen will show charging status.
5.2 Powering On/Off
- To Power On: Press and hold the Power button until the screen lights up.
- To Power Off: Press and hold the Power button, then select "Power Off" on the screen.
- Screen Lock/Unlock: Briefly press the Power button to lock or unlock the screen during operation.
5.3 Transferring Music Files
- Connect the MP3 player to your computer using the USB cable.
- The device will appear as a removable disk drive on your computer.
- Drag and drop your music files (MP3, FLAC, WAV, WMA, APE, etc.) into the appropriate folders on the MP3 player.
- Safely eject the device from your computer before disconnecting the USB cable.

Figure 5.1: The MP3 player boasts 64GB of internal memory, capable of storing approximately 5000 songs, providing ample space for your music library.
6. Operating Instructions
6.1 Music Playback
- From the main menu, select "Music".
- Browse your music by Artist, Album, Songs, or Playlists.
- Select a song to begin playback.
- Use the touch controls for Play/Pause, Next/Previous track, and Volume adjustment.
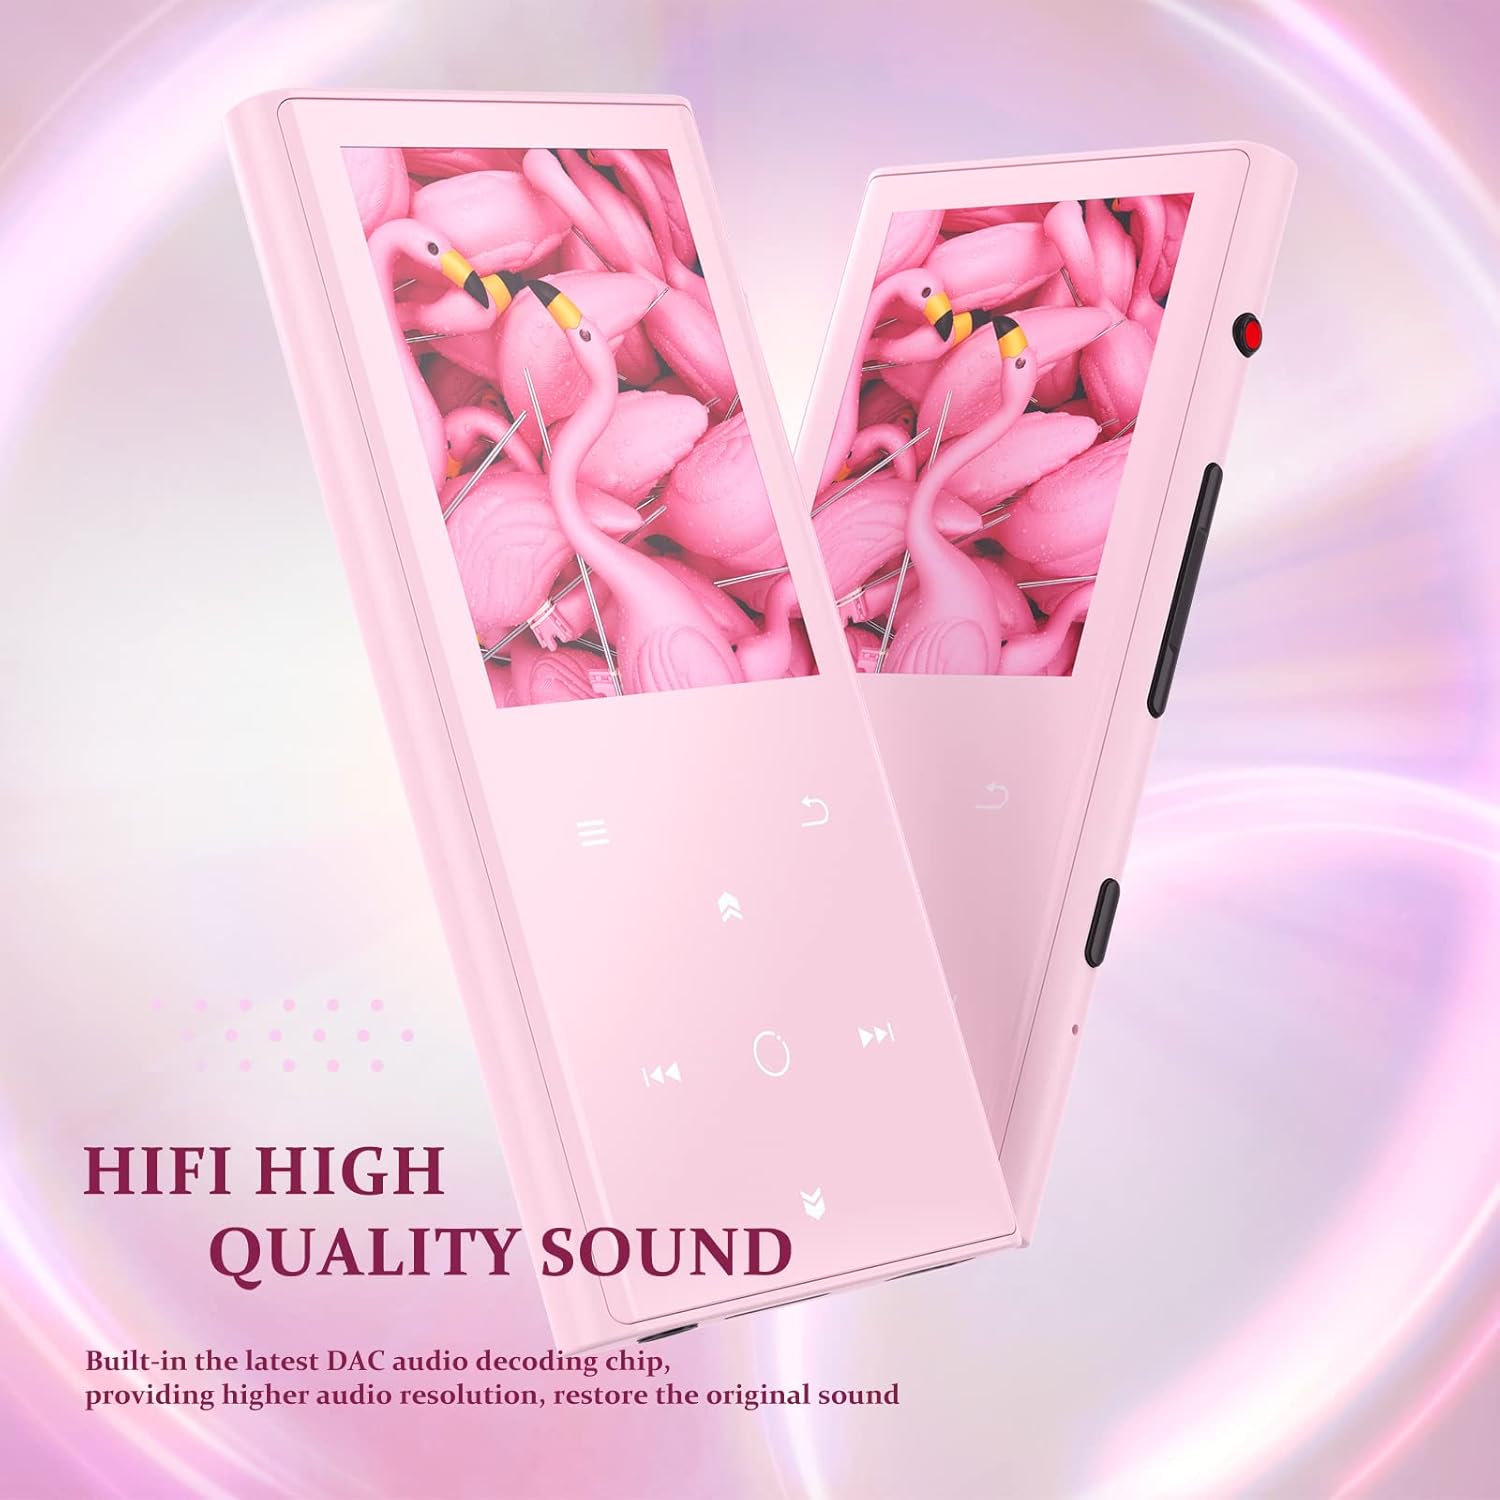
Figure 6.1: This image emphasizes the HiFi high-quality sound capabilities of the MP3 player, indicating its advanced audio decoding chip for superior sound reproduction.
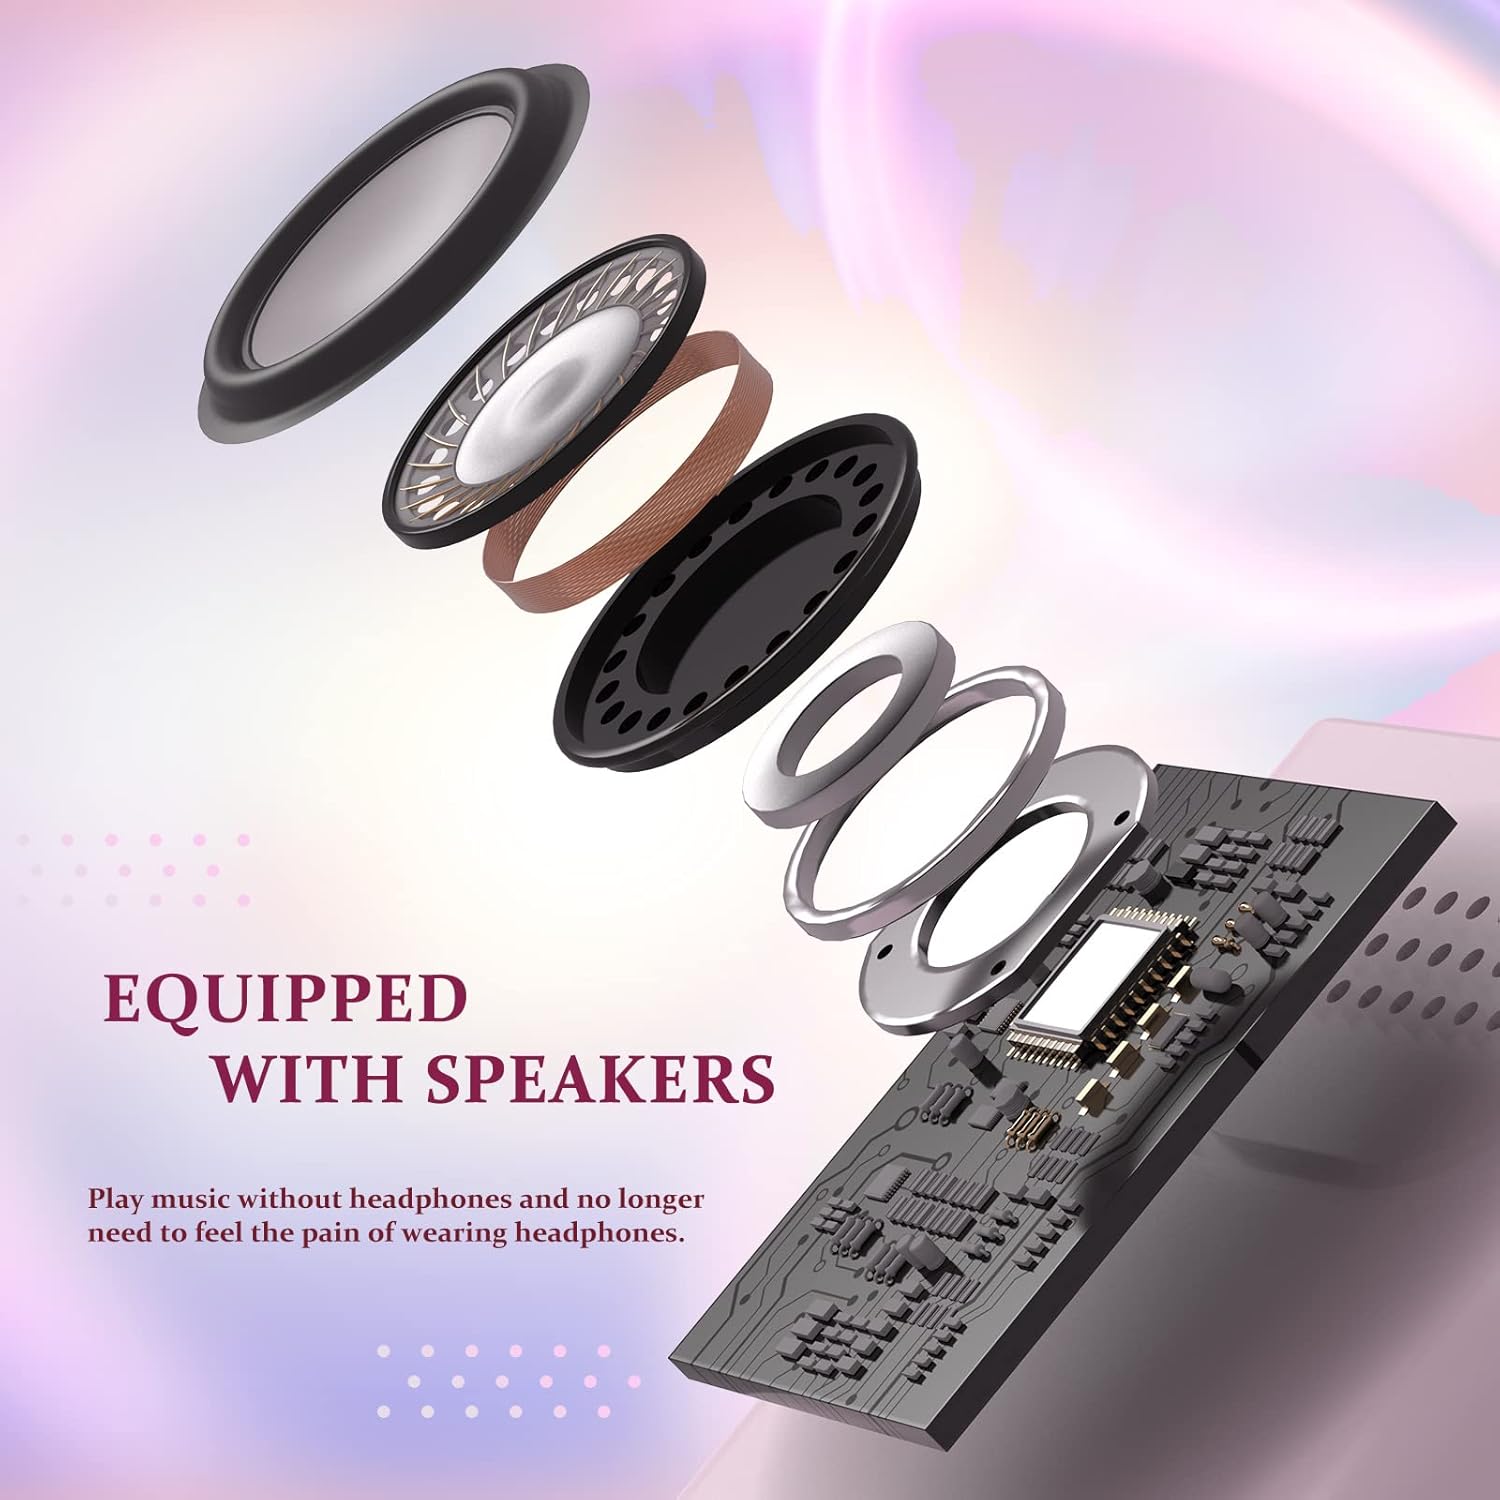
Figure 6.2: An exploded diagram illustrating the internal components of the MP3 player's built-in speaker, highlighting its design for clear audio output without headphones.
6.2 Bluetooth Connectivity
- From the main menu, select "Bluetooth".
- Turn on Bluetooth. The device will start searching for nearby Bluetooth devices.
- Select your desired Bluetooth headphones or speaker from the list to pair.
- Once paired, audio will be routed through the connected Bluetooth device.

Figure 6.3: This image illustrates the Bluetooth 5.2 capability, showing a user enjoying music wirelessly with headphones, emphasizing faster and more stable data transfer.
6.3 FM Radio
- Plug in wired earphones (they act as the antenna).
- From the main menu, select "FM Radio".
- Perform an auto-search for available stations or manually tune to a frequency.
6.4 Voice Recording
- From the main menu, select "Recording".
- Press the record button to start recording.
- Press again to pause/resume, and stop to save the recording.
6.5 E-Book Function
- From the main menu, select "E-Book".
- Browse and select your desired text file (e.g., TXT format).
- Use the navigation controls to scroll through pages.
7. Maintenance
- Keep the device dry. Do not expose it to moisture or liquids.
- Clean the screen and body with a soft, dry cloth. Avoid abrasive cleaners.
- Avoid extreme temperatures.
- Do not disassemble the device. This will void the warranty.
- Regularly back up important files to prevent data loss.
8. Troubleshooting
8.1 Device Not Turning On
- Ensure the battery is charged. Connect to a power source and try again.
- Press and hold the Power button for 10-15 seconds to perform a hard reset.
8.2 Cannot Connect to Bluetooth Device
- Ensure the Bluetooth device is in pairing mode and within range.
- Turn off and on Bluetooth on both the MP3 player and the target device.
- Delete previous pairings on both devices and try pairing again.
8.3 Music Files Not Recognized
- Ensure the music files are in a supported format (MP3, FLAC, WAV, WMA, APE).
- Verify that the files are correctly transferred to the device's internal storage or microSD card.
- If using a microSD card, ensure it is formatted to FAT32.
8.4 Poor FM Radio Reception
- Ensure wired earphones are properly plugged in, as they serve as the antenna.
- Try moving to an open area to improve signal reception.
9. Specifications
| Feature | Detail |
|---|---|
| Model | M6-P |
| Memory Storage Capacity | 64 GB (expandable via MicroSD) |
| Bluetooth Version | 5.2 |
| Display Screen Size | 3.54 Inches |
| Supported Audio Formats | APE, FLAC, MP3, WAV, WMA |
| Battery Type | Lithium Polymer |
| Dimensions | 4.19 x 4.19 x 8.99 cm |
| Weight | 155 g |
| Special Features | FM Radio, Voice Recorder, E-Book |
10. Warranty and Support
COCONISE products are designed and manufactured to the highest quality standards. For warranty information and technical support, please refer to the warranty card included in your product packaging or visit the official COCONISE website. Please retain your proof of purchase for warranty claims.
For further assistance, you may contact COCONISE customer support through the contact information provided on the product packaging or official website.
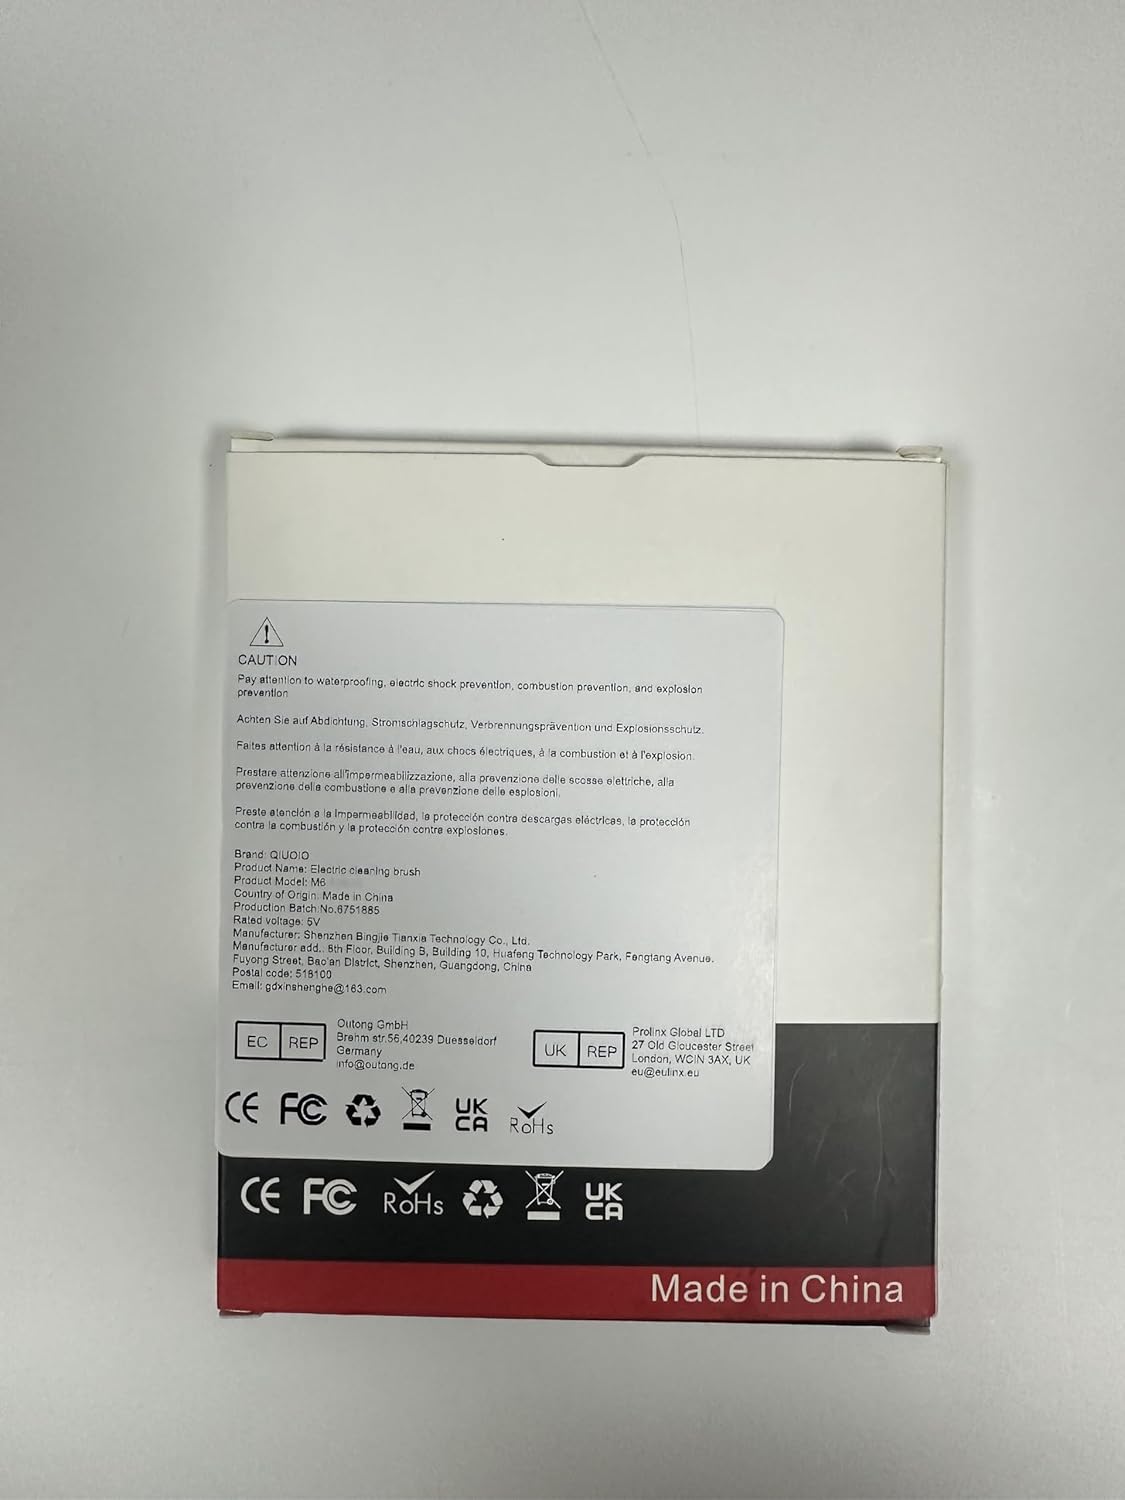
Figure 10.1: The back of the product packaging displays important caution notices, manufacturer details, and compliance marks (CE, FC, RoHS, UKCA), indicating product safety and origin.