1. Introduction
This manual provides detailed instructions for the assembly, operation, maintenance, and troubleshooting of your Generic Boston Indian Solid Wood Wardrobe Glass Cabinet, Model RJMMPCBCB13. Please read this manual thoroughly before assembly and use to ensure proper installation and safe operation.
This cabinet is designed for indoor use, offering a blend of concealed and open shelving for storage or display. It features a natural wood grain finish and is constructed from quality wood and engineered hardwood.
2. Safety Information
- Always assemble the cabinet on a soft, clean surface to prevent scratches.
- Ensure all hardware is securely tightened before use. Periodically check and re-tighten as necessary.
- Do not overload shelves. Distribute weight evenly to prevent tipping.
- For enhanced stability and safety, especially in homes with children or in earthquake-prone areas, it is recommended to secure the cabinet to a wall using the provided wall-mounting hardware.
- Keep small parts and packaging materials away from children.
- This product is for indoor use only.
3. Package Contents
Before beginning assembly, verify that all parts listed below are present and undamaged. If any parts are missing or damaged, please contact customer support.
- Cabinet Panels (Top, Bottom, Sides, Back)
- Shelves
- Doors (Glass and Solid Wood)
- Hinges and Handles
- Assembly Hardware (screws, dowels, cam locks, etc.)
- Wall-Mounting Hardware
- Instruction Manual
4. Setup and Assembly
Assembly is designed to be straightforward and typically takes approximately 15 minutes. Follow the illustrated instructions included in your package for detailed step-by-step guidance.
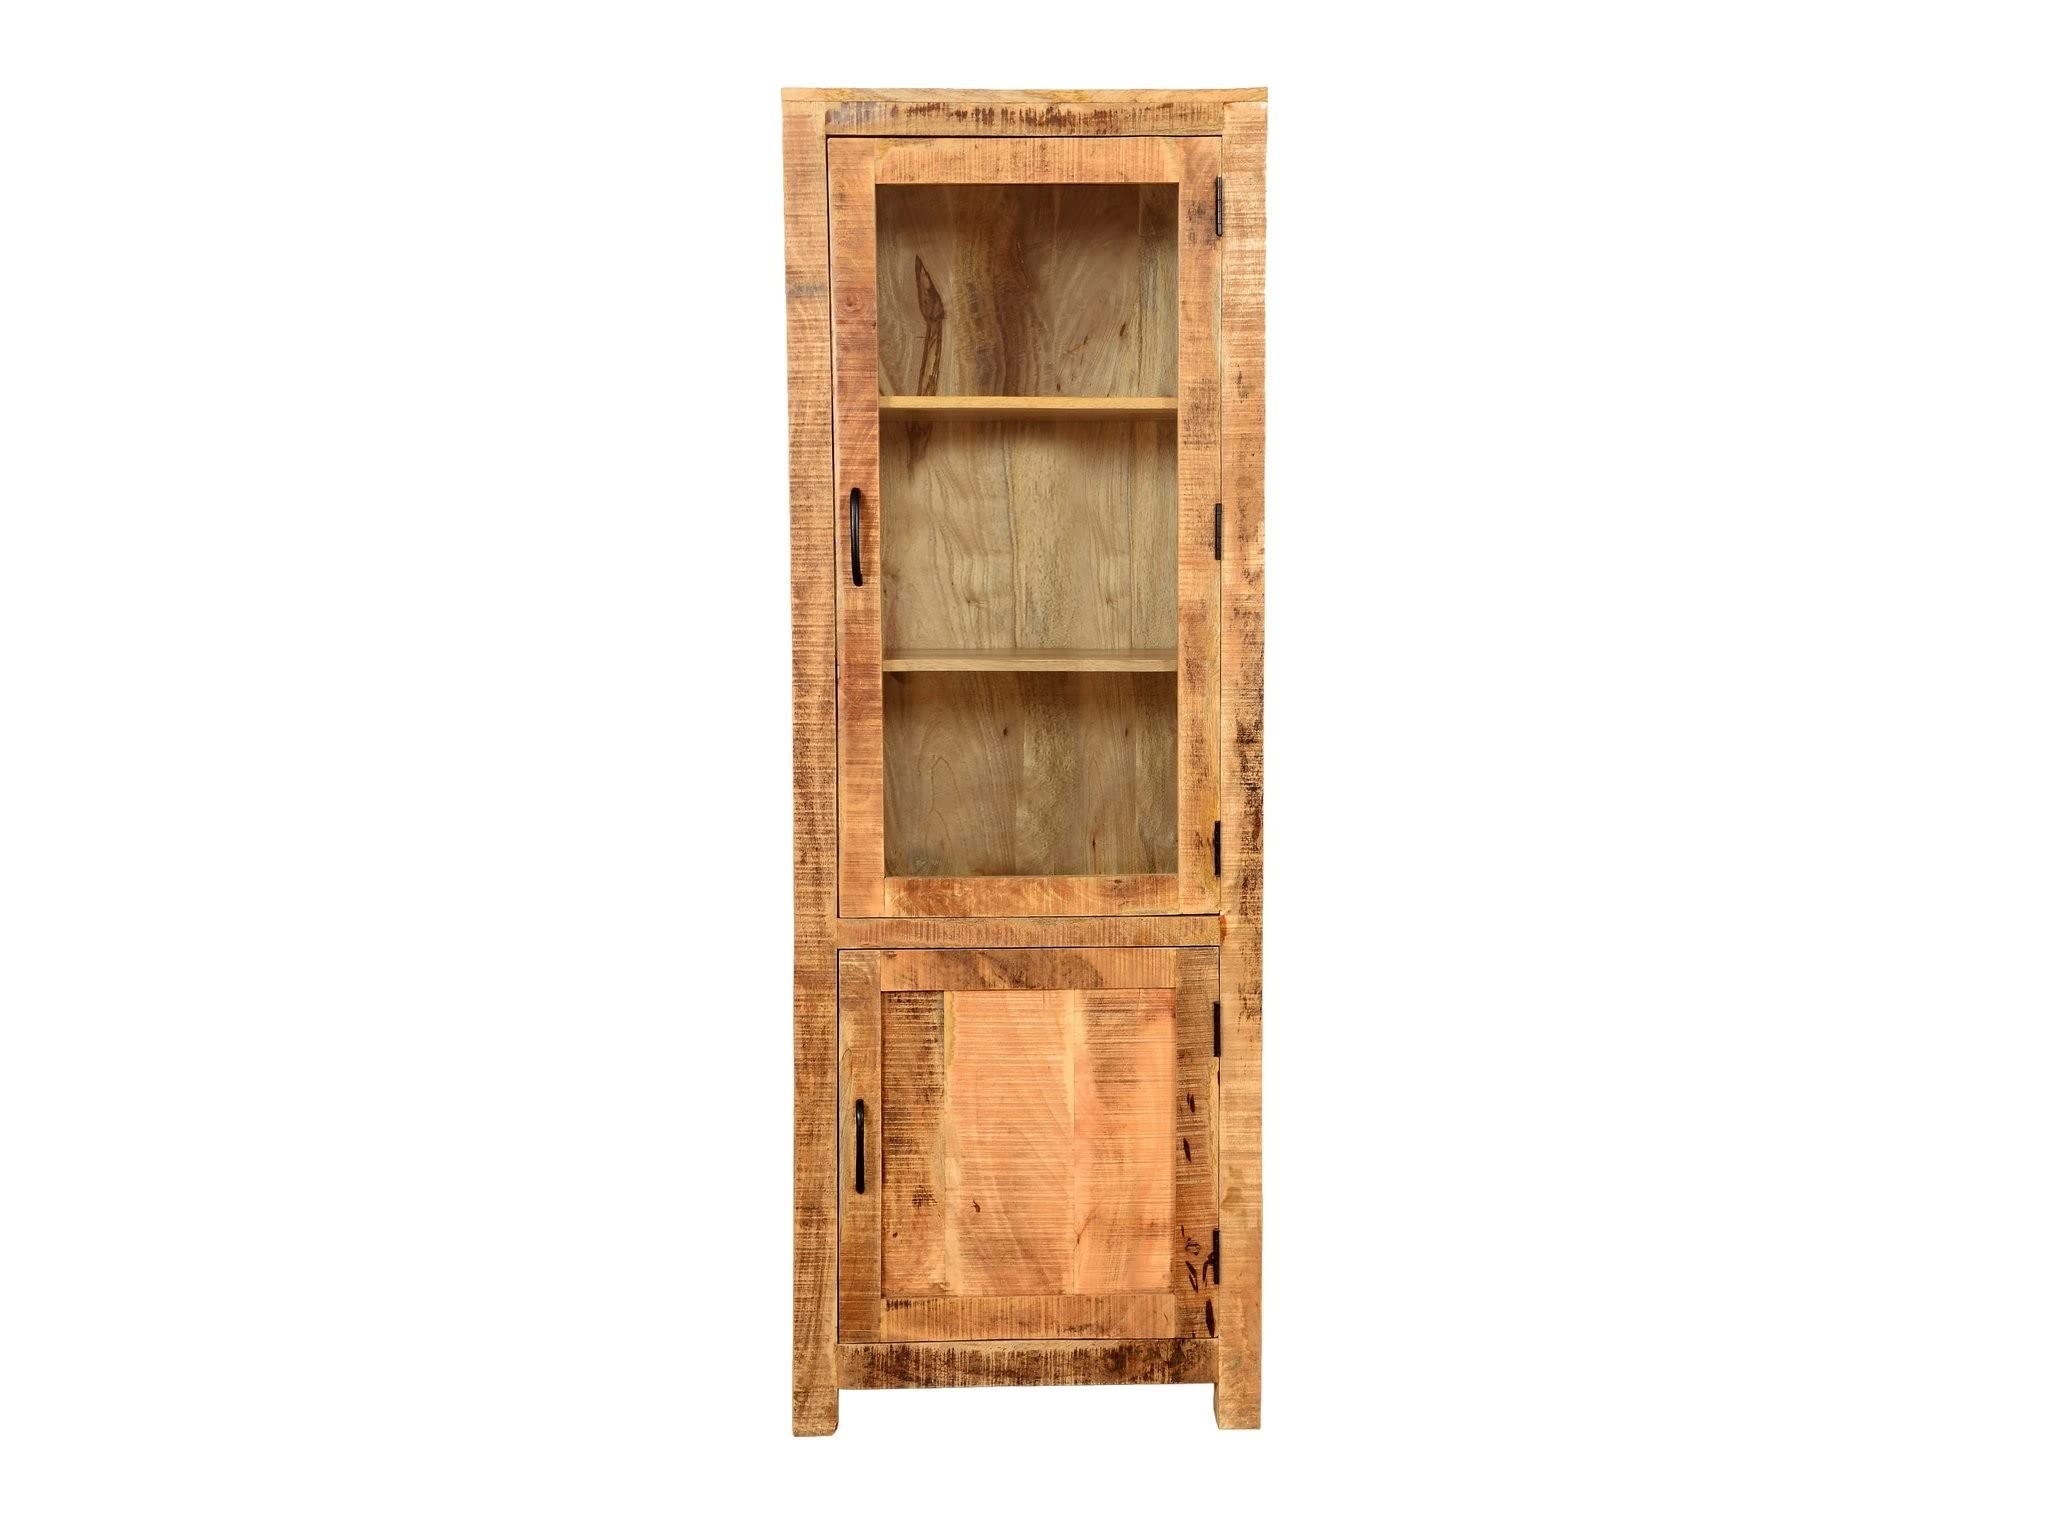
Figure 1: Cabinet with doors open, showing internal shelving.
General Assembly Steps:
- Unpack and Identify: Carefully unpack all components and lay them out on a protected surface. Identify each part using the assembly diagram.
- Assemble Frame: Connect the side panels to the top and bottom panels using the provided hardware. Ensure all connections are secure.
- Install Back Panel: Attach the back panel to the assembled frame.
- Insert Shelves: Place the shelves into the desired positions using the shelf pins.
- Attach Doors: Mount the hinges to the doors and then attach the doors to the cabinet frame. Adjust hinges as needed for proper alignment.
- Install Handles: Secure the handles to the doors.
- Wall Mounting (Optional but Recommended): Position the cabinet in its desired location. Using the provided wall-mounting hardware, secure the cabinet to a wall stud for added stability. Refer to the specific wall-mounting instructions in your package.

Figure 2: Cabinet with doors closed.
5. Operating Instructions
This cabinet is designed for general storage and display purposes. The top section features a glass door, ideal for displaying decorative items or frequently accessed essentials. The bottom section has a solid wood door, providing concealed storage.
- To open a door, gently pull the handle.
- To close a door, push it firmly until it latches.
- Arrange items on shelves, ensuring not to exceed the weight capacity of each shelf.
- Avoid slamming doors to prevent damage to hinges and the cabinet structure.
6. Maintenance
Proper care will extend the life and appearance of your cabinet.
- Cleaning: Wipe clean with a soft, damp cloth. Avoid using harsh chemical cleaners, abrasive materials, or polishes that may damage the wood finish or glass.
- Spills: Immediately wipe up any spills to prevent staining or damage to the wood.
- Heat: Avoid placing hot objects directly on the surface. Use coasters or protective pads.
- Environment: Keep the cabinet in a dry, indoor environment. Avoid prolonged exposure to direct sunlight or extreme temperature changes, which can cause wood to warp or fade.
- Hardware: Periodically check all screws and fasteners to ensure they remain tight. Re-tighten as needed.
7. Troubleshooting
Cabinet is Wobbly:
- Ensure the cabinet is placed on a level surface.
- Check that all assembly hardware is fully tightened.
- If wall-mounted, ensure the wall anchors are securely installed into a stud.
Doors Do Not Align Properly:
- Adjust the hinges. Most hinges have screws that allow for vertical, horizontal, and depth adjustments. Refer to the hinge manufacturer's instructions if specific adjustments are unclear.
- Ensure the cabinet frame is square and all panels are correctly assembled.
Scratches or Minor Damage to Wood:
- For minor scratches, wood repair markers or furniture polish designed for natural wood finishes can be used.
- Consult a professional for significant damage.
8. Specifications
| Brand | Generic |
| Model Number | RJMMPCBCB13 |
| Material | Wood (Engineered hardwood) |
| Product Dimensions | 25.5"W x 15.7"D x 70.8"H (64.8 cm W x 39.9 cm D x 179.8 cm H) |
| Color | Natural |
| Finish Type | Wood Grain |
| Mounting Type | Wall Mount (Optional for stability) |
| Manufacturer | A.S INDUSTRIES |
9. Warranty and Support
For warranty information or technical support, please refer to the documentation included with your purchase or contact the retailer where the product was acquired. Keep your proof of purchase for any warranty claims.