radius HP-P100BT
radius HP-P100BT Low Latency Gaming Wireless Earphones User Manual
Introduction
This manual provides detailed instructions for the safe and effective use of your radius HP-P100BT Low Latency Gaming Wireless Earphones. These earphones are designed with a low-latency mode for gaming, hybrid noise cancellation, and IPX5 water resistance. Please read this manual thoroughly before use and retain it for future reference.

Image: The radius HP-P100BT wireless earphones and their charging cases, showcasing available colors.
Package Contents
Verify that all items listed below are included in your package:
- radius HP-P100BT Wireless Earphones (Left and Right)
- Charging Case
- Earpieces (S/M/L sizes) x 1 set each
- USB Type-C™ Charging Cable x 1
- Instruction Manual (with Warranty) x 1
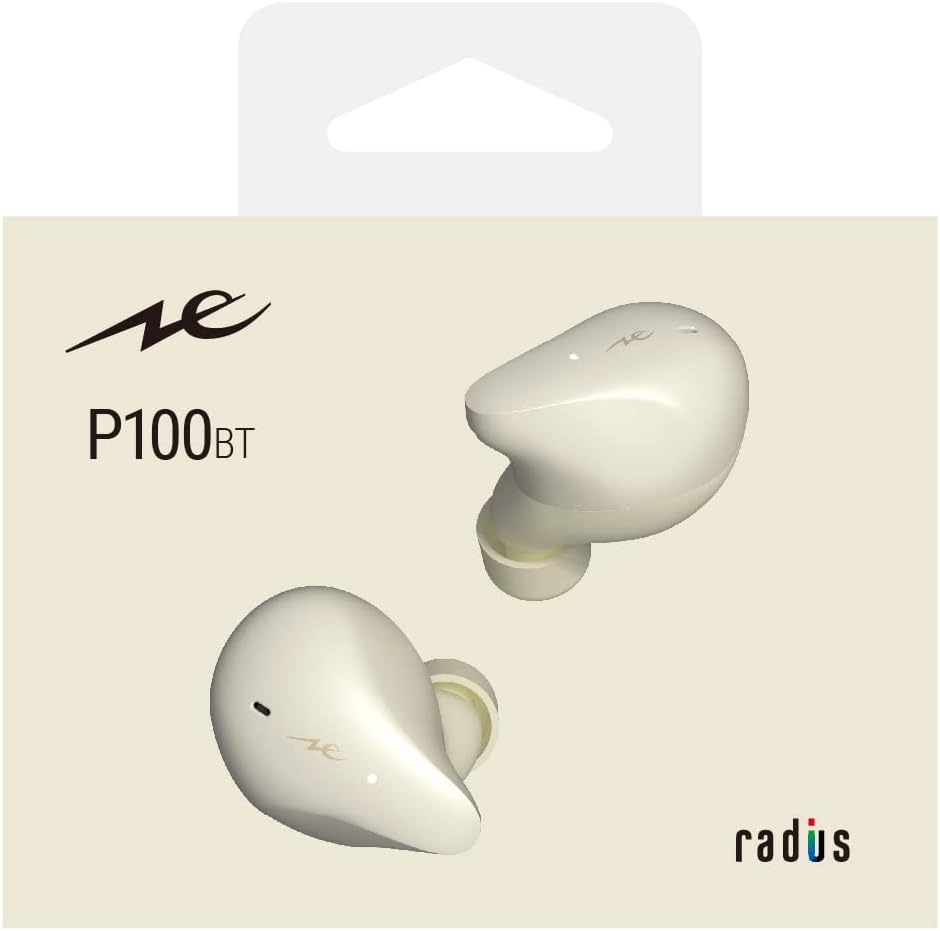
Image: Contents of the HP-P100BT package, including earphones, charging case, eartips, and USB-C cable.
Product Overview
Familiarize yourself with the components of your HP-P100BT earphones.
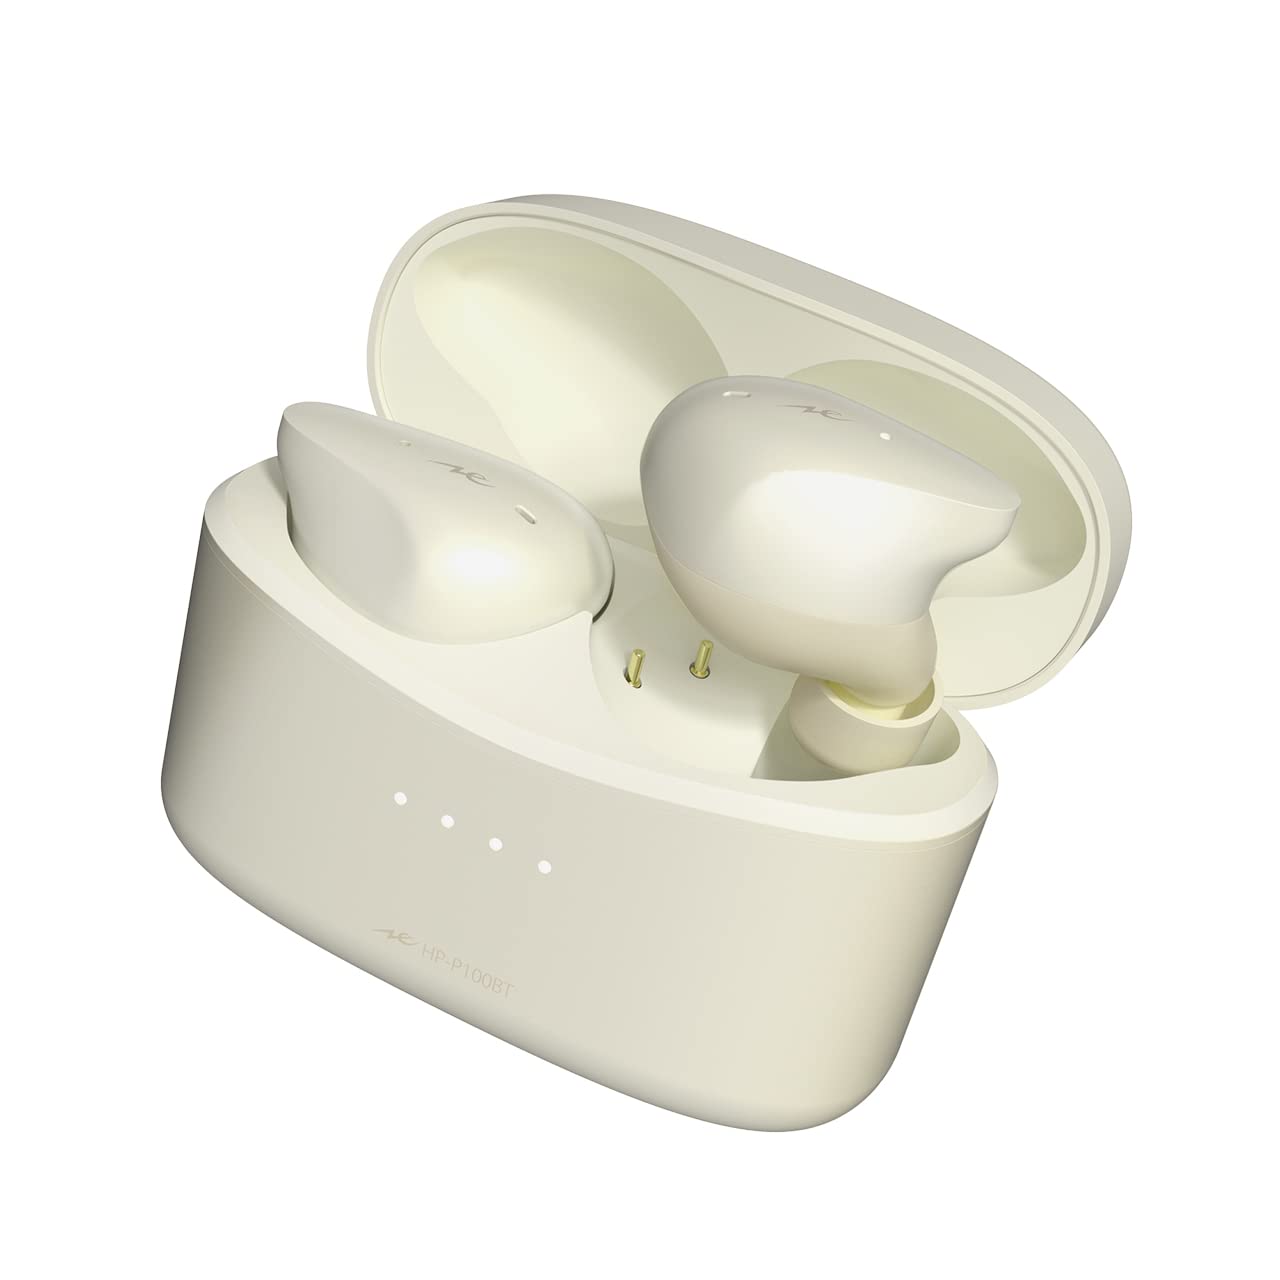
Image: The radius HP-P100BT white wireless earphones, showing their ergonomic design.
Setup
1. Charging the Earphones and Case
Before first use, fully charge the earphones and charging case.
- Place the earphones into the charging case. Ensure they are correctly seated.
- Connect the USB Type-C charging cable to the charging port on the case and to a USB power source (e.g., computer, USB wall adapter).
- The indicator lights on the charging case will show the charging status. Once fully charged, the lights will indicate completion or turn off.

Image: The HP-P100BT charging case with earbuds inserted, ready for charging.
2. Pairing with a Bluetooth Device
To use the earphones wirelessly, you must pair them with your Bluetooth-enabled device.
- Open the charging case. The earphones will automatically enter pairing mode, and the indicator lights will flash.
- On your device (smartphone, tablet, etc.), go to the Bluetooth settings and turn Bluetooth on.
- Select "radius HP-P100BT" from the list of available devices.
- Once connected, the earphone indicator lights will stop flashing or change to a steady light.

Image: Illustration of selecting "radius HP-P100BT" from a device's Bluetooth menu.
3. Fitting the Earphones
For optimal sound quality and comfort, choose the correct earpiece size and ensure a proper fit.
- Try different earpiece sizes (S, M, L) to find the best fit for your ears. A good seal is crucial for bass response and noise cancellation.
- Insert the earphones gently into your ear canal and twist slightly until they feel secure and comfortable.
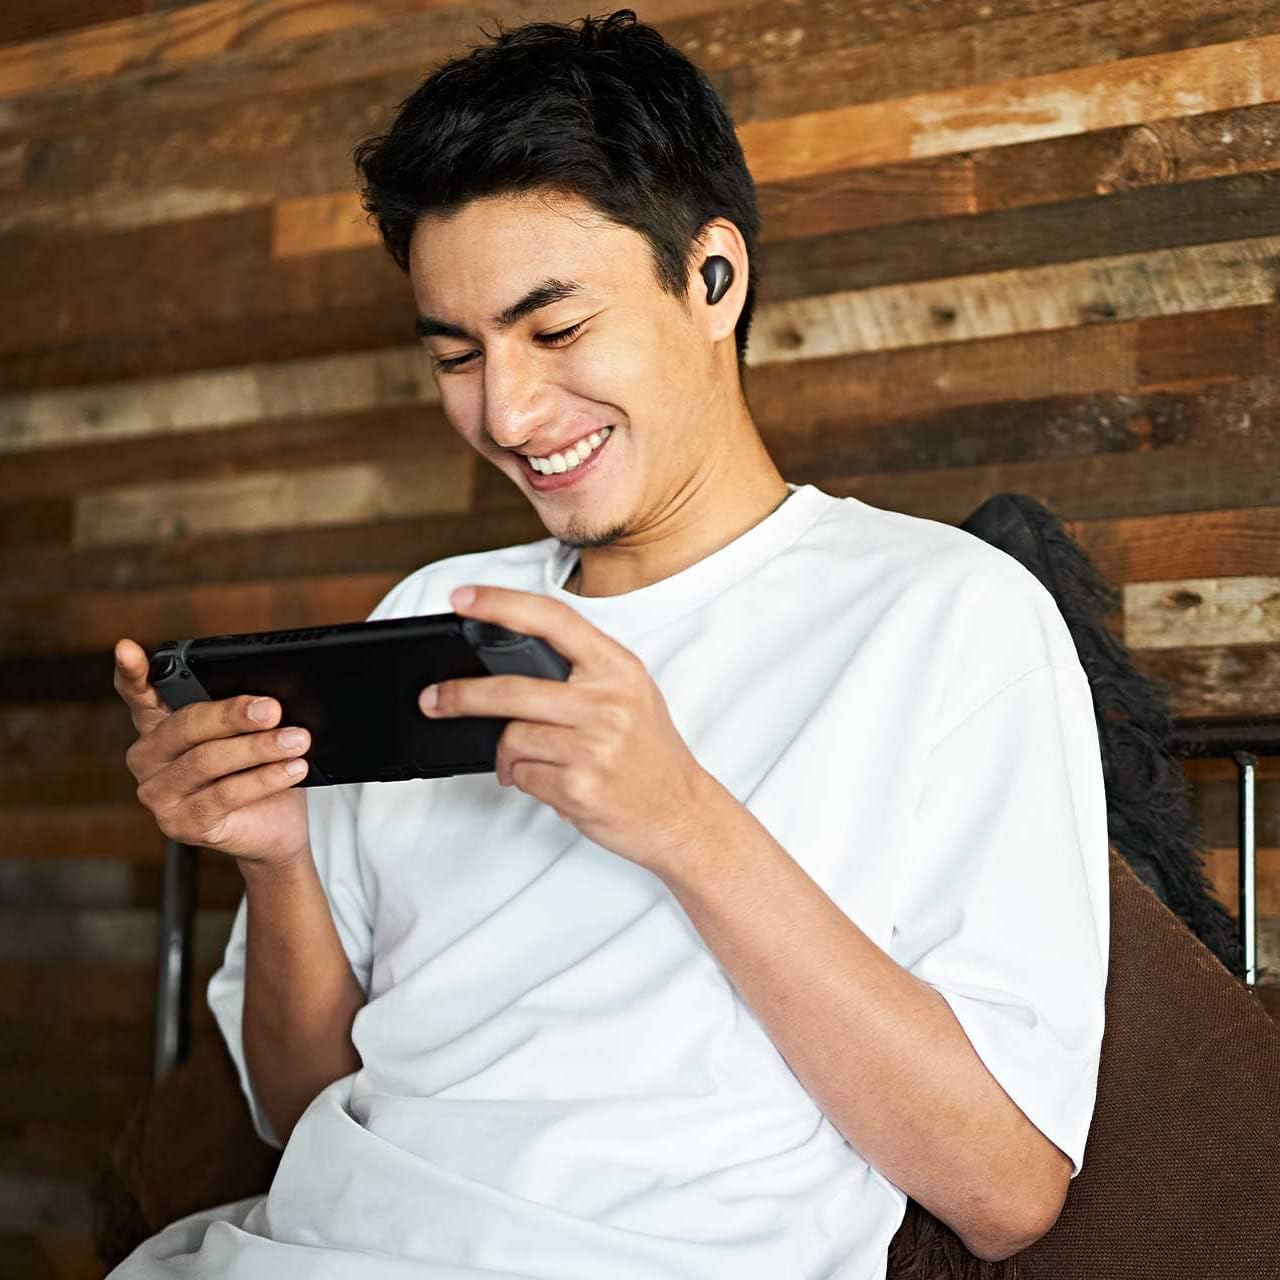
Image: A person wearing the HP-P100BT earphones, demonstrating a proper fit during use.
Operating Instructions
Power On/Off
- Power On: Open the charging case, or remove the earphones from the case. They will power on automatically.
- Power Off: Place the earphones back into the charging case and close the lid. They will power off automatically.
Music Playback Control
- Play/Pause: Tap either earphone once.
- Next Track: Double-tap the right earphone.
- Previous Track: Double-tap the left earphone.
Call Management
- Answer/End Call: Tap either earphone once.
- Reject Call: Press and hold either earphone for approximately 2 seconds.
Volume Control
- Increase Volume: Triple-tap the right earphone.
- Decrease Volume: Triple-tap the left earphone.
Noise Cancelling / Ambient Sound Mode
The earphones feature Hybrid Noise Cancelling and Ambient Sound (external sound capture) modes.
- Toggle Modes: Press and hold either earphone for approximately 2 seconds to cycle between Noise Cancelling, Ambient Sound, and Normal modes.

Image: Illustration of the press-and-hold gesture on an earbud to toggle between Noise Cancelling and Ambient Sound modes.
Low Latency Mode
Activate Low Latency Mode for reduced audio delay, ideal for gaming and video playback. This mode offers approximately 40ms latency.
- Activate/Deactivate: Triple-tap either earphone. A voice prompt will confirm the mode change.
- Note: While in Low Latency Mode, Bluetooth connection stability may be slightly reduced in environments with strong interference.

Image: Illustration of the triple-tap gesture on an earbud to activate or deactivate Low Latency Mode.
Maintenance
- Cleaning: Regularly clean the earphones and charging case with a soft, dry cloth. Do not use abrasive cleaners or solvents.
- Earpieces: Remove earpieces and clean them with a mild soap solution if necessary. Ensure they are completely dry before reattaching.
- Storage: When not in use, store the earphones in their charging case to protect them and keep them charged. Avoid extreme temperatures.
- Water Resistance: The earphones are IPX5 water-resistant, meaning they can withstand splashes and sweat. Do not submerge them in water or expose them to strong jets of water.
Troubleshooting
If you encounter issues, refer to the following common solutions:
| Problem | Solution |
|---|---|
| No sound or low volume |
|
| Cannot pair with device |
|
| Intermittent connection / Sound drops |
|
| Earphones not charging |
|
| Resetting the Earphones | If issues persist, you may need to reset the earphones:
 Image: Illustration of the reset procedure by pressing both earbuds simultaneously for approximately 7 seconds. |
Specifications
| Feature | Detail |
|---|---|
| Model Name | HP-P100BT |
| Noise Control | Active Noise Cancellation (ANC) |
| Connectivity Technology | Wireless (Bluetooth) |
| Wireless Communication Technology | Bluetooth |
| Control Type | Remote Control (Touch) |
| Cable Features | Cableless |
| Water Resistance Level | IPX5 (Waterproof) |
| Form Factor | In-Ear |
| Impedance | 32 Ohms |
| Package Dimensions | 13 x 10.5 x 6.2 cm |
| Item Weight | 140 g |
Warranty and Support
Your radius HP-P100BT earphones come with a manufacturer's warranty. Please refer to the included warranty card in your package for specific terms and conditions.
For product support, inquiries, or warranty claims, please contact the official radius store or an authorized retailer where you purchased the product. Products purchased from unauthorized sellers may not be covered by the official warranty.
For more details, please visit the official radius website.

Image: Symbol of radius product warranty and support.