Introduction
This manual provides detailed instructions for the installation, operation, and maintenance of your Polarlander Android 9.1 Bluetooth Car Stereo, Model 9002VWC. Please read this manual thoroughly before using the product to ensure proper function and to prevent damage.
Vehicle Compatibility
This car stereo is designed for specific vehicle models. Please verify your vehicle's compatibility before installation. A CANbus box is included for seamless integration with compatible vehicles.

Image: Compatible vehicle models for the Polarlander car stereo, including various Volkswagen, Skoda, and Seat models.
Compatible Volkswagen Models:
- Passat B6 (2007-2011), Passat B7 (2011-2014), Passat B5 (2000-2005), Passat B5.5 (2005-2011)
- Passat CC B6 (2009-2011), Passat CC B7 (2011-2014), Passat NMS (2012-2014)
- Passat B7 NMS Gen7 (2013-2015)
- Lavida Gen1 (2011-2012), Lavida Gen2 (After 2012), Gran Lavida Gen2 (After 2013), Gross Lavida Gen2 (After 2013)
- Touran Gen2 (2010-2014), Tiguan Gen1 (2010-2015), Tiguan Gen1 (2007-2014)
- Golf Plus MK5 (2003-2009), Golf Plus MK6 (2009-2014)
- Golf6 MK6 (2008-2013), Golf/GTI/R32/Rabbit MK5 (2003-2008)
- Jetta Gen6 (After 2011), Jetta/Sagitar Gen5 (2006-2012), Jetta/Sagitar Gen6 (After 2012)
- Jetta SportWagen Gen5 Gen6 (20017-2013)
- Polo Gen5 (After 2010), Polo GTI Gen5 (After 2010), Vento Polo Gen5 (After 2010)
- Scirocco Gen3 (After 2008), Sharan Gen2 Passat B7 (After 2010)
- Bora Jetta Gen4 (2013-2015), New Santana (After 2013), New Beetle A5 (After 2012)
- Transporter T5 Gen5 (After 2009), Caddy Gen3 (After 2010), EOS Gen1 Gen2 (After 2006)
Compatible Skoda Models:
- Superb II Gen2 (2008-2013), Superb II Gen2 (2013-2015)
- Yeti (After 2009)
- Rapid (After 2012), Rapid Spaceback (After 2012), Praktik (After 2010)
- Roomster (After 2010)
- Laura Octavia Gen2 (2010-2014), Octavia MK2 Gen2 (2002-2014)
Compatible Seat Models:
- Altea (After 2010), Altea XL (After 2010)
- Ibiza Gen4 (After 2008)
- Leon Gen2 (2005-2012)
- Toledo Gen4 (After 2012)
- Alhambra (After 2010)
- Lavida Gen1 (2011-2012)
Setup and Installation
Professional installation is recommended for this car stereo. Ensure the vehicle's battery is disconnected before beginning installation.
- Remove Existing Unit: Carefully remove your vehicle's existing car stereo unit and trim.
- Wiring Connections: Connect the wiring harness from the new stereo to your vehicle's wiring. Ensure all connections are secure. The unit supports USB and RCA connections.
- CANbus Connection: If your vehicle requires a CANbus connection, ensure the included CANbus box is properly connected. Important: Disconnect the small red and orange wired plug from the CANbus to prevent battery drain.
- GPS Antenna: Connect the GPS antenna and position it in a location with a clear view of the sky for optimal signal reception.
- Mounting: Secure the new car stereo into the dashboard opening.
- Power On: Reconnect the vehicle's battery and power on the unit to test functionality.
Operating Instructions
Your Polarlander car stereo runs on Android 9.1, offering a wide range of features and connectivity options.
Basic Navigation and Interface

Image: The Android operating system interface on the car stereo, displaying various application icons such as Bluetooth, Music, Radio, Navigation, and Settings.
The 9-inch touch screen provides an intuitive interface. Navigate through applications and settings by tapping and swiping. The system features a Quad Core processor, 1GB RAM, and 16GB ROM for smooth performance.
GPS Navigation
The unit includes a global positioning system with dual positioning satellites for stable and accurate navigation. It comes with built-in offline maps and supports online navigation when connected to Wi-Fi. A free GPS antenna is provided for enhanced location accuracy.

Image: The car stereo screen showing an online navigation map, indicating a route and various points of interest, with a voice guidance prompt visible.
Wi-Fi Connection
Connect the car stereo to your home Wi-Fi network or a phone hotspot to access online features, download applications, and browse the internet. This enables online navigation and access to various streaming services.
Bluetooth 5.0 (Hands-Free Calls & Music Streaming)
Pair your smartphone via Bluetooth 5.0 for hands-free calling and music streaming. This allows you to answer calls safely while driving and enjoy your favorite audio content wirelessly.
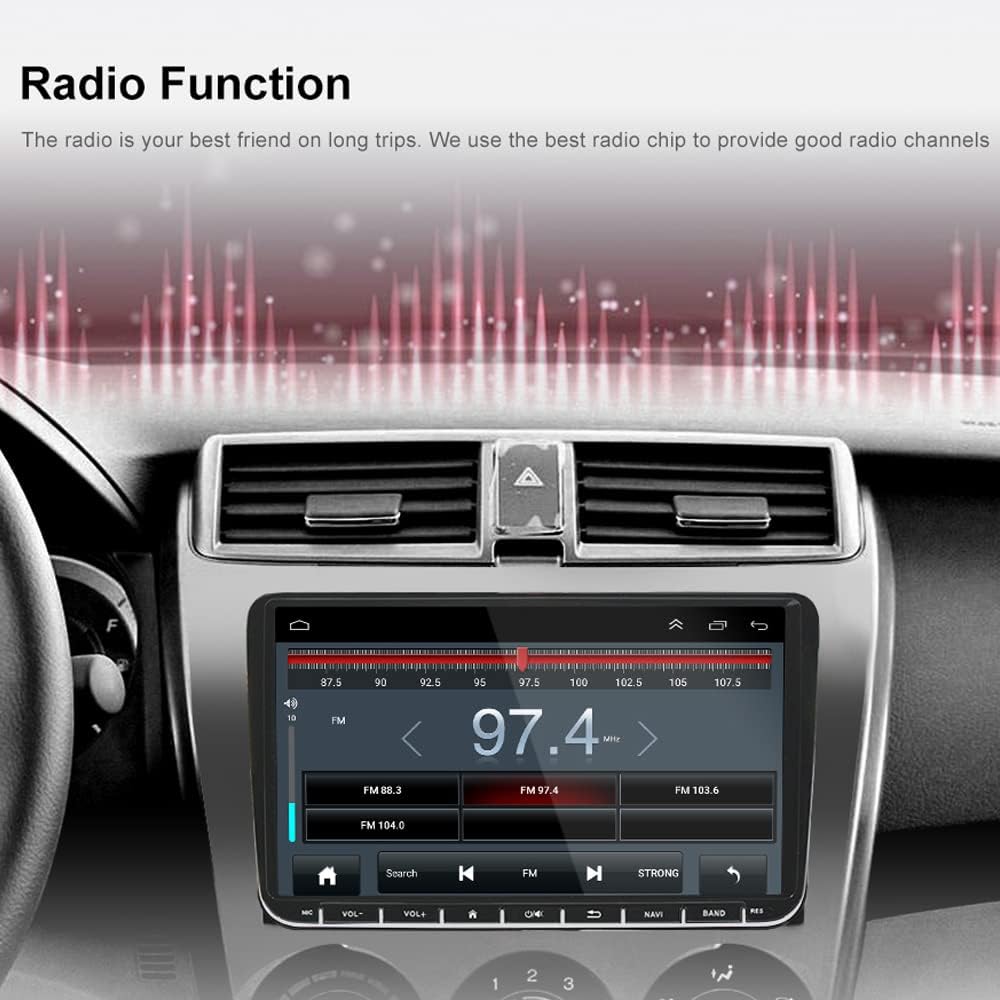
Image: The car stereo screen showing a phone connection interface with a dial pad and call options, alongside a smartphone, illustrating hands-free calling and music streaming capabilities.
CarAutoPlay / Android Auto
Connect your smartphone via a USB data cable and switch to AUTO PLAY mode to access your phone's functions directly on the car stereo. This includes navigation, calls, messages, and music, all optimized for safe in-car use.

Image: The car stereo screen showing a CarAutoPlay interface with various app icons, connected to a smartphone via a USB cable, demonstrating wired and wireless synchronization.
Mirror-Link Function
The Mirror-Link feature allows you to mirror your smartphone's screen onto the car stereo display. Android phones can be controlled directly from the unit via USB, while iPhones can mirror video and audio content.

Image: The car stereo screen mirroring the display of a smartphone, showing various application icons, illustrating the wireless mirror link functionality for both Android and iPhone devices.
Radio Function
Utilize the built-in radio tuner to access FM radio stations. The unit is equipped with a high-quality radio chip for clear reception.

Image: The car stereo screen showing a radio interface with frequency display and controls for tuning and station selection, indicating strong signal reception.
Steering Wheel Control
The unit supports steering wheel control functions, allowing you to manage audio and other features without taking your hands off the wheel (requires proper vehicle integration via CANbus).
Maintenance
To ensure the longevity and optimal performance of your car stereo, follow these maintenance guidelines:
- Cleaning: Use a soft, dry cloth to clean the screen and exterior. Avoid abrasive cleaners or solvents.
- Software Updates: Periodically check for and install software updates to ensure the system runs efficiently and has the latest features.
- Environmental Conditions: Avoid exposing the unit to extreme temperatures, direct sunlight for prolonged periods, or excessive moisture.
Troubleshooting
If you encounter issues with your car stereo, refer to the following common problems and solutions:
- No Power:
- Check all power connections and fuses.
- Ensure the vehicle's battery is charged.
- Verify the CANbus connection and ensure the small red/orange plug is disconnected to prevent battery drain.
- No Sound:
- Check speaker connections.
- Verify volume settings on the unit and any connected devices.
- Ensure the correct audio source is selected.
- GPS Signal Loss:
- Ensure the GPS antenna has a clear view of the sky.
- Check the GPS antenna connection to the unit.
- Update GPS maps if necessary.
- Bluetooth Connection Issues:
- Ensure Bluetooth is enabled on both the stereo and your smartphone.
- Delete previous pairings and attempt to re-pair the devices.
- Move the smartphone closer to the unit.
- Touch Screen Unresponsive:
- Restart the unit.
- Ensure the screen is clean and free of debris.
If problems persist, contact customer support for further assistance.
Specifications
| Feature | Detail |
|---|---|
| Brand | Polarlander |
| Model Number | 9002VWC |
| Operating System | Android 9.1 |
| Processor | Quad Core |
| RAM | 1GB |
| ROM (Internal Storage) | 16GB |
| Display | 9-inch Touch Screen |
| Resolution | 1024*600 |
| Bluetooth Version | 5.0 |
| Connectivity | Wi-Fi, USB, RCA |
| Output Wattage | 45 Watts |
| Special Features | CarAutoPlay, GPS Navigation, HD1080P Support, Dual Channel CANbus, Mirror-link, Steering Wheel Control |
| Item Weight | 16 Grams |
Warranty and Support
For warranty information and customer support, please refer to the documentation provided with your purchase or contact the manufacturer directly. Keep your proof of purchase for warranty claims.