1. Introduction
Thank you for choosing the Scheppach BCRH170-20ProS 20V Rotary Hammer. This instruction manual provides important information regarding the safe operation, setup, maintenance, and troubleshooting of your new tool. Please read this manual thoroughly before first use and keep it for future reference. This cordless rotary hammer is designed for drilling in concrete, masonry, and stone, as well as for light chiseling work, and standard drilling in wood and metal when used with appropriate accessories.
2. General Safety Instructions
WARNING: Read all safety warnings, instructions, illustrations, and specifications provided with this power tool. Failure to follow all instructions listed below may result in electric shock, fire, and/or serious injury.
2.1. Work Area Safety
- Keep work area clean and well lit. Cluttered or dark areas invite accidents.
- Do not operate power tools in explosive atmospheres, such as in the presence of flammable liquids, gases, or dust. Power tools create sparks which may ignite the dust or fumes.
- Keep children and bystanders away while operating a power tool. Distractions can cause you to lose control.
2.2. Electrical Safety
- Power tool plugs must match the outlet. Never modify the plug in any way.
- Avoid body contact with earthed or grounded surfaces, such as pipes, radiators, ranges, and refrigerators. There is an increased risk of electric shock if your body is earthed or grounded.
- Do not expose power tools to rain or wet conditions. Water entering a power tool will increase the risk of electric shock.
2.3. Personal Safety
- Always wear eye protection. Use safety glasses, goggles, or a face shield.
- Wear hearing protection when operating power tools for extended periods.
- Dress properly. Do not wear loose clothing or jewelry. Keep your hair and clothing away from moving parts.
- Stay alert, watch what you are doing, and use common sense when operating a power tool.
2.4. Power Tool Use and Care
- Do not force the power tool. Use the correct power tool for your application.
- Disconnect the battery pack from the power tool before making any adjustments, changing accessories, or storing power tools.
- Store idle power tools out of the reach of children and do not allow persons unfamiliar with the power tool or these instructions to operate the power tool.
- Maintain power tools and accessories. Check for misalignment or binding of moving parts, breakage of parts, and any other condition that may affect the power tool’s operation.
3. Product Overview and Components
Familiarize yourself with the main components of your Scheppach BCRH170-20ProS Rotary Hammer before operation.
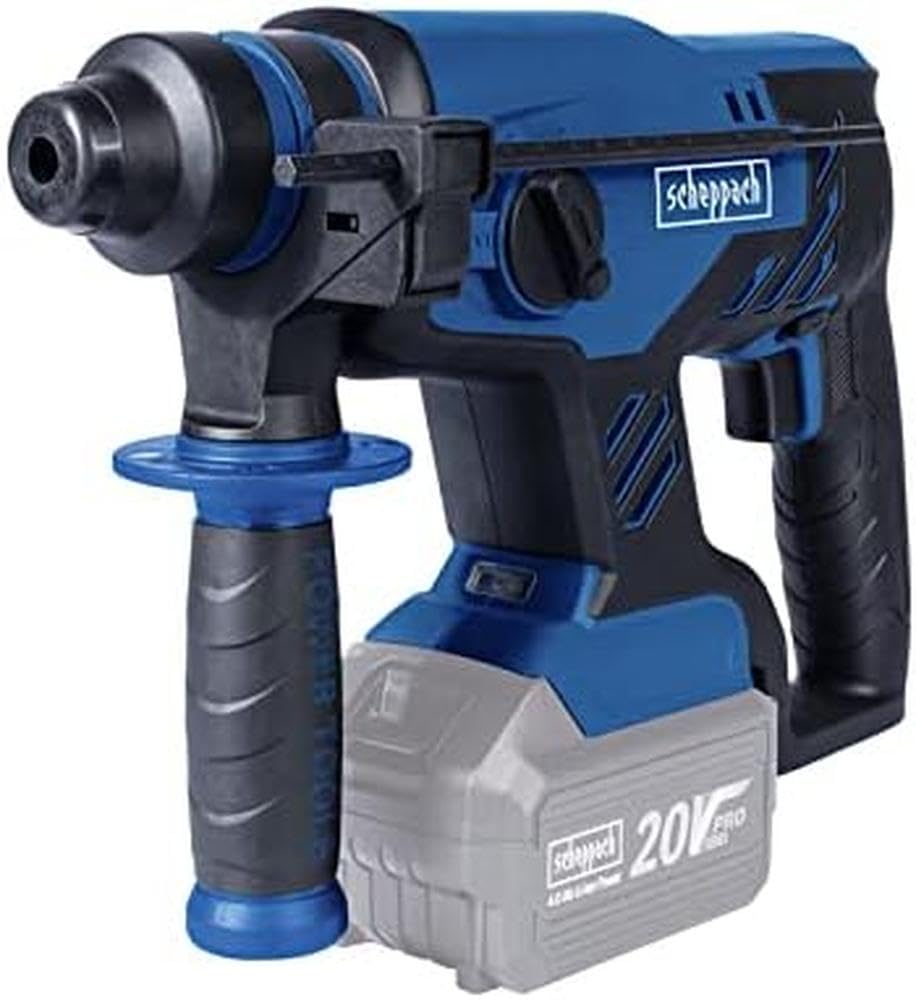
Figure 1: Scheppach BCRH170-20ProS 20V Rotary Hammer. This image shows the main body of the rotary hammer, including the handle, motor housing, SDS chuck, and a compatible 20V battery pack attached at the base.

Figure 2: Side view of the Scheppach BCRH170-20ProS Rotary Hammer. This view highlights the ergonomic design of the tool's body and the placement of controls.
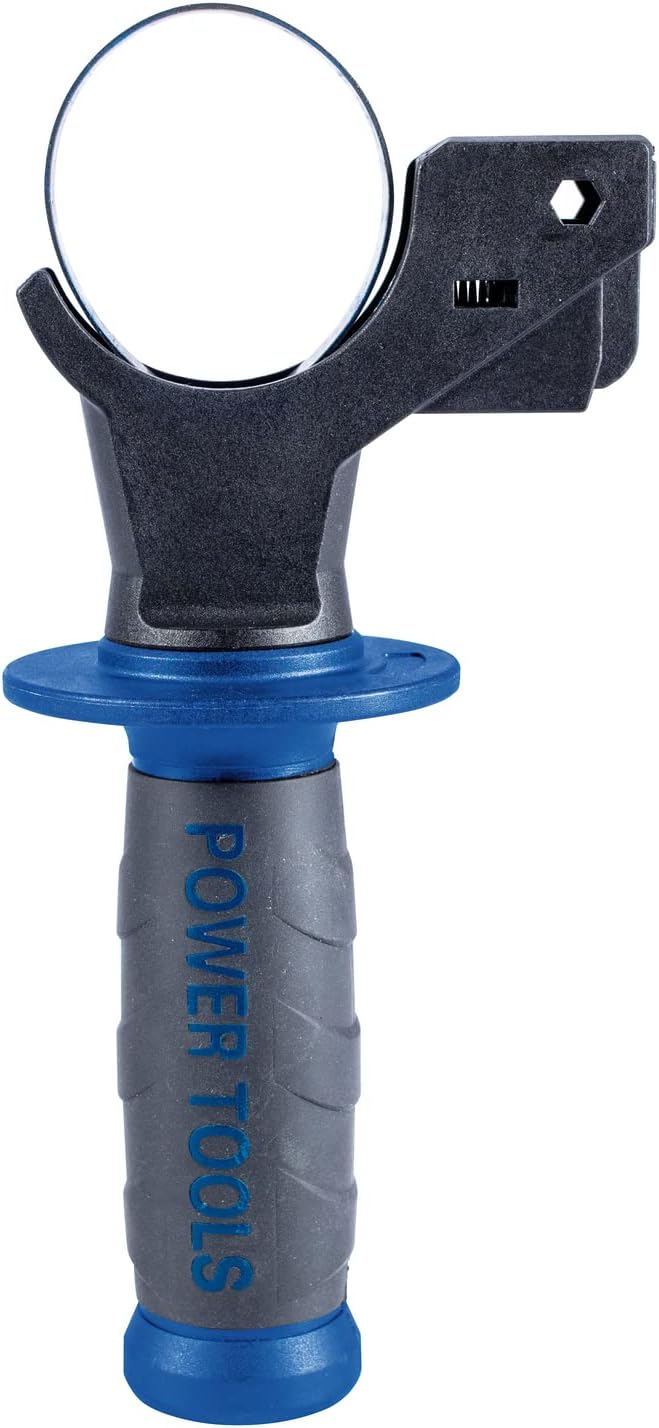
Figure 3: Auxiliary handle. This adjustable handle provides additional grip and control during operation, enhancing user safety and precision.

Figure 4: Depth stop. This accessory allows for precise control over drilling depth, preventing over-drilling.
Key Components:
- SDS-Plus Chuck: For quick and secure bit changes.
- Mode Selector Switch: To switch between drilling, hammer drilling, and chiseling modes.
- Trigger Switch: Activates the tool.
- Auxiliary Handle: Provides additional grip and control.
- Depth Stop: For precise drilling depth.
- Battery Interface: For attaching the 20V battery pack (not included).
4. Setup
4.1. Attaching the Auxiliary Handle
- Loosen the auxiliary handle by rotating it counter-clockwise.
- Slide the handle over the chuck and onto the tool's neck.
- Adjust the handle to a comfortable and secure position.
- Tighten the handle by rotating it clockwise until it is firmly secured.
4.2. Inserting the Depth Stop
- Insert the depth stop rod into the hole on the auxiliary handle.
- Adjust the depth stop to the desired drilling depth.
- Ensure the depth stop is securely positioned before operation.
4.3. Installing/Removing the Battery Pack
The battery pack and charger are not included with this tool and must be purchased separately. Use only Scheppach 20V Pro Series batteries and chargers.
- To Install: Align the battery pack with the tool's battery interface and slide it in until it clicks into place.
- To Remove: Press the battery release button and slide the battery pack out.
- Ensure the battery is fully charged before use.
4.4. Inserting SDS-Plus Drill Bits/Chisels
- Clean the shank of the drill bit/chisel.
- Pull back the SDS-Plus chuck sleeve.
- Insert the drill bit/chisel into the chuck until it locks into place.
- Release the chuck sleeve. Pull on the bit to ensure it is securely locked. A slight axial play is normal for SDS-Plus systems.
- To remove, pull back the chuck sleeve and pull the bit out.
5. Operating Instructions
5.1. Selecting Operating Mode
Rotate the mode selector switch to choose the desired operating mode:
- Drilling Mode (Rotary Only): For drilling in wood, metal, and plastics. No hammering action.
- Hammer Drilling Mode (Rotary with Hammer): For drilling in concrete, masonry, and stone.
- Chiseling Mode (Hammer Only): For light chiseling, chipping, or breaking work. The rotation is locked.
Always ensure the mode selector is firmly engaged in the desired position before starting the tool.
5.2. Starting and Stopping the Tool
- To Start: Press the trigger switch. The tool speed is variable depending on how far the trigger is pressed.
- To Stop: Release the trigger switch.
5.3. General Operation Tips
- Always hold the tool firmly with both hands, using the main handle and the auxiliary handle.
- Apply steady, even pressure. Do not force the tool.
- For hammer drilling, allow the tool's hammering action to do the work.
- When drilling deep holes, periodically withdraw the bit to clear debris.
- Ensure the workpiece is securely clamped or held to prevent movement.
6. Maintenance
Regular maintenance ensures the longevity and optimal performance of your rotary hammer. Always disconnect the battery pack before performing any maintenance.
6.1. Cleaning
- Keep the ventilation openings clean to prevent motor overheating.
- Wipe the tool housing with a soft, damp cloth. Do not use solvents or abrasive cleaners.
- Clean the SDS-Plus chuck regularly to ensure smooth bit insertion and removal. Apply a small amount of grease to the bit shank before insertion to reduce wear.
6.2. Storage
- Store the tool in a dry, secure place, out of reach of children.
- Remove the battery pack from the tool before storage.
- Store battery packs in a cool, dry place, away from direct sunlight and extreme temperatures.
6.3. Battery Care
- Charge battery packs only with the specified Scheppach 20V Pro Series charger.
- Do not expose battery packs to water or moisture.
- Do not store battery packs in temperatures above 50°C (122°F) or below -20°C (-4°F).
7. Troubleshooting
| Problem | Possible Cause | Solution |
|---|---|---|
| Tool does not start | Battery not inserted correctly or discharged. | Ensure battery is fully inserted. Charge the battery pack. |
| Reduced performance | Battery low or tool overheating. | Charge battery. Allow tool to cool down. Clean ventilation slots. |
| Bit not locking in chuck | Chuck sleeve not pulled back far enough or debris in chuck. | Pull chuck sleeve fully back. Clean chuck and bit shank. |
| Excessive vibration | Worn bit or damaged tool. | Replace worn bit. If problem persists, contact customer support. |
8. Technical Specifications
| Feature | Specification |
|---|---|
| Model | SC-BCRH170-20ProS |
| Voltage | 20V DC |
| Impact Energy | 1.7 Joules |
| Chuck Type | SDS-Plus |
| Dimensions (L x W x H) | 45 x 50 x 20 cm |
| Weight | 500 grams (tool only, without battery) |
| Material | Alloy Steel |
| Battery/Charger | Not included (Scheppach 20V Pro Series compatible) |
9. Warranty and Support
Scheppach products are manufactured to high-quality standards. In the unlikely event that your tool develops a fault, please refer to your purchase documentation for warranty details and contact information for customer support. Keep your proof of purchase for any warranty claims.
For technical assistance or spare parts, please visit the official Scheppach website or contact your local dealer.