1. Introduction
This manual provides instructions for the XTRONS ISO Wiring Harness, designed to facilitate the installation of XTRONS head units in specific Lexus vehicles. This harness ensures proper electrical connection and integration with the vehicle's existing systems.
The XTRONS ISO Wiring Harness is compatible with XTRONS custom fit car stereo models PEP11ISL, PSP10ISL, IAP11ISL, and PMA10ISL. It is specifically designed for Lexus IS250/IS300/IS350 Convertible (2-door) models that feature an original navigation or fibre amplifier system.
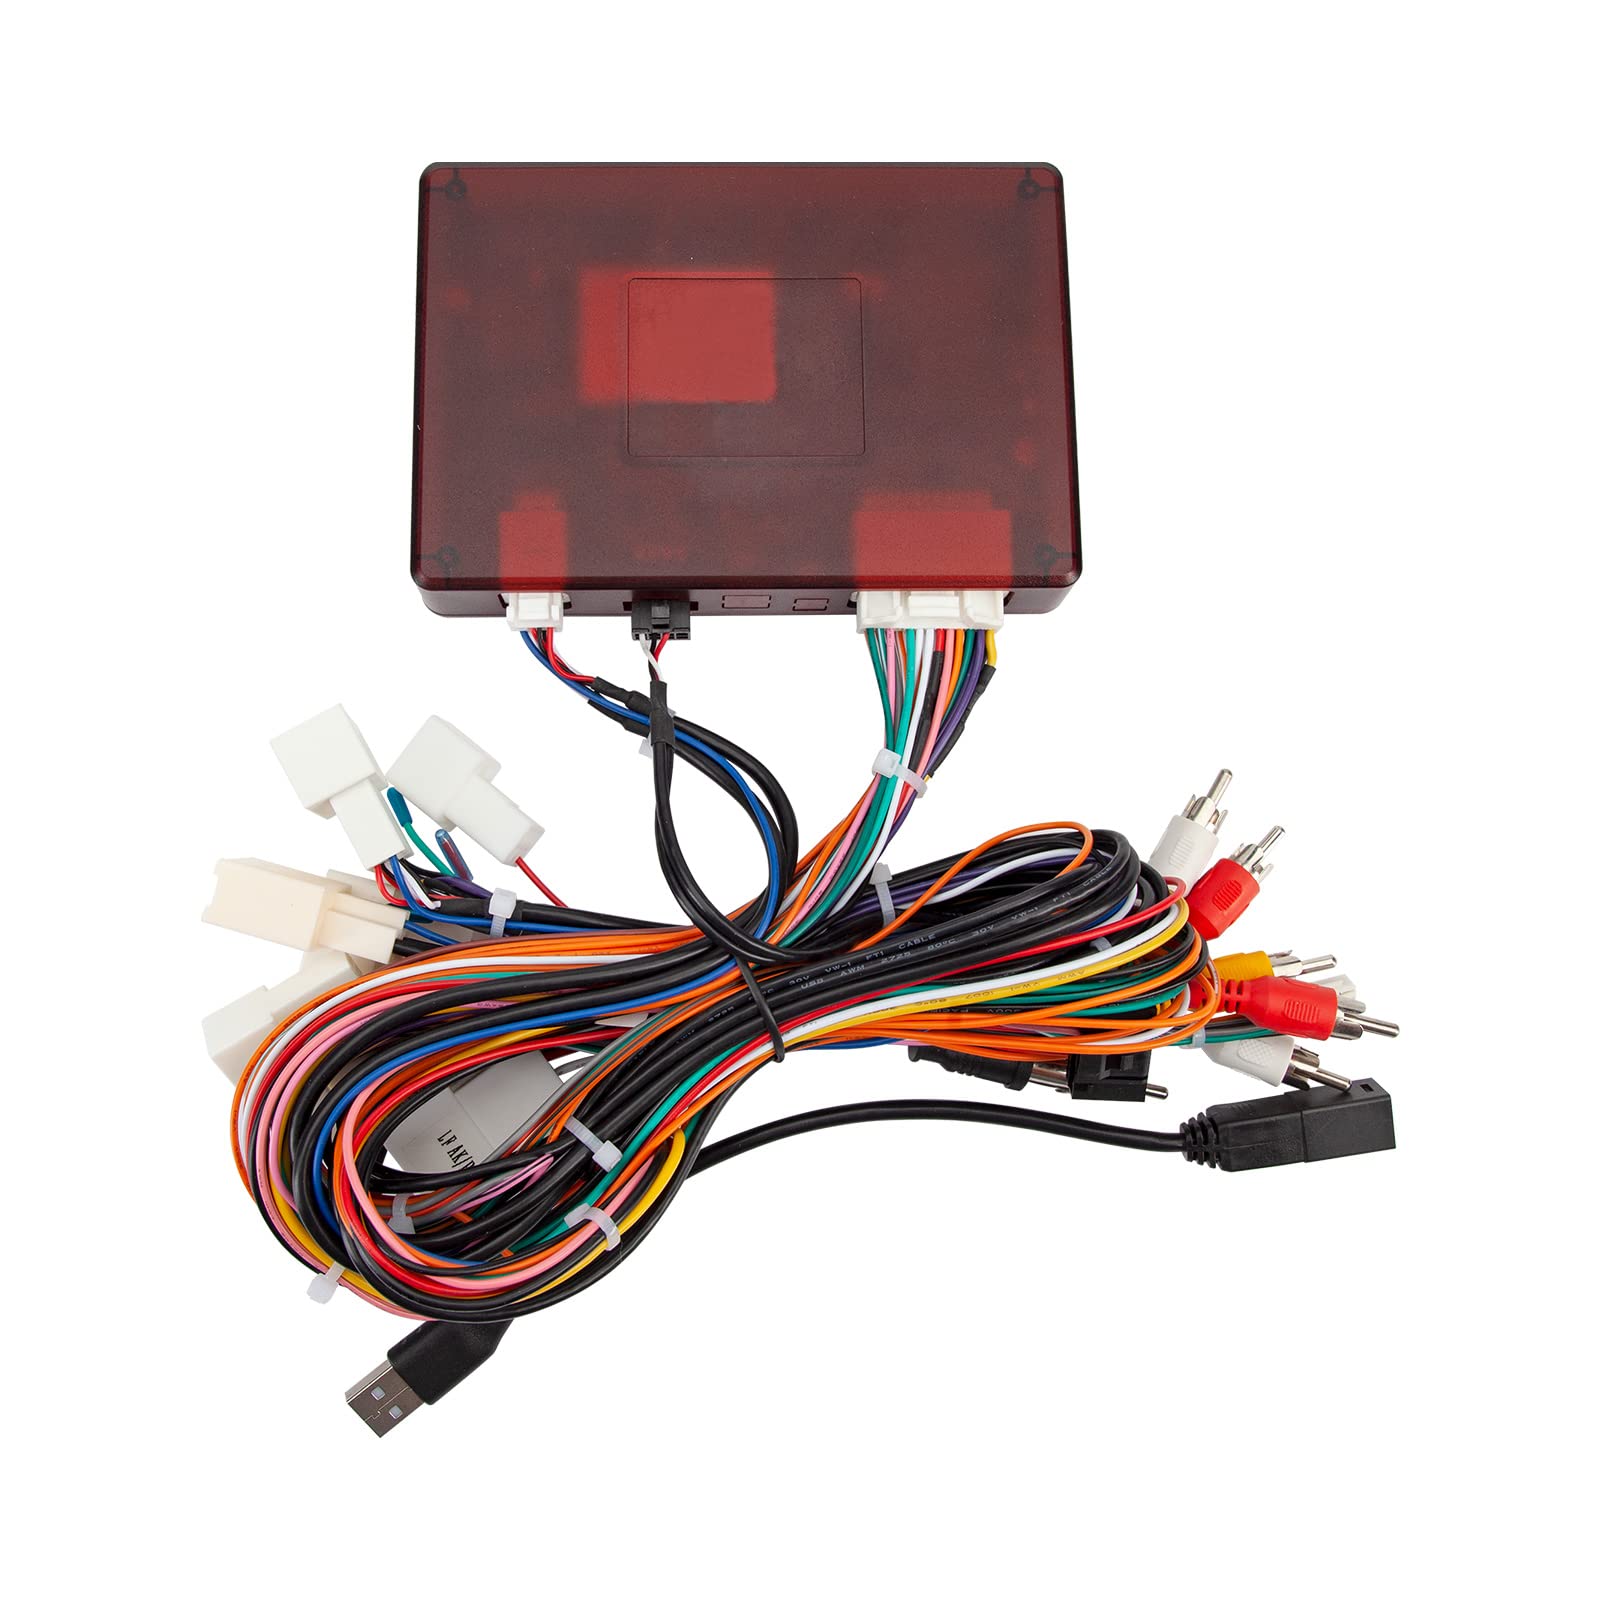
Figure 1: Overview of the XTRONS ISO Wiring Harness, showing various connectors and cables.
2. Setup and Installation
The ISO Wiring Harness is crucial for integrating your XTRONS head unit with your Lexus vehicle's electrical system. Proper installation is essential for functionality and safety. It is highly recommended that installation be performed by a qualified professional.
2.1 Compatibility
- Compatible XTRONS Head Units: PEP11ISL, PSP10ISL, IAP11ISL, PMA10ISL.
- Compatible Lexus Vehicles: IS250/IS300/IS350 Convertible (2-door) with original navigation or fibre amplifier system.
2.2 Components Overview
The harness consists of multiple color-coded wires and connectors designed to match the vehicle's wiring and the XTRONS head unit's inputs/outputs. These include power, ground, speaker outputs, and data communication lines.
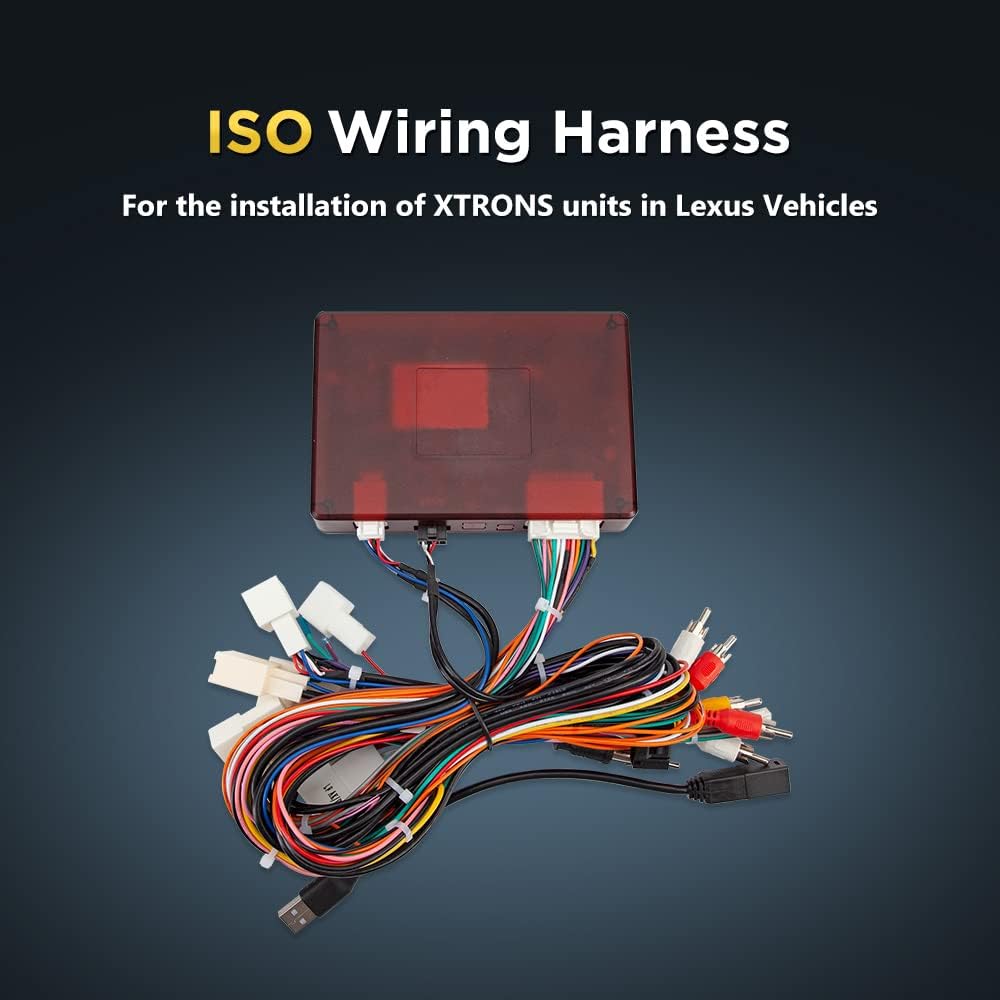
Figure 2: Close-up view of the various connectors on the ISO Wiring Harness.
2.3 Installation Steps (General)
- Disconnect Battery: Before beginning any electrical work, disconnect the vehicle's negative battery terminal to prevent electrical shorts.
- Remove Existing Head Unit: Carefully remove the factory head unit from the dashboard. Refer to your vehicle's service manual for specific removal procedures.
- Connect Harness to Vehicle: Connect the vehicle-specific connectors of the ISO Wiring Harness to the corresponding ports in your Lexus dashboard. Ensure all connections are secure.
- Connect Harness to XTRONS Head Unit: Connect the ISO connectors of the harness to the back of your XTRONS head unit. Match the color-coded wires and connector shapes.
- Test Connections: Before fully reassembling the dashboard, reconnect the vehicle battery and perform a basic test of the XTRONS head unit's functions (power, audio, basic controls).
- Secure Wiring and Reassemble: Once confirmed operational, carefully route and secure all wiring to prevent pinching or interference. Reassemble the dashboard components.

Figure 3: Example of a head unit installed in a Lexus dashboard, indicating the area where the harness connects.
3. Operation
The XTRONS ISO Wiring Harness is a passive component that facilitates the electrical connection between your vehicle and the XTRONS head unit. Its proper function is to ensure that the head unit receives power, ground, and signal inputs correctly, allowing the head unit to operate as intended.
Once installed, the harness requires no direct user operation. The operation of your car stereo will be governed by the XTRONS head unit itself. Refer to the specific user manual for your XTRONS head unit for detailed operating instructions.
4. Maintenance
The ISO Wiring Harness is designed for long-term reliability and typically requires no routine maintenance after proper installation.
- Keep Dry: Ensure the harness and its connections remain dry and free from moisture to prevent corrosion and electrical issues.
- Avoid Physical Damage: Protect the wiring from sharp objects, excessive bending, or crushing during and after installation.
- Regular Checks (Optional): If you experience electrical issues with your head unit, a professional can inspect the harness connections for integrity.
5. Troubleshooting
If you encounter issues after installing the XTRONS head unit with this harness, consider the following troubleshooting steps:
- No Power to Head Unit:
- Check the vehicle's fuse box for any blown fuses related to the car stereo or accessory power.
- Verify that the harness's power and ground connections are securely attached to the vehicle and the head unit.
- Ensure the vehicle battery is properly connected and charged.
- No Audio Output:
- Confirm that all speaker wires from the harness are correctly connected to the head unit and the vehicle's speaker system.
- If your vehicle has a fibre amplifier system, ensure the harness is correctly interfacing with it.
- Check the head unit's audio settings (e.g., volume, mute, fader/balance).
- Intermittent Functionality:
- Inspect all connections for looseness or corrosion.
- Ensure no wires are pinched or damaged.
If problems persist, it is recommended to consult a professional car audio installer or contact XTRONS customer support.
6. Specifications
| Model Number | AK/PSP10ISL/MOST |
| Brand | XTRONS |
| Material | Copper (core) with PVC (insulation) |
| Included Components | ISO Wiring Harness |
| Compatibility | Lexus IS250/IS300/IS350 Convertible (2-door) with original navigation or fibre amplifier system; XTRONS head units PEP11ISL, PSP10ISL, IAP11ISL, PMA10ISL |
7. Warranty Information
This XTRONS ISO Wiring Harness comes with a 1 MONTH warranty from the date of purchase. This warranty covers manufacturing defects under normal use. It does not cover damage resulting from improper installation, misuse, accidents, or unauthorized modifications.
Please retain your proof of purchase for any warranty claims.
8. Customer Support
For technical assistance, installation queries, or warranty claims, please contact XTRONS customer support. Refer to the XTRONS official website for the most current contact information.
Manufacturer: XTRONS