1. Getting Started
1.1 Unboxing Your Tablet
Carefully remove all items from the packaging. Ensure all components are present before discarding the box.
Video 1: This video demonstrates the unboxing process of the Blackview Tab 6, showing the tablet and included accessories such as the charger, USB cable, and SIM eject pin.
1.2 Package Contents
- Blackview Tab 6 Tablet
- Power Adapter
- USB Charging Cable
- SIM Eject Pin
- User Manual (this document)
1.3 Inserting SIM/SD Card
Locate the SIM/SD card tray on the side of your tablet. Use the provided SIM eject pin to open the tray. Insert your Nano-SIM card(s) and/or microSD card into the designated slots, ensuring correct orientation. Gently push the tray back into the tablet until it clicks into place.
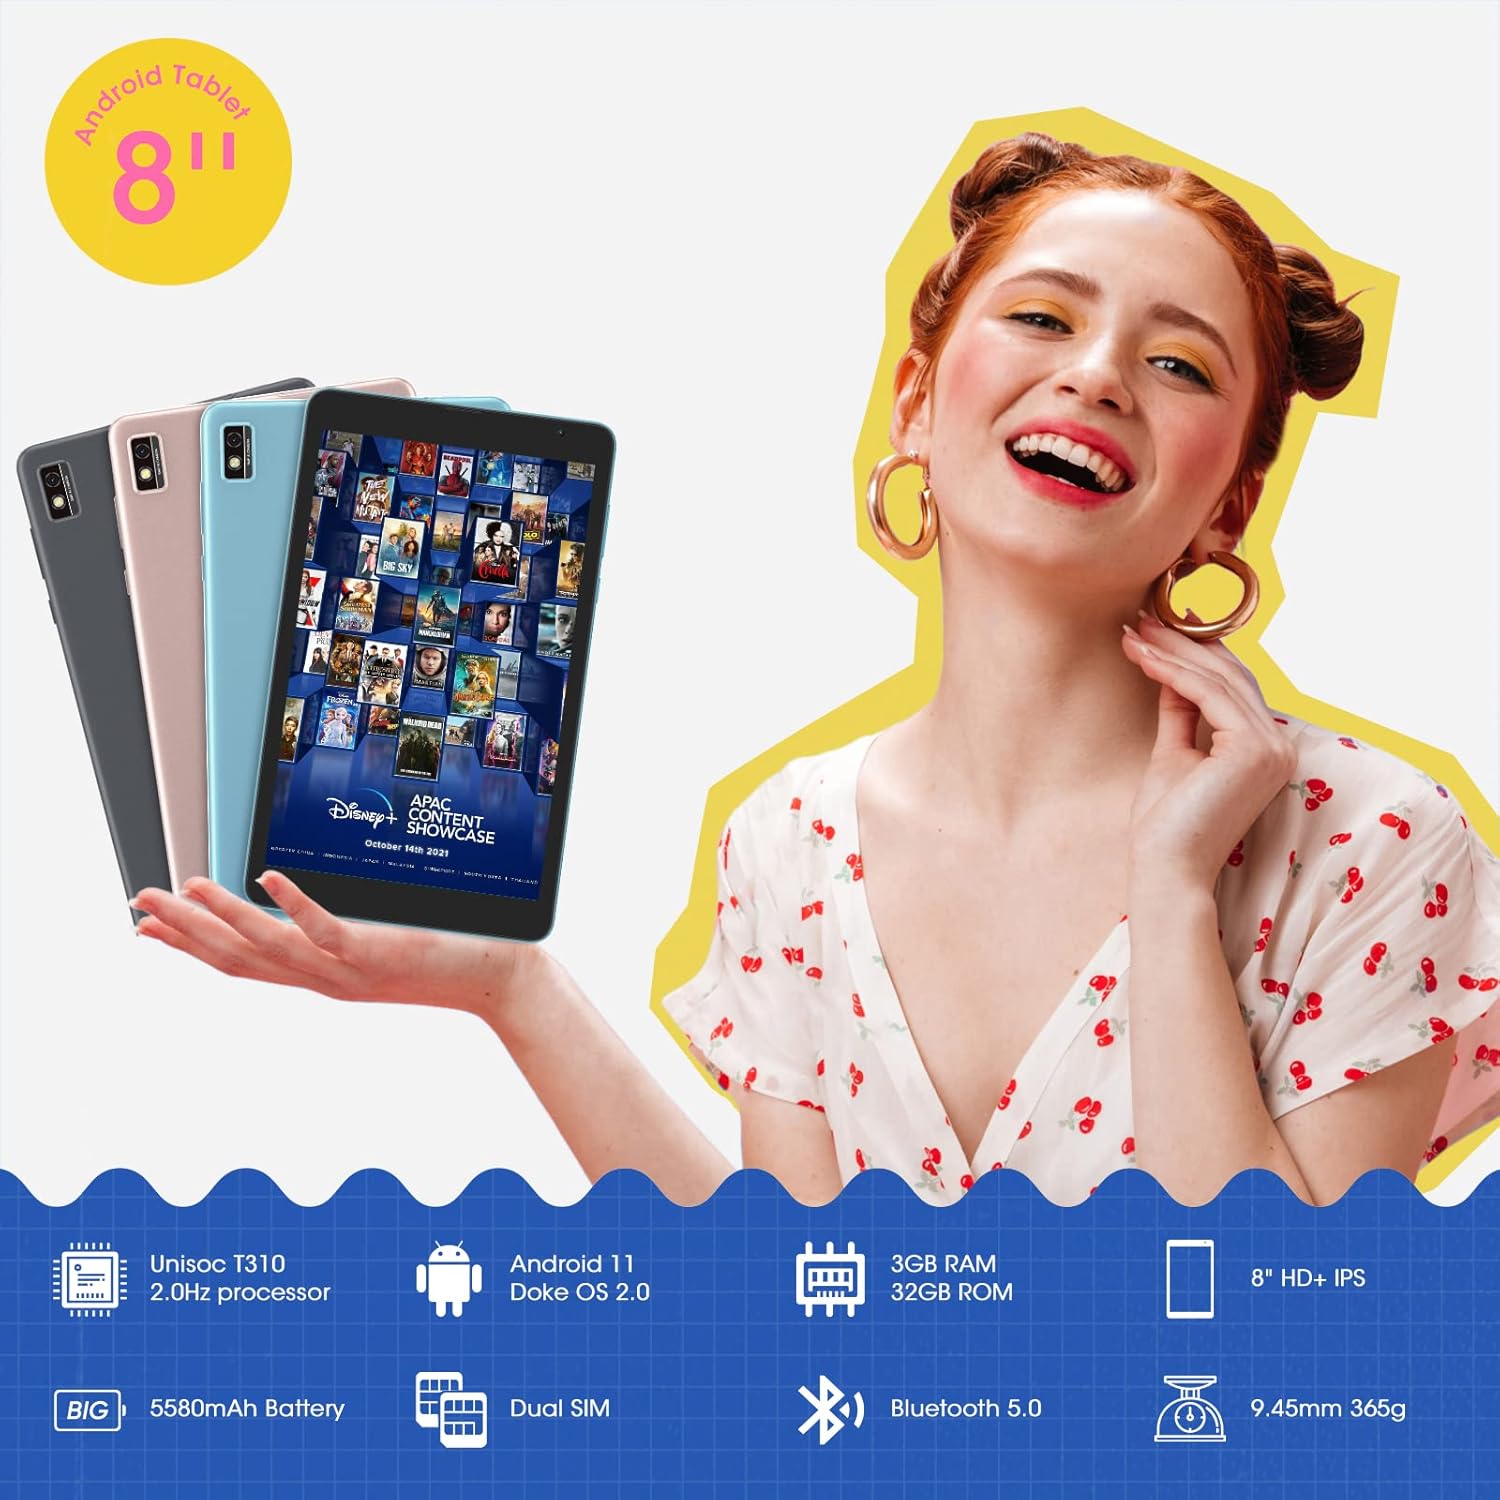
This image shows the Blackview Tab 6 with its dual SIM slots, highlighting its connectivity features and key specifications like the 5580mAh battery and 8-inch HD+ IPS display.
1.4 Initial Charging and Power On
Before first use, fully charge your tablet using the provided power adapter and USB cable. Connect the USB cable to the tablet's charging port and the adapter to a power outlet. The battery indicator on the screen will show charging status. Once charged, press and hold the power button on the side of the tablet until the Blackview logo appears to power it on.
2. Operating Your Tablet
2.1 Basic Navigation
The Blackview Tab 6 runs on Android 11 with Doke OS 2.0, offering an intuitive user experience. Use touch gestures for navigation:
- Tap: Select an item or open an app.
- Swipe: Scroll through screens, lists, or pages.
- Pinch-to-zoom: Zoom in or out on photos and web pages.
- Long press: Access contextual menus or move app icons.

This image illustrates the user interface of the Blackview Tab 6, showcasing the Android 11 operating system with Doke OS 2.0 features like gesture control and dark theme.
2.2 Display Modes
The tablet offers various display modes to optimize your viewing experience:
- Ebook Mode: Adjusts the screen for comfortable reading, reducing eye strain.
- Normal Mode: Standard display settings for general use.
- Eye Comfort Mode: Filters blue light to protect your eyes, especially in low-light conditions.

This image displays the various screen modes available on the Blackview Tab 6, including Ebook Mode, Normal Mode, and Eye Comfort Mode, designed for different viewing preferences.
2.3 Connectivity
The Tab 6 supports a range of connectivity options:
- Wi-Fi: Supports 2.4G and 5G dual-band Wi-Fi for fast internet access.
- Bluetooth 5.0: For connecting wireless accessories like headphones and speakers.
- 4G Global Network: Allows for mobile data and call functionality (where supported by your SIM card and carrier).

This image highlights the Blackview Tab 6's connectivity features, including 4G Global Network and 5G Wi-Fi support, emphasizing its versatility as a multi-functional device.
2.4 GPS Navigation
The Tab 6 is equipped with a high-precision quad navigation system (GPS, GLONASS, Beidou, Galileo) for accurate location tracking and route planning. The large 8-inch screen and automatic brightness adjustment ensure clear readability of navigation information in various conditions.

This image shows the Blackview Tab 6 displaying a navigation map, illustrating its use for route guidance and location services.
Video 2: This video demonstrates various uses of the Blackview Tab 6, including gaming, note-taking, and GPS navigation, showcasing its performance and display quality.
3. Maintenance
3.1 Battery Care
The tablet is equipped with a 5580mAh battery, providing up to 8 hours of average use. To prolong battery life:
- Avoid extreme temperatures.
- Do not let the battery drain completely regularly.
- Use the original charger and cable for optimal charging.
- Close unused apps running in the background.

This image highlights the 5580mAh battery of the Blackview Tab 6, indicating its long standby time and estimated usage durations for talking, music, and video playback.
3.2 Storage Management
The tablet comes with 32GB of internal storage and supports expansion up to 128GB via a microSD card. Regularly manage your storage by:
- Deleting unnecessary files and apps.
- Moving large files to a microSD card.
- Utilizing cloud storage services.

This image illustrates the storage capabilities of the Blackview Tab 6, showing its 3GB RAM, 32GB ROM, and support for up to 128GB storage expansion, alongside various application icons.
3.3 Cleaning Your Tablet
Use a soft, lint-free cloth to clean the screen and body of the tablet. Avoid using harsh chemicals or abrasive materials that could damage the surface.
4. Troubleshooting
4.1 Common Issues and Solutions
- Tablet not turning on: Ensure the battery is charged. Connect to the charger and try again.
- Slow performance: Close unused apps, clear cache, or restart the tablet.
- Wi-Fi connectivity issues: Restart your router and tablet. Forget and reconnect to the Wi-Fi network.
- Charging problems: Ensure the charging cable and adapter are securely connected and undamaged. Try a different compatible charger if available.
4.2 Factory Reset
If you encounter persistent software issues, a factory reset may resolve them. Warning: This will erase all data on your tablet. Back up important data before proceeding.
- Go to Settings.
- Select System > Reset options.
- Choose Erase all data (factory reset).
- Confirm your choice and follow the on-screen prompts.
5. Specifications
| Feature | Specification |
|---|---|
| Screen Size | 8 Inches |
| Screen Resolution | 1280 x 800 HD IPS |
| Processor | 2.0GHz Quad-Core (Unisoc T310) |
| RAM | 3 GB |
| Internal Storage | 32 GB |
| Expandable Storage | Up to 128 GB (microSD) |
| Operating System | Android 11 (Doke OS 2.0) |
| Battery Capacity | 5580 mAh |
| Rear Camera | 5 MP |
| Connectivity | 2.4G+5G Dual WiFi, Bluetooth 5.0, 4G LTE |
| Dimensions (LxWxH) | 8 x 4.5 x 0.4 inches |
| Item Weight | 1.42 pounds (approx. 644g) |
6. Warranty Information
Your Blackview Tab 6 tablet comes with a standard manufacturer's warranty. Please refer to the warranty card included in your product packaging for specific terms, conditions, and duration. Keep your proof of purchase for warranty claims.
7. Support
For technical assistance, troubleshooting, or further inquiries, please visit the official Blackview support website or contact their customer service. Contact details can typically be found on the Blackview website or in the warranty information provided with your device.


