1. Introduction
This user manual provides detailed instructions for the installation and maintenance of the Wibefel W10338635 Washer Suspension Rod Kit. This kit is designed to replace worn or broken suspension rods in compatible top-load washing machines, helping to stabilize the washer tub, reduce vibration, and restore proper performance.
The W10338635 kit is an essential component for maintaining the balance and smooth operation of your washing machine, preventing issues such as excessive shaking, noise, and off-balance loads during spin cycles.
2. Product Components
The W10338635 Washer Suspension Rod Kit includes all necessary parts for a complete replacement:
- 4 Suspension Rods: Each rod measures 23.6 inches in length.
- 4 Suspension Balls: These components work with the rods to absorb vibrations.
- 4 Bushings: Essential for proper rod movement and stability.

Figure 2.1: Overview of the Wibefel W10338635 Washer Suspension Rod Kit, showing the four suspension rods, four suspension balls, and four bushings included in the package.

Figure 2.2: Detailed view of a single suspension rod, highlighting its design and construction.
3. Compatibility
This suspension rod kit is compatible with a wide range of top-load washing machine models from various brands. Please verify your washer's model number against the list below to ensure compatibility.
Compatible Brands and Models:
- Admiral: ATW4675EW0, ATW4676BQ0, ATW4676BQ1, 4KATW5215FW0, ATW4516HW0, ATW4516MW0
- Maytag: 3LMVWC315FW0, 3LMVWC315FW1, 4KMVWC215FW0, 4KMVWC315FW0, MVWC215EW0, MVWC215EW1, 7MMVWC355DW0, 7MMVWC355DW1, MVWC200BW0, MVWC200BW1, MVWC300BW0, MVWC300BW1
- Kenmore: 110.20102310, 110.20102311, 110.20102312, 110.20112310, 110.20112311, 110.22332511, 110.22532511, 110.20232710, 110.20232711, 110.22532512, 110.22532510, 110.20232712, 110.20242510, 110.20242511, 110.22102310, 110.22102311, 110.22102312, 110.22332510, 110.23102310, 110.23102311, 7MKTWS400DW0, etc.
- Whirlpool: WTW5000DW1, WTW4700YQ0, WTW4750YQ0, WTW4750YQ1, WTW4800XQ0, WTW4800XQ1, WTW4800XQ2, WTW4800XQ4, WTW4820XQ0, WTW4910XQ0, WTW4910XQ1, WTW4910XQ3, WTW4930XW0, WTW4930XW1, WTW4930XW3, WTW7300XW1, WTW7300XW2, WTW7320YW0, WTW7340XW0, WTW7340XW1, WTW7340XW2, WTW7600XW0, WTW7600XW1, WTW7600XW2, WTW7800XB0, WTW7800XB2, WTW7800XL0, WTW7800XL2, WTW7800XL3, WTW7800XW0, WTW7800XW1, WTW7990XG1, WTW8800YC0, WTW7800XW2, WTW7800XW3, WTW7800XW4, WTW7990XG0, etc.

Figure 3.1: Visual representation of compatible washer models for the Wibefel suspension rod kit.
4. Installation Instructions
Before beginning any repair, ensure the washing machine is unplugged from the power outlet and the water supply is turned off. It is recommended to wear appropriate safety gear, such as gloves.
Symptoms Addressed by This Kit:
- Washer shakes and moves excessively.
- Noisy operation during cycles.
- Suspension failure or broken rods.
- Off-balance loads during spin cycle.

Figure 4.1: Common symptoms that indicate a need for suspension rod replacement.
Step-by-Step Installation:
- Step 1: Access the Washer Tub.
Carefully open the washer's top panel to gain access to the inner components, specifically the washer tub and existing suspension rods.

Figure 4.2: Washer with top panel removed, providing access to the tub.
- Step 2: Locate and Remove Old Rods.
Identify the old suspension rods. These are typically located at each corner of the washer tub, extending down to the base. Carefully detach them from both the tub and the washer frame.

Figure 4.3: View of the washer's underside, illustrating the connection points for the suspension rods.
- Step 3: Install New Bushings.
Place the new bushings into their designated slots on the washer frame. Ensure they are seated correctly and securely.

Figure 4.4: Proper placement of a new bushing into the washer's frame.
- Step 4: Attach New Suspension Rods.
Insert the new suspension rods into the bushings at the bottom and attach the top end of each rod to the washer tub. Ensure all four rods are firmly connected and the tub is suspended evenly.

Figure 4.5: Components ready for attachment to the washer tub and frame.
- Step 5: Reassemble and Test.
Once all rods are installed, reassemble the washer's top panel. Plug the washer back into the power outlet and turn on the water supply. Run a test cycle (e.g., a small load or rinse/spin cycle) to ensure the washer operates smoothly and quietly, without excessive shaking.

Figure 4.6: The desired outcome after successful installation: a washer operating without shaking or hitting noises.
5. Operating Your Washer After Installation
After successfully installing the W10338635 Washer Suspension Rod Kit, your washing machine should exhibit improved stability and reduced noise during operation, especially during the spin cycle. The primary function of these rods is to allow the washer tub to move freely while absorbing vibrations, preventing the tub from hitting the outer cabinet.
If you notice any continued excessive shaking or loud noises, refer to the troubleshooting section. Proper installation ensures your washer can handle unbalanced loads more effectively, leading to a quieter and more efficient laundry experience.
6. Maintenance
The W10338635 Washer Suspension Rod Kit is designed for long-lasting use. While the rods themselves require no specific maintenance, regular care of your washing machine can prolong the life of all its components, including the suspension system.
- Balance Loads: Always try to distribute laundry evenly in the washer tub to prevent excessive strain on the suspension system.
- Avoid Overloading: Do not exceed the washer's recommended load capacity, as this can put undue stress on the suspension rods.
- Regular Cleaning: Keep the washer tub and surrounding areas clean to prevent debris buildup that could interfere with component movement.
If you notice a return of symptoms such as excessive shaking or noise, inspect the suspension rods for any signs of wear or damage. While designed for durability, extreme conditions or prolonged heavy use can eventually lead to wear.
7. Troubleshooting
If you encounter issues after installing the W10338635 Washer Suspension Rod Kit, consider the following common problems and their solutions:
| Problem | Possible Cause | Solution |
|---|---|---|
| Washer still shakes excessively. |
|
|
| Loud banging noise during spin. |
|
|
| Washer not spinning or draining. |
|
|
Note: If problems persist after troubleshooting, it is recommended to consult a qualified appliance repair technician.
8. Specifications
| Attribute | Detail |
|---|---|
| Part Number | WB-W10338635 |
| Kit Contents | 4 Suspension Rods, 4 Suspension Balls, 4 Bushings |
| Rod Length | 23.6 inches (approx. 59.9 cm) |
| Item Weight | 1.6 pounds (approx. 0.73 kg) |
| Package Dimensions | 27.7 x 3.4 x 2 inches (approx. 70.3 x 8.6 x 5.1 cm) |
| Manufacturer | Wibefel |

Figure 8.1: Dimensional specifications of the suspension rod and related components.
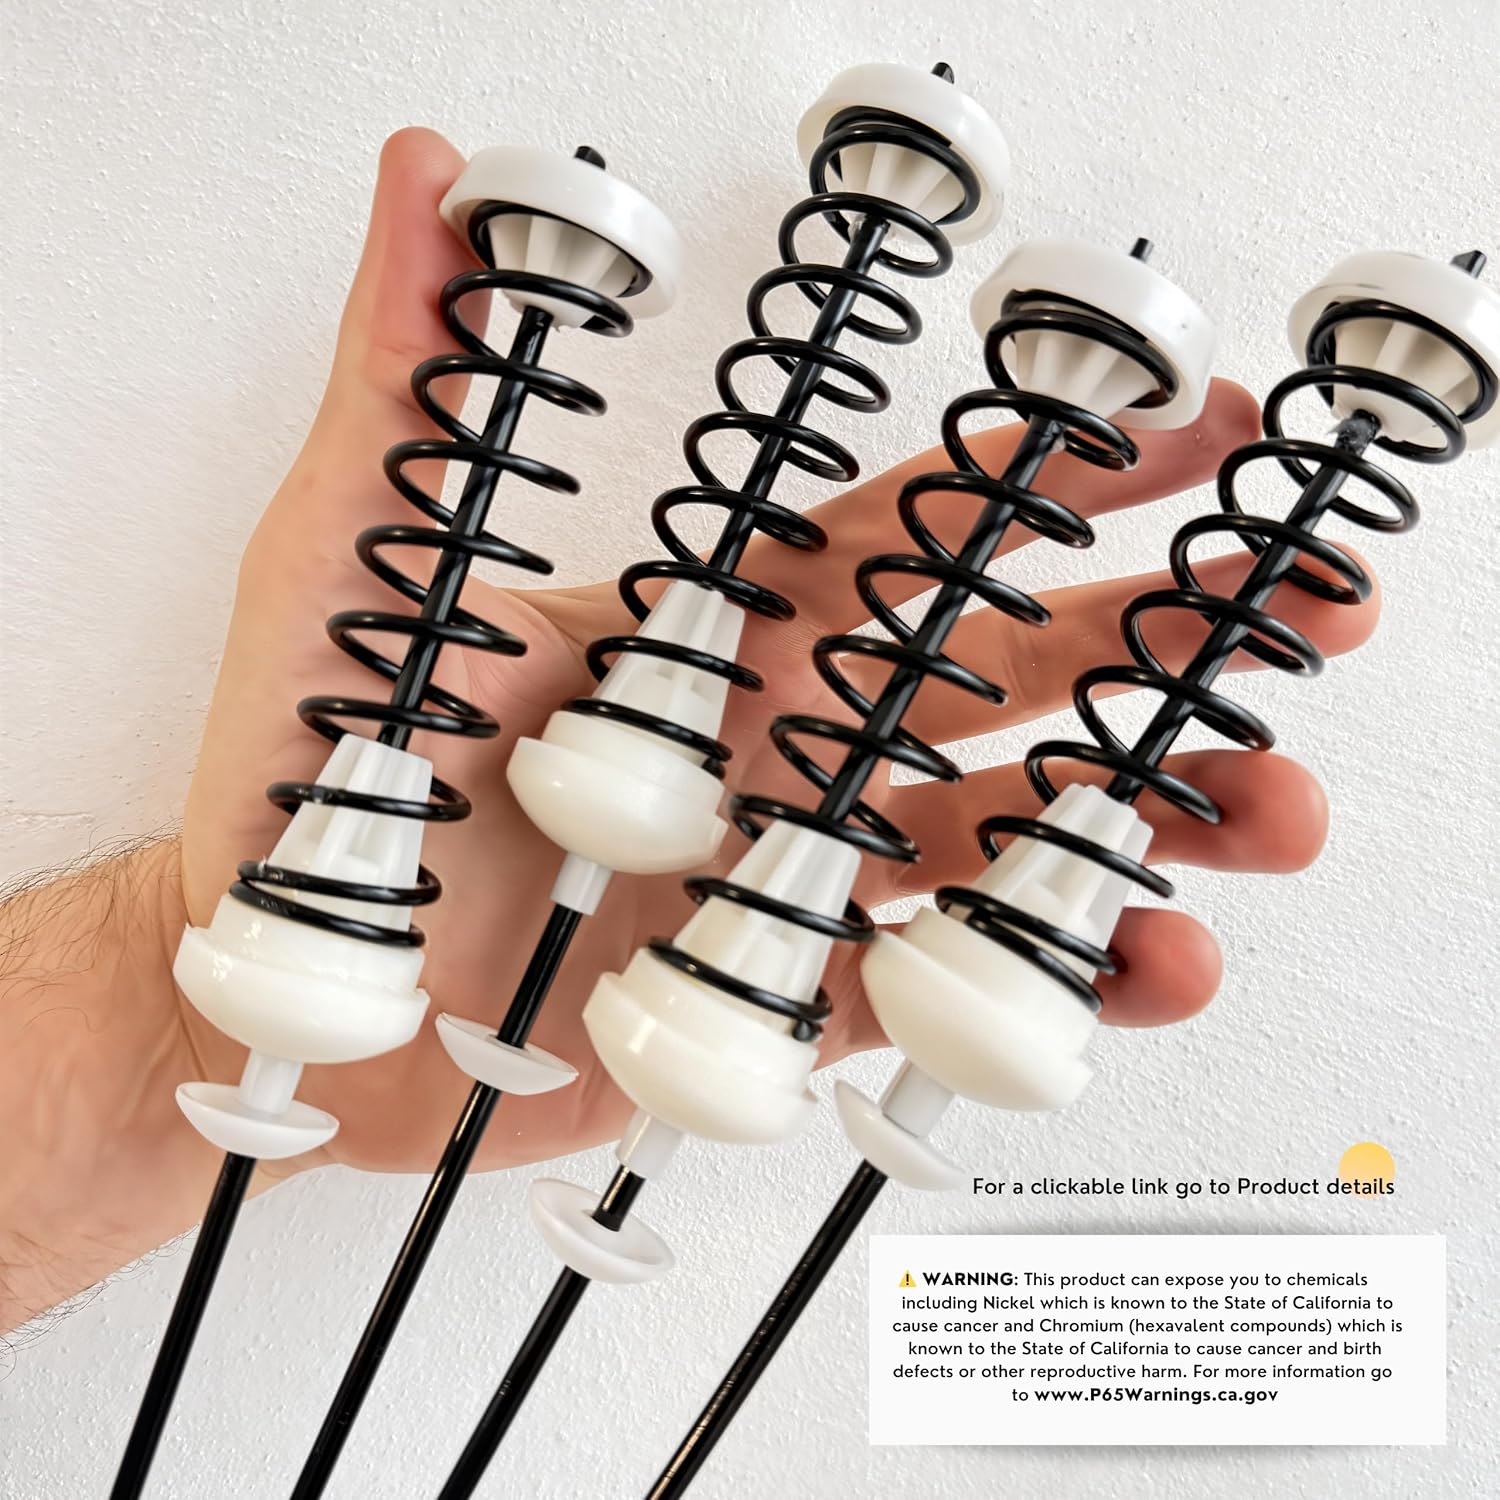
Figure 8.2: The suspension rods, accompanied by a Proposition 65 warning regarding potential chemical exposure. For more information, visit www.P65Warnings.ca.gov.
9. Customer Support and Warranty
Wibefel is committed to providing high-quality products and excellent customer service. If you have any questions regarding the installation, compatibility, or performance of your W10338635 Washer Suspension Rod Kit, please contact Wibefel customer support.
While specific warranty details are not provided in this manual, Wibefel aims for customer satisfaction and offers support for their products. For assistance, you may visit the official Wibefel store on Amazon or contact their customer service directly.
Wibefel's Commitment: "Wibefel is dedicated to making your life uncomplicated, comfortable, and convenient with economical DIY repair solutions for your appliances."

Figure 9.1: The Wibefel brand logo, representing quality and customer focus.
For more information or to contact support, visit the Wibefel Store on Amazon.


