Pipishell PILFK1
Pipishell Full Motion TV Wall Mount Instruction Manual
Model: PILFK1 | Brand: Pipishell
Introduction
Thank you for choosing the Pipishell Full Motion TV Wall Mount. This manual provides detailed instructions for safe installation, operation, and maintenance of your TV mount. Designed for most 37-75 inch TVs weighing up to 132lbs, this mount offers full motion adjustment for optimal viewing.
Important Safety Information
Please read all instructions carefully before installation. Failure to do so may result in personal injury or property damage. Keep this manual for future reference.
- Weight Capacity: Do not exceed the maximum weight capacity of 132 lbs (60 kg).
- TV Size Compatibility: Suitable for TVs between 37 and 75 inches.
- VESA Compatibility: Compatible with VESA mounting patterns from 200x100mm to 600x400mm. Verify your TV's VESA pattern before installation.
- Wall Type: This mount is designed for installation on 12" or 16" wood studs, solid concrete, or brick walls. DO NOT install into drywall alone.
- Ensure all screws are tightened securely but do not overtighten.
- Always use a stud finder to locate wood studs accurately.
What's in the Box
The package includes the following components:
- TV Wall Mount Assembly
- Mounting Template
- Instruction Manual
- Standard Mounting Hardware (various TV bolts, lag screws, washers, spacers, wall anchors)
- Small Level
- Cable Ties
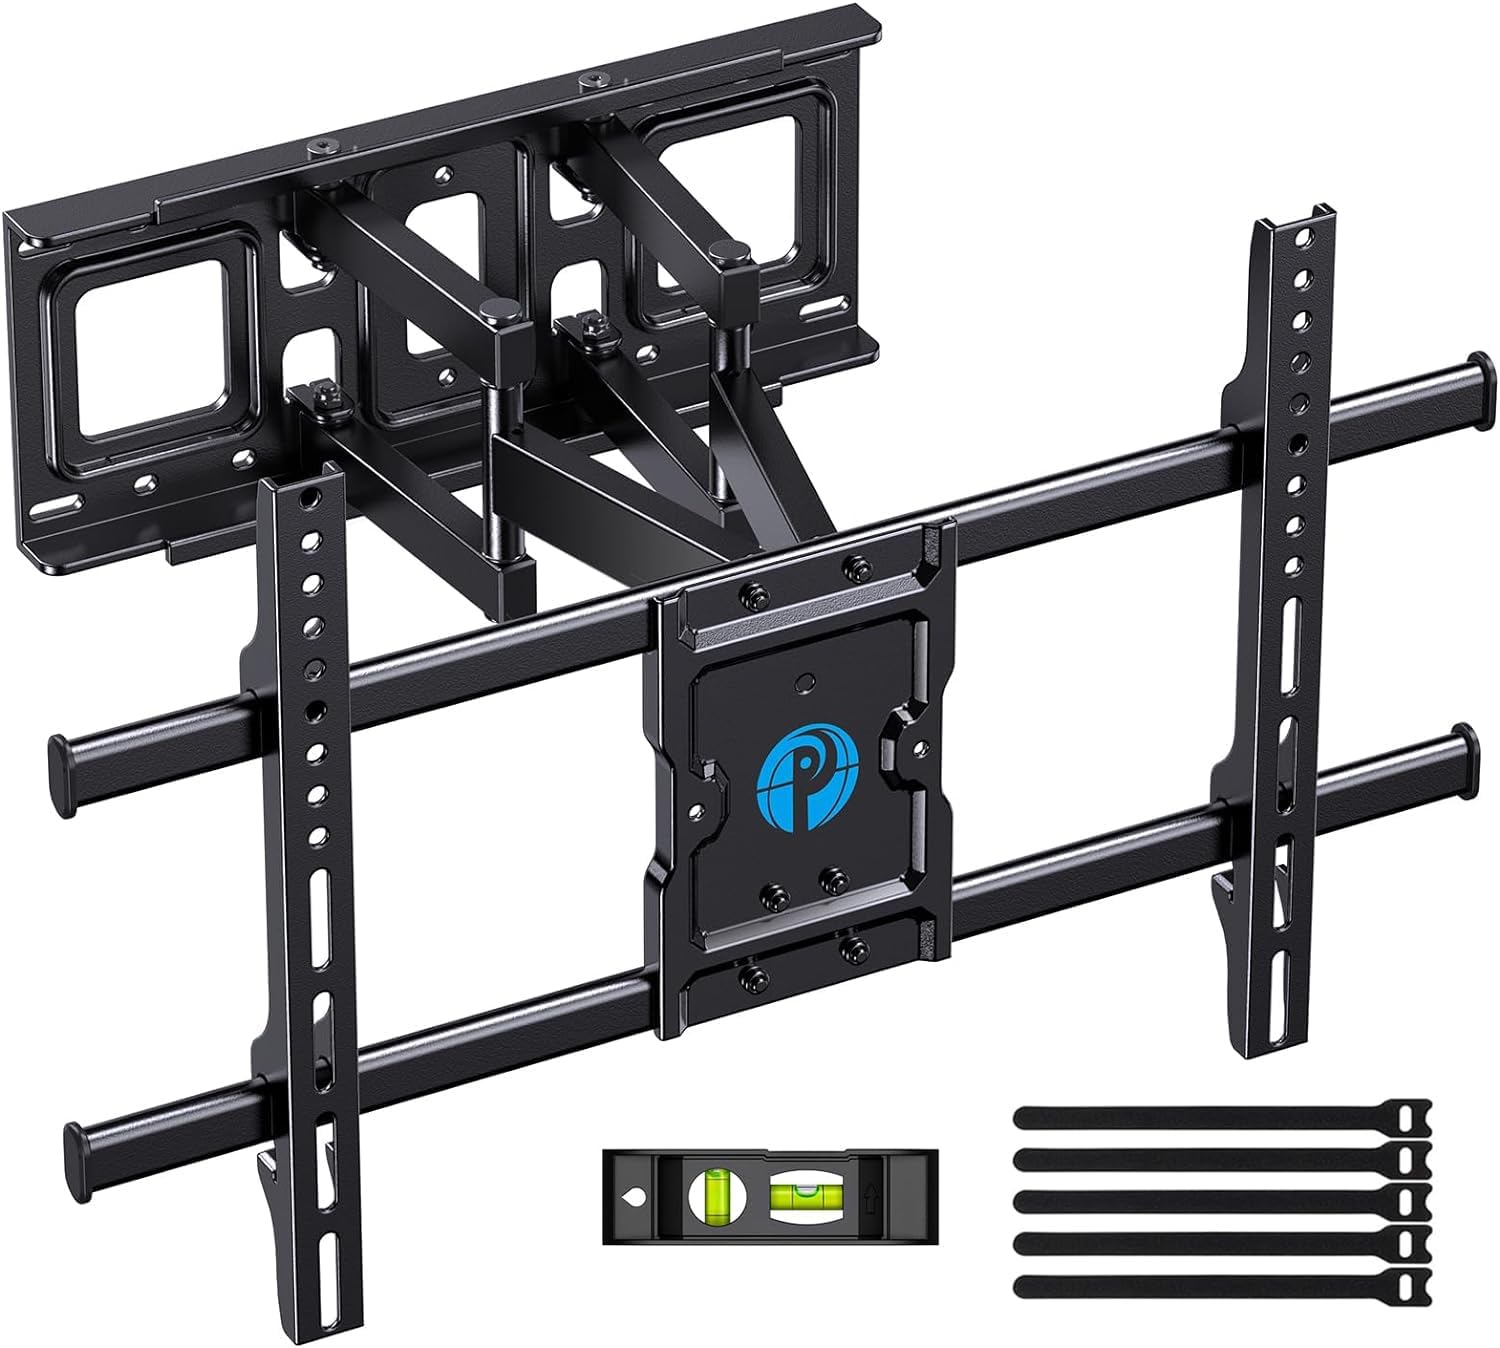
Image: All components included in the Pipishell TV Wall Mount package.
Specifications
| Specification | Value |
|---|---|
| Product Dimensions | 23.62 x 0.79 x 15.75 inches |
| Item Weight | 10.56 pounds |
| Maximum Compatible Size | 75 Inches |
| Minimum Compatible Size | 37 Inches |
| Maximum Load Capacity | 132 lbs (60 kg) |
| VESA Compatibility | 200x100mm to 600x400mm |
| Movement Type | Swivel, Tilt, Extension |
| Material | Alloy Steel |
| Color | Black |
| Model Number | PILFK1 |
Setup and Installation
The installation process is designed to be straightforward. Always ensure you have the necessary tools and verify your wall construction before drilling.
1. Verify TV Compatibility
Before starting, ensure your TV's size, weight, and VESA pattern are compatible with the mount. The mount supports VESA patterns from 200x100mm to 600x400mm.

Image: How to measure your TV's VESA pattern.
2. Choose Wall Type and Location
Identify your wall type (wood studs, concrete, or brick). Use a stud finder for wood studs. The mount fits 12" and 16" wood studs. Do not install into drywall alone.

Image: Compatible wall types for installation.
3. Attach TV Brackets to TV
Select the appropriate TV bolts and spacers from the provided hardware kit based on your TV's specifications. Secure the vertical brackets to the back of your TV.

Image: TV mount attached to a TV, highlighting its 132 lbs max load capacity.
4. Secure Wall Plate to Wall
Use the provided drilling template to mark the pilot holes on your wall. Drill the holes and secure the wall plate using the appropriate lag screws and wall anchors for your wall type. Use the included level to ensure the mount is perfectly horizontal.

Image: Using the drilling template to mark the right location on the wall.
5. Hang TV on Wall Plate
Carefully lift the TV with the attached brackets and hook them onto the wall plate. Ensure the TV is securely seated on the mount. Tighten any safety screws to prevent accidental dislodgement.
Operating and Adjustments
The Pipishell Full Motion TV Wall Mount offers versatile adjustments to achieve your ideal viewing angle.
- Tilt Adjustment: Tilt your TV +5°/-15° to reduce glare and optimize viewing from different heights.
- Swivel Adjustment: Swivel the TV +/-45° (maximum swivel angle depends on TV size) to direct the screen towards your seating area.
- Extension/Retraction: Extend the TV up to 14.84 inches from the wall for flexible viewing or collapse it to 3 inches to save space.
- Level Adjustment: Fine-tune the TV's level by +/-3° after installation for a perfectly straight display.

Image: Demonstrating the mount's extension (up to 14.84 inches) and tilt range (+5°/-15°).

Image: The mount allows for a +/-45° swivel for optimum viewing from anywhere in the room.
Maintenance
To ensure the longevity and safe operation of your TV mount, follow these maintenance tips:
- Regular Checks: Periodically check all screws and connections to ensure they remain tight and secure.
- Cleaning: Wipe the mount with a soft, dry cloth to remove dust. Avoid using abrasive cleaners or solvents.
- Lubrication: If the articulating arms become stiff, apply a small amount of silicone-based lubricant to the moving joints.
Troubleshooting
If you encounter any issues with your Pipishell TV Wall Mount, try the following solutions:
- TV Not Level: Use the level adjustment feature (+/-3°) to correct the TV's horizontal alignment.
- Mount Feels Loose: Re-check all lag screws and TV bolts to ensure they are securely tightened into the wall studs/anchors and the TV.
- Difficulty Adjusting: Ensure no cables are snagged or obstructing movement. Apply lubricant to joints if stiffness persists.
- TV Ports Blocked: If the mount blocks TV ports, use the provided spacers or adjust the TV's position on the vertical brackets if possible.
Warranty and Support
Pipishell guarantees the quality of this TV mount to be free of defects in materials and workmanship. For any questions, assistance, or warranty claims, please contact our US-based product support team.
You may also refer to the official User Guide (PDF) for additional information.