
Introduction
This manual provides comprehensive instructions for the setup, operation, maintenance, and troubleshooting of your Avision AD340G Compact High Speed Duplex Document Scanner. Please read this manual thoroughly before using the scanner to ensure proper and safe operation.
Safety Information
Observe the following safety precautions to prevent injury and damage to the scanner:
- Use only the power adapter supplied with the scanner.
- Do not expose the scanner to water or excessive humidity.
- Place the scanner on a stable, level surface.
- Keep the scanner away from direct sunlight and heat sources.
- Unplug the scanner before cleaning or if it will not be used for an extended period.
Package Contents
Verify that all items are present in the package:
- Avision AD340G Document Scanner
- Power Adapter
- USB Cable
- Quick Start Guide
- Software CD (or download instructions)
Product Overview
Familiarize yourself with the main components of the Avision AD340G scanner.
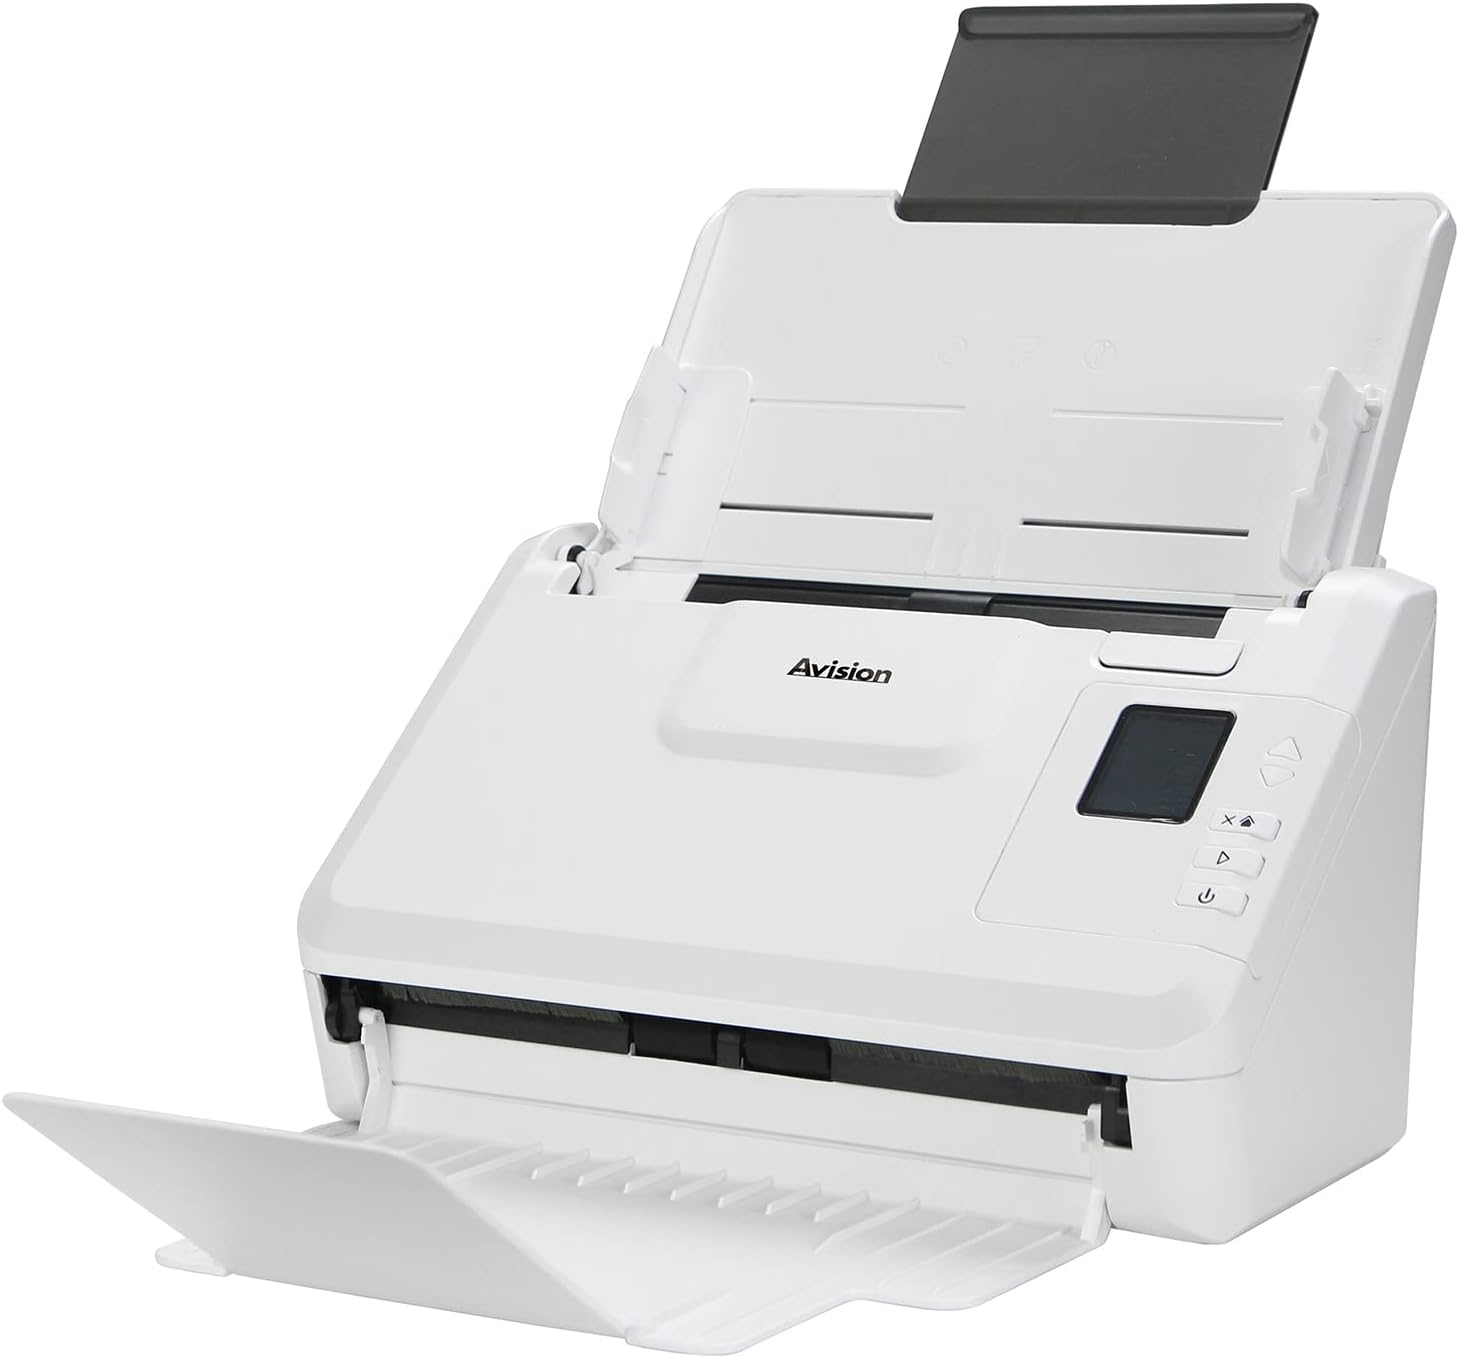
Image: The Avision AD340G scanner shown with its input and output trays extended, ready for document feeding. This view highlights the compact design and accessible paper path.
- Document Feeder Tray: Where documents are loaded for scanning.
- Output Tray: Where scanned documents are ejected.
- Control Panel: Buttons and display for scanner operation.
- USB Port: For connecting to a computer.
- Power Port: For connecting the power adapter.
Setup
1. Physical Setup
- Unpack the Scanner: Carefully remove the scanner and all accessories from the packaging.
- Place the Scanner: Position the scanner on a flat, stable surface with adequate space for the input and output trays.
- Connect Power:
- Connect the power adapter to the scanner's power port.
- Plug the power adapter into an electrical outlet.
- Connect to Computer:
- Connect one end of the USB cable to the scanner's USB port.
- Connect the other end of the USB cable to an available USB port on your computer.
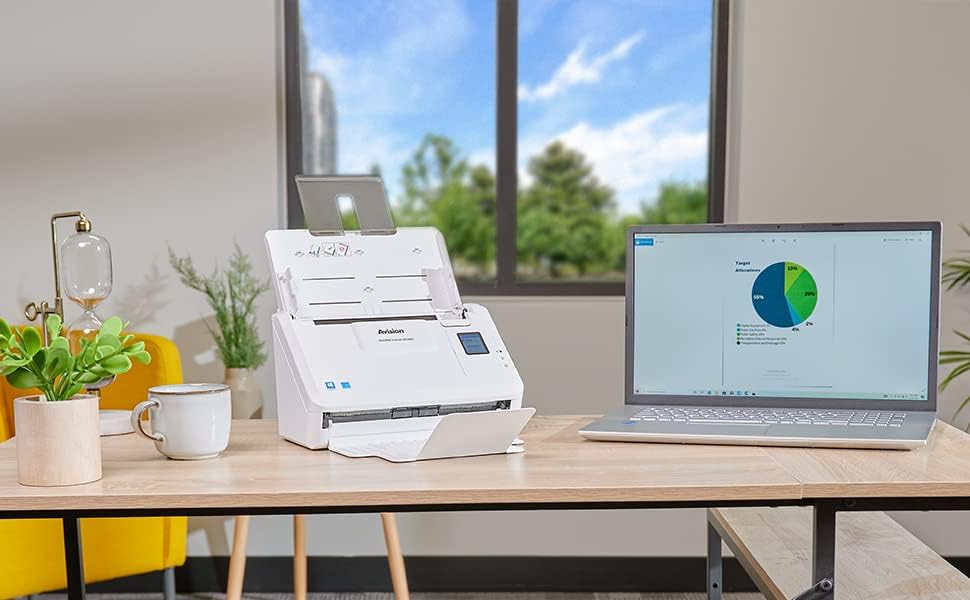
Image: The Avision AD340G scanner set up on a desk next to a laptop, illustrating a typical connected environment. This shows the scanner's compact footprint when in use.
2. Software Installation
Install the necessary drivers and scanning software from the provided CD or by downloading them from the official Avision website.
- Insert the software CD into your computer's CD/DVD drive, or navigate to the Avision support website to download the latest drivers and utilities for the AD340G model.
- Follow the on-screen instructions to complete the installation. This typically includes installing the TWAIN/ISIS drivers and the Avision scanning utility software.
- Restart your computer if prompted.
Operating the Scanner
1. Loading Documents
- Open the document feeder tray and extend the output tray.
- Adjust the paper guides to match the width of your documents.
- Place the documents face-down in the input tray, ensuring they are neatly stacked and aligned. The scanner supports up to 50 sheets.

Image: A hand carefully placing a stack of documents into the input tray of the Avision AD340G scanner, demonstrating the correct loading procedure.
2. Scanning Procedure
- Turn on the scanner by pressing the power button.
- Launch the Avision scanning software on your computer.
- Select your desired scanning profile (e.g., color, grayscale, black & white, resolution). The AD340G supports duplex scanning (both sides simultaneously).
- Click the "Scan" button in the software or press the scan button on the scanner's control panel.
- The scanner will feed and process the documents. Once scanning is complete, the images will appear in the software.
- Review the scanned images, make any necessary adjustments (e.g., rotate, crop), and save them to your desired location and format (e.g., PDF, JPEG, TIFF).
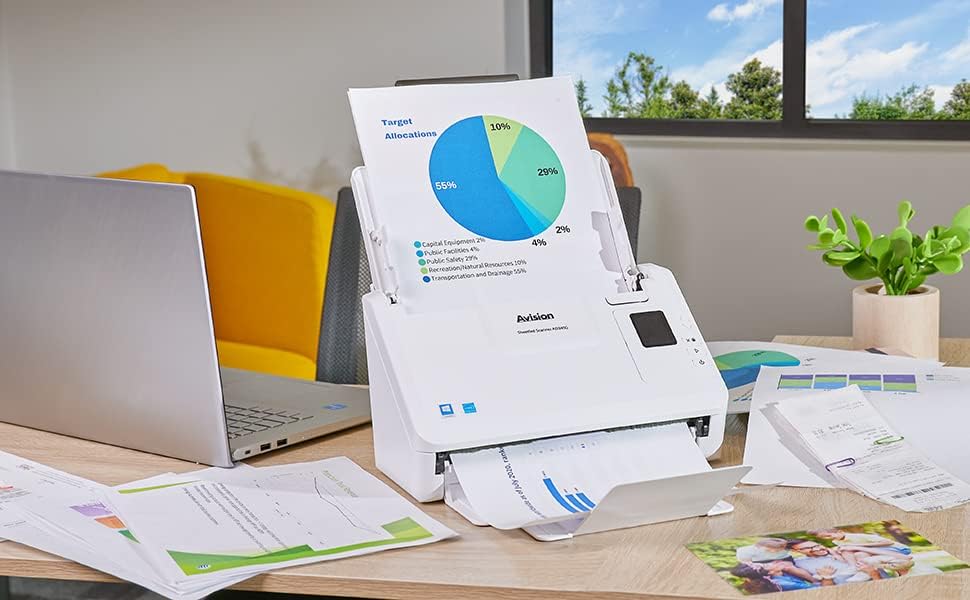
Image: The Avision AD340G scanner in operation, feeding a document with a pie chart. This illustrates the scanner's ability to handle various document types efficiently.
Maintenance
Cleaning the Scanner
Regular cleaning ensures optimal performance and extends the life of your scanner.
- Power Off and Unplug: Always turn off the scanner and disconnect the power adapter and USB cable before cleaning.
- Clean Exterior: Wipe the exterior of the scanner with a soft, lint-free cloth lightly dampened with water or a mild, non-abrasive cleaner.
- Clean Interior (Rollers and Glass):
- Open the scanner cover to access the rollers and glass scanning surfaces.
- Gently wipe the feed rollers with a clean, lint-free cloth. If necessary, use a small amount of isopropyl alcohol on the cloth for stubborn residue.
- Clean the glass scanning strips with a soft cloth and glass cleaner (non-ammonia based).
- Allow all components to dry completely before closing the cover and reconnecting power.
Troubleshooting
| Problem | Possible Cause | Solution |
|---|---|---|
| Scanner does not power on. | Power cable not connected; power outlet issue. | Ensure power cable is securely connected. Try a different power outlet. |
| Documents jam frequently. | Misaligned paper guides; worn rollers; dirty rollers. | Adjust paper guides. Clean the feed rollers. If problem persists, rollers may need replacement. |
| Scanned images are blurry or have lines. | Dirty scanning glass; incorrect resolution settings. | Clean the scanning glass. Adjust scanning resolution in the software. |
| Scanner not detected by computer. | USB cable disconnected; driver not installed or corrupted. | Check USB cable connection. Reinstall scanner drivers. Try a different USB port. |
Specifications
Key technical specifications for the Avision AD340G Document Scanner:
- Model: AD340G
- Scanner Type: ADF Duplex Document Scanner
- Connectivity: USB
- Resolution: 600 dpi (Optical)
- Scanning Speed: 40 ppm (pages per minute) / 80 ipm (images per minute)
- Color Depth: 48 bits input / 24 bits output
- Standard Sheet Capacity: 50 sheets
- Optical Sensor Technology: CIS (Contact Image Sensor)
- Product Dimensions: 11 x 6.1 x 6.5 inches
- Item Weight: 8 pounds
- Minimum System Requirements: Windows XP/7/8/10
Warranty and Support
For warranty information, technical support, or service inquiries, please refer to the warranty card included with your product or visit the official Avision website. Contact information for customer support can typically be found on the manufacturer's website.
Avision Official Website: www.avision.com


