HOMCOM 831-462V80GY
HOMCOM Floor Standing Jewelry Cabinet User Manual
Model: 831-462V80GY
Introduction
Thank you for choosing the HOMCOM Floor Standing Jewelry Cabinet. This elegant and functional cabinet is designed to help you organize your jewelry and accessories efficiently, while also providing a full-length mirror for your convenience. Please read this manual carefully before assembly and use to ensure proper setup and longevity of your product.
Safety Information
- Ensure all parts are present and undamaged before assembly. Do not proceed with assembly if any parts are missing or broken.
- Assemble the cabinet on a soft, clean surface to prevent scratches.
- Keep small parts and packaging materials away from children and pets to prevent choking hazards.
- Do not overload the cabinet. Distribute weight evenly to maintain stability.
- Place the cabinet on a flat, stable surface to prevent tipping.
- Use the provided keys to lock the cabinet for security, especially if children are present.
- Avoid exposing the cabinet to direct sunlight or extreme temperatures, which can damage the finish and materials.
Package Contents
Please verify that all components listed below are included in your package:
- Jewelry Cabinet with Full-Length Mirror
- Support Legs (4 pieces)
- Hardware Pack (screws, nuts, washers, etc.)
- Keys (2 pieces)
- Assembly Instructions (this manual)
Setup and Assembly
Assembly is required for this jewelry cabinet. Please follow these steps carefully:
- Unpack Components: Carefully remove all parts from the packaging. Lay them out on a soft, clean surface to prevent damage.
- Attach Support Legs: Identify the four support legs. Attach them to the base of the main cabinet body using the provided screws and tools. Ensure they are securely fastened.
- Secure Cabinet to Legs: Connect the upper part of the cabinet to the assembled legs. There are pre-drilled holes for alignment. Use the appropriate hardware to secure the cabinet firmly to the stand.
- Adjust Mirror Angle: Once assembled, the mirror can be adjusted to one of three angles. Locate the adjustment pins on the sides of the cabinet and align them with the desired slots on the stand.
- Final Check: Before use, gently shake the assembled cabinet to ensure all connections are stable and secure.

Figure 1: Overall dimensions of the HOMCOM Floor Standing Jewelry Cabinet (18" W x 14.25" D x 59.75" H).

Figure 2: Detail of the adjustable angle mechanism, allowing the mirror to tilt for optimal viewing.
Operating Instructions
Using the Full-Length Mirror
The cabinet features a full-length mirror on its exterior. This mirror can be adjusted to three different angles to provide the best view for dressing or makeup application. Simply lift the mirror slightly and reposition the side pins into the desired grooves on the stand.
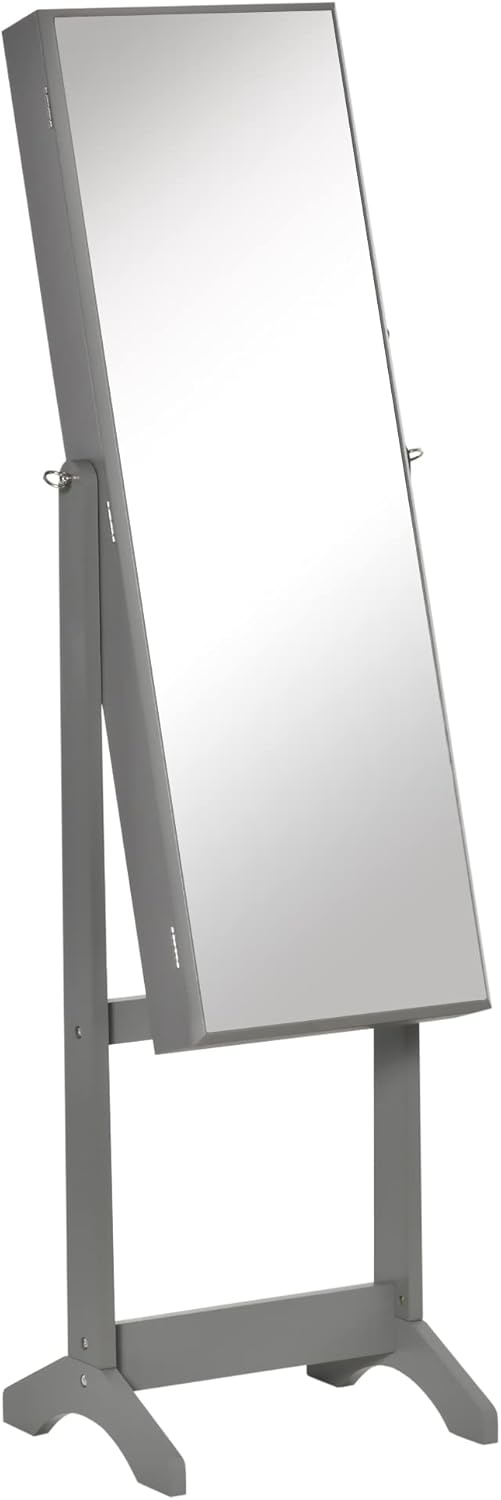
Figure 3: The HOMCOM Jewelry Cabinet in its upright position, showcasing the full-length mirror.

Figure 4: The cabinet's mirror can be tilted to three adjustable angles for optimal viewing.
Organizing Your Jewelry
Open the mirror door to reveal the spacious interior designed for various types of jewelry and accessories. The interior is lined to protect your items.
- Earrings: Utilize the 100 earring slots located on the left inner panel.
- Rings: The right inner panel features 105 ring slots to keep your rings neatly organized.
- Necklaces: Hang your necklaces on the 24 hooks provided, preventing tangles.
- Bracelets: A dedicated bracelet hanger is available for your bracelets and watches.
- Other Accessories: Four-tier storage shelves offer space for cosmetics, perfumes, and other small items.

Figure 5: The interior of the cabinet provides ample storage for various jewelry types.
Lockable Design
For added security, the cabinet door is lockable. Insert one of the two provided keys into the lock on the side of the cabinet door and turn to secure your valuables. Remember to keep the spare key in a safe place.
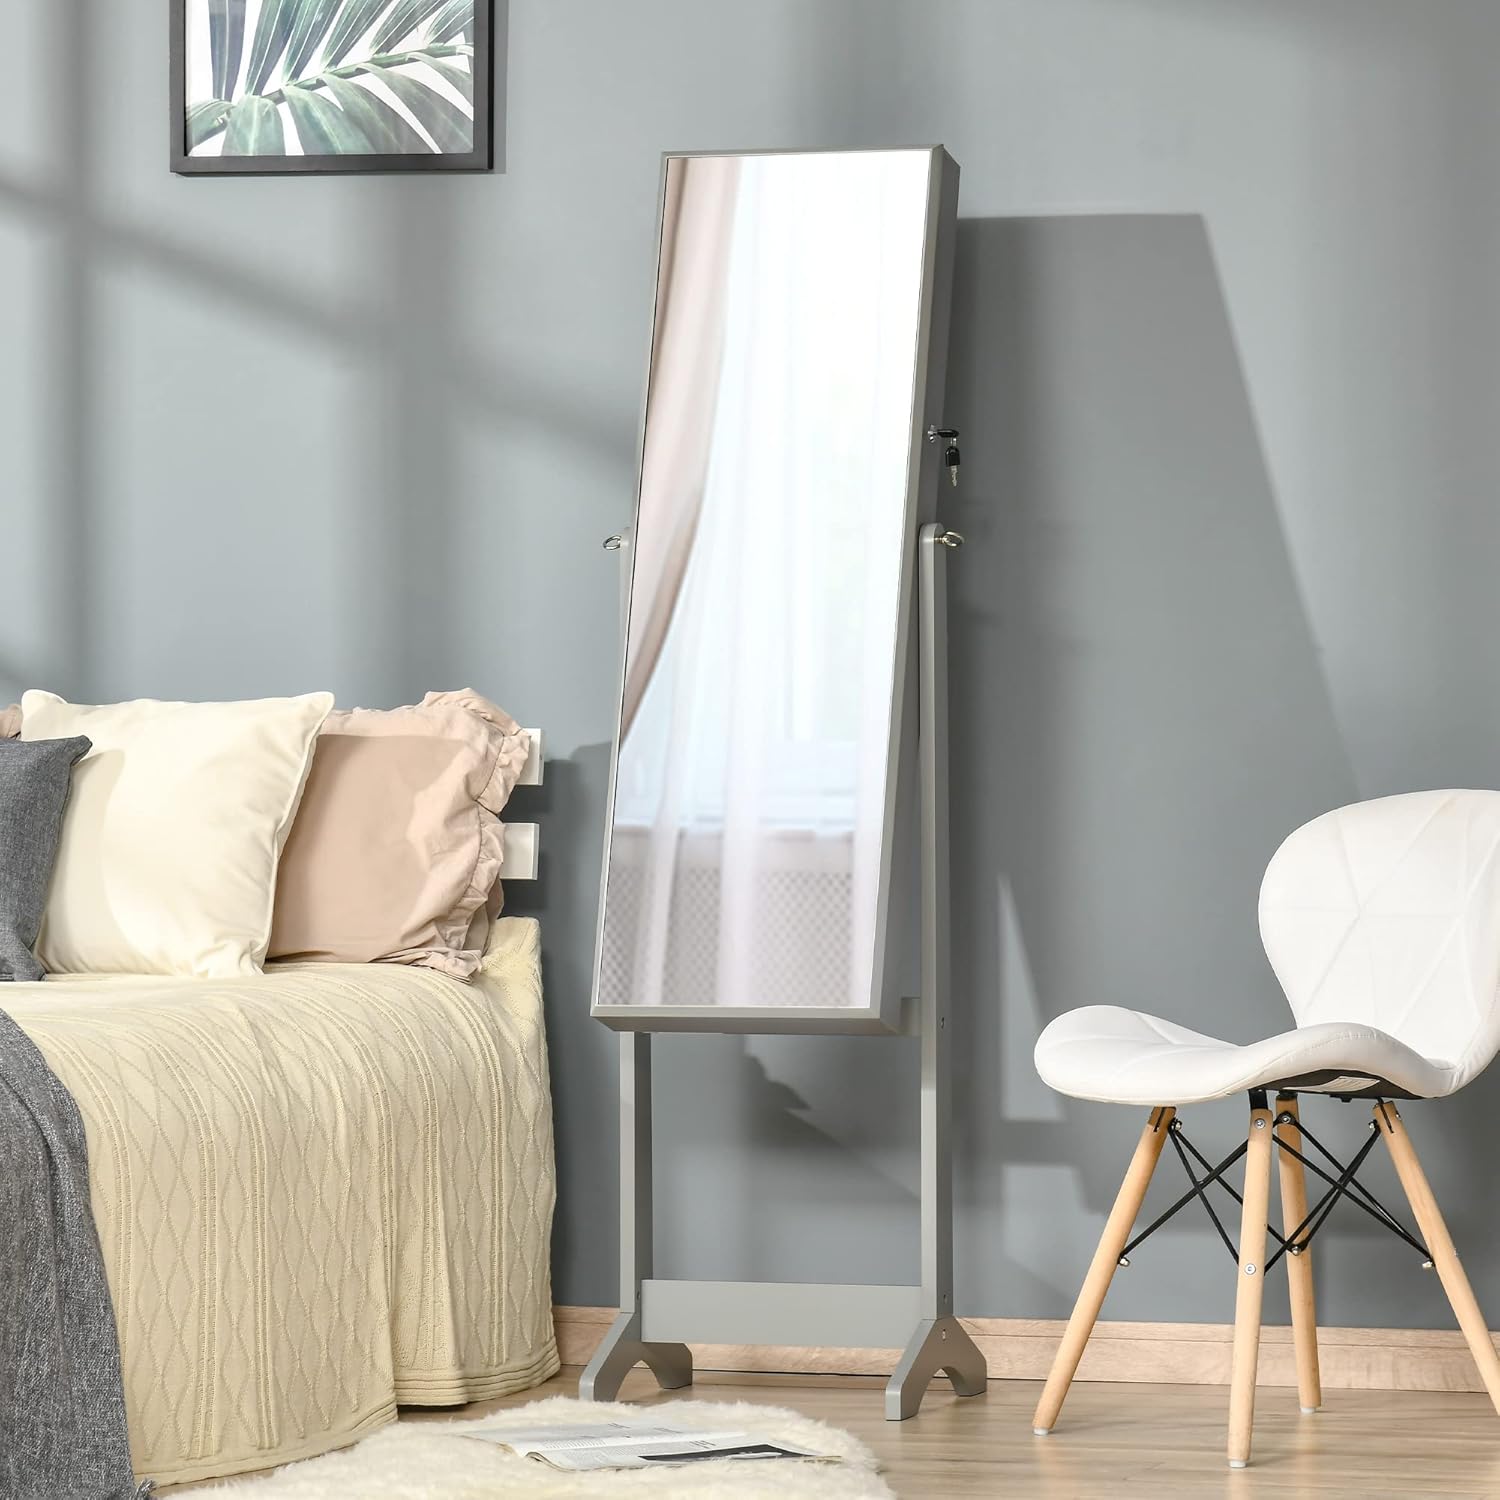
Figure 6: The lockable design ensures the security of your jewelry with two included keys.
Maintenance
- Cleaning: Wipe the exterior surfaces with a soft, damp cloth. Avoid abrasive cleaners or harsh chemicals that could damage the finish. For the mirror, use a standard glass cleaner.
- Interior Care: The interior lining can be gently vacuumed or wiped with a lint-free cloth to remove dust.
- Hardware: Periodically check all screws and connections to ensure they remain tight. Tighten if necessary.
- Placement: Keep the cabinet away from direct heat sources, excessive moisture, and prolonged direct sunlight to preserve its material integrity and finish.
Troubleshooting
| Problem | Possible Cause | Solution |
|---|---|---|
| Cabinet feels wobbly or unstable. | Loose assembly screws or uneven floor. | Ensure all assembly screws are tightened. Move the cabinet to a flat, level surface. |
| Mirror does not stay in adjusted angle. | Adjustment pins not fully engaged in slots. | Verify that the adjustment pins are properly seated in the desired grooves on the stand. |
| Door does not close or lock properly. | Obstruction in the cabinet or misaligned hinges/lock. | Check for items blocking the door. Inspect hinges for damage or misalignment. Ensure the lock mechanism is clear. |
Specifications
| Feature | Detail |
|---|---|
| Brand | HOMCOM |
| Model Number | 831-462V80GY |
| Color | Grey |
| Material | Engineered Wood, Glass |
| Overall Dimensions (W x D x H) | 18" x 14.25" x 59.75" |
| Mirror Dimensions (L x W) | 41.25" x 13" |
| Weight | Approx. 24.4 pounds |
| Earring Slots | 100 |
| Ring Slots | 105 |
| Necklace Hooks | 24 |
| Storage Shelves | 4-tier |
| Special Features | Lockable, 3 Adjustable Mirror Angles |
Warranty and Support
HOMCOM products are designed for quality and durability. For any questions regarding assembly, parts, or product functionality, please contact HOMCOM customer support. Keep your purchase receipt for warranty claims. Specific warranty details may vary by region and retailer; please refer to your purchase documentation for precise terms and conditions.
For further assistance, visit the official HOMCOM store: HOMCOM Store on Amazon
Ask a question about this manual
Ask about setup, troubleshooting, compatibility, parts, safety, or missing instructions. Manuals+ will review the question and use this page’s manual context to help answer it.