
KOYOFEI Mono 2
KOYOFEI Resin 3D Printer Flexible Build Plate for Anycubic Photon Mono 2 - Instruction Manual
Model: Mono 2 (160x95mm)
Introduction
This manual provides detailed instructions for the installation, operation, and maintenance of your KOYOFEI Resin 3D Printer Flexible Build Plate, designed for the Anycubic Photon Mono 2. Please read this manual thoroughly before use to ensure optimal performance and longevity of the product.
Product Overview
The KOYOFEI Flexible Build Plate system consists of a spring steel plate and a magnetic base. This design allows for easy removal of printed models by flexing the steel plate, reducing damage to prints and the build surface.
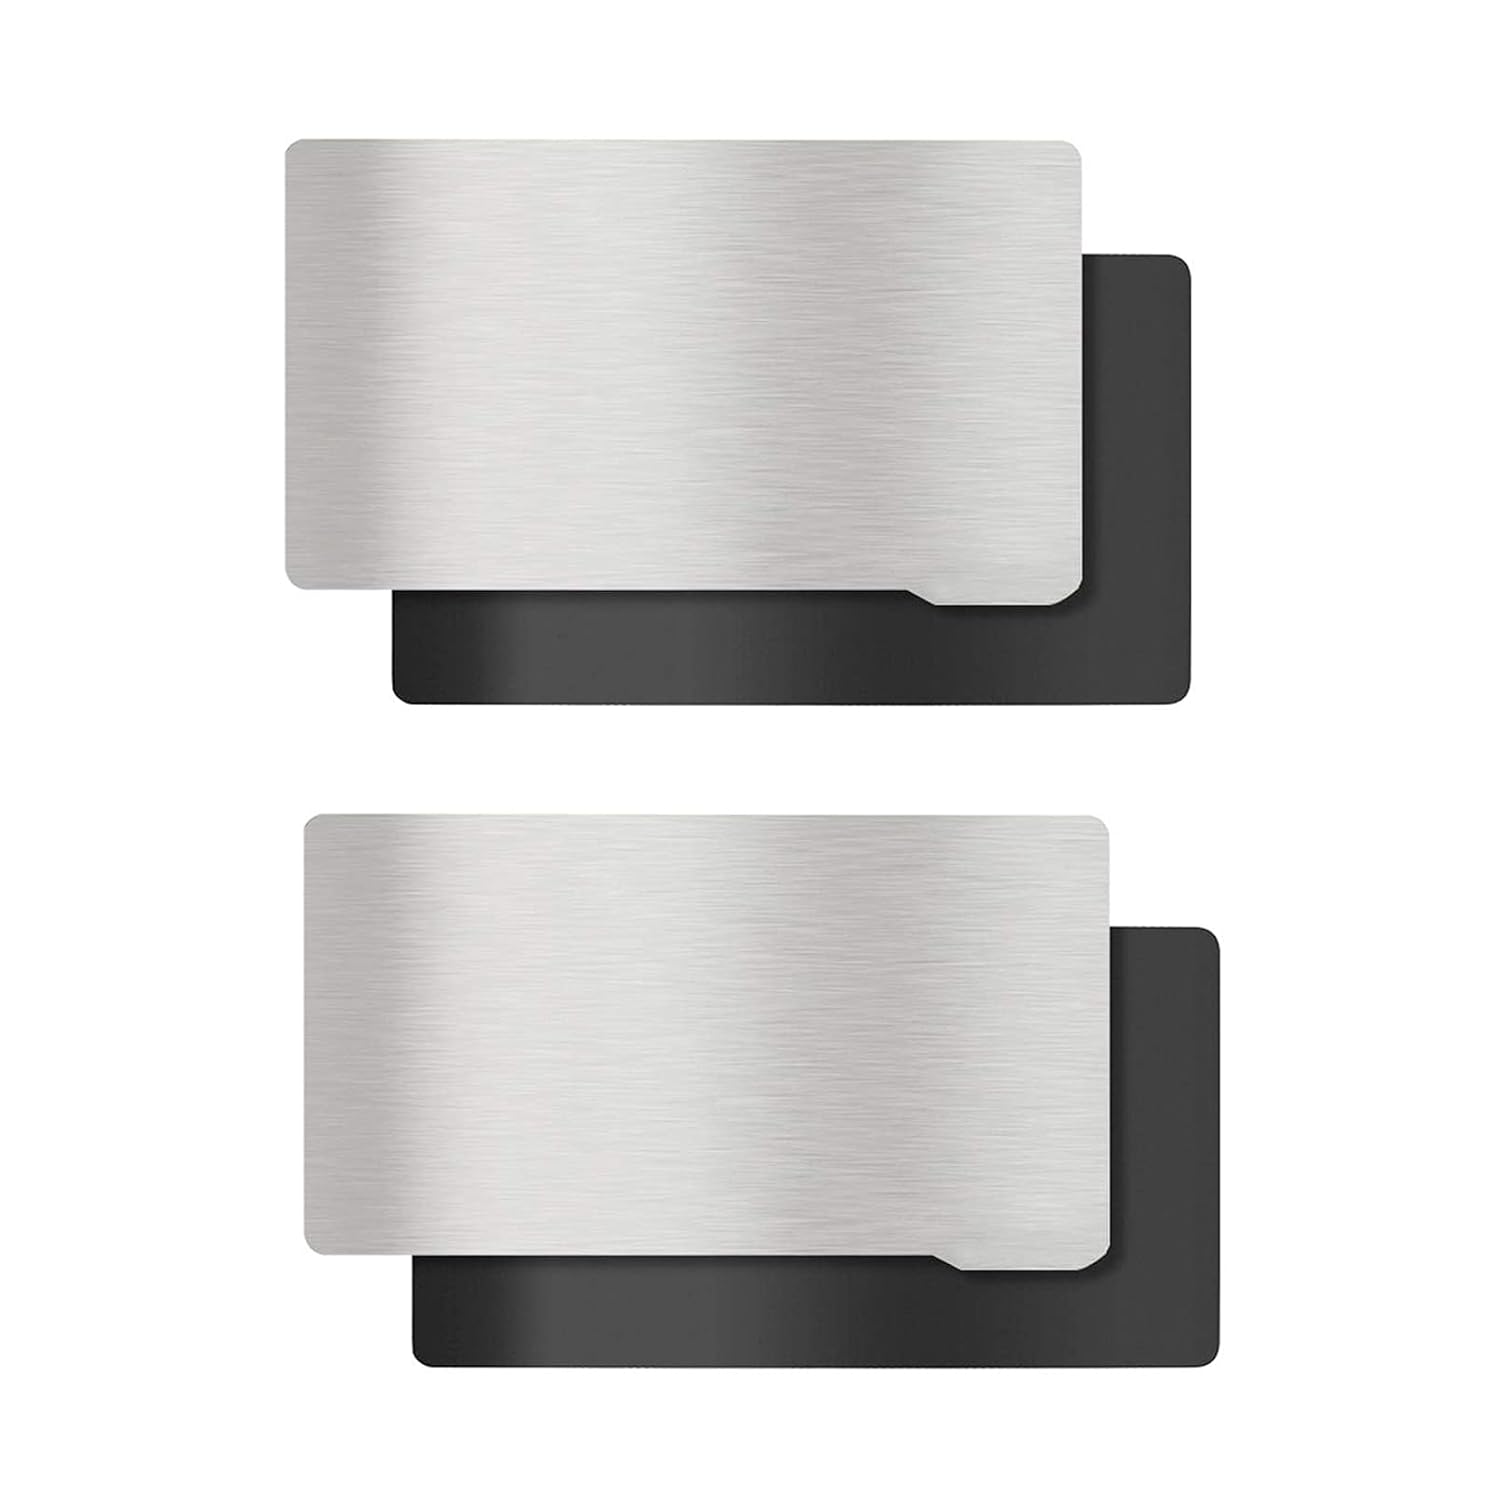
Image 1: Components of the KOYOFEI Flexible Build Plate system, showing two sets of spring steel plates and magnetic bases.

Image 2: Close-up view of the flexible build plate, highlighting the ergonomic handle design for easy removal.
Setup and Installation
Proper installation is crucial for optimal performance. Follow these steps carefully:
- Prepare Spacer: The magnetic steel plate has a thickness of 2.7mm, which will reduce the printer's Z-axis printing height by 2.7mm. It is recommended to print a 2.7mm spacer to compensate for this difference and prevent the Z-axis from failing to return to zero.
- Clean Build Plate: Thoroughly clean your printer's original build plate. Ensure it is completely dry before proceeding.
- Attach Magnetic Base: Connect the soft magnetic sheet (magnetic base) to the cleaned build plate. Apply firm pressure and allow it to sit for at least 24 hours (48 hours is recommended) to ensure the adhesive is fully seated and the magnetic base is securely attached. It is best to keep it in an inverted state or fixed with a clamp during this curing period.
- Install Spring Steel Plate: Once the magnetic base is securely attached, install the spring steel plate onto the magnetic base. Ensure the spring steel plate is completely aligned with the magnetic base to prevent resin from entering any gaps during use, which could affect magnetic force.
- Reset Leveling Settings: After installing the magnetic printing platform, you must reset your 3D printer's leveling settings. Refer to your printer's specific manual for instructions on how to re-level the build plate to achieve excellent printing results.

Image 3: Visual representation of the installation process, showing the magnetic base being applied and the spring steel plate being placed on top.
Operation and Usage
Follow these guidelines for effective use of your flexible build plate:
- Model Removal: After printing, allow the print to cool slightly. Gently bend the spring steel plate to detach the printed model. Avoid excessive bending.
- Adhesion: The surface of the steel plate is machined by CNC drawing, providing good adsorption force. If you experience adhesion issues, especially after prolonged use, lightly sand the spring steel sheet with fine-grit sandpaper (e.g., 100-grit) to restore surface texture and adhesion.
- Burr Check: Before first use, inspect the spring steel plate for any burrs. If burrs are present, carefully use sandpaper to remove them. This prevents potential damage to the FEP film during printing.

Image 4: Demonstrates the ease of removing a 3D printed model by flexing the spring steel plate.

Image 5: Another perspective on how the flexible plate allows for easy detachment of printed objects.
Maintenance
Regular maintenance ensures the longevity and performance of your flexible build plate:
- Cleaning After Use: After each print, use alcohol or a suitable cleaning fluid to remove any residual resin from the surface of the spring steel plate. Ensure the plate is clean and dry before the next print.
- Magnetic Base Care: Keep the magnetic base clean and free of resin. Resin in the gap between the spring steel and magnetic base can reduce magnetic force and cause the spring steel plate to detach during printing.
- Adhesion Restoration: If models begin to fall off the spring steel sheet during printing after a period of use, lightly sand the surface with fine-grit sandpaper to restore its adhesion properties.

Image 6: Illustration of cleaning the flexible build plate, showing water or cleaning solution being applied.
Troubleshooting
Here are solutions to common issues you might encounter:
- Prints Not Sticking to Plate:
- Ensure the build plate is perfectly level after installation. Re-level if necessary.
- Clean the plate thoroughly with isopropyl alcohol to remove any residue.
- Lightly sand the surface of the spring steel plate with 100-grit sandpaper to improve adhesion.
- Adjust bottom layer exposure time in your slicer settings. Some users find increasing bottom exposure by 10 seconds helpful.
- Prints Sticking to FEP Film Instead of Plate:
- This often indicates poor adhesion to the build plate. Refer to the "Prints Not Sticking to Plate" solutions above.
- Ensure the FEP film is clean and free of damage.
- Verify that the Z-offset is correctly set.
- Magnetic Base Detaching:
- Ensure the magnetic base was allowed sufficient curing time (24-48 hours) after initial application.
- Prevent resin from seeping between the magnetic base and the spring steel plate by ensuring proper alignment.
- If the adhesive fails, the magnetic base may need to be replaced.
Specifications
| Feature | Detail |
|---|---|
| Compatible Printer Model | Anycubic Photon Mono 2 |
| Plate Dimensions | 160mm x 95mm |
| Plate Thickness | 2.7mm (requires Z-axis adjustment/spacer) |
| Material | Spring Steel (flexible plate), Magnetic Base |
| Color | Silver (plate), Black (magnetic base) |
| Package Contents | 2 x Spring Steel Build Plates, 2 x Soft Magnetic Sheets |
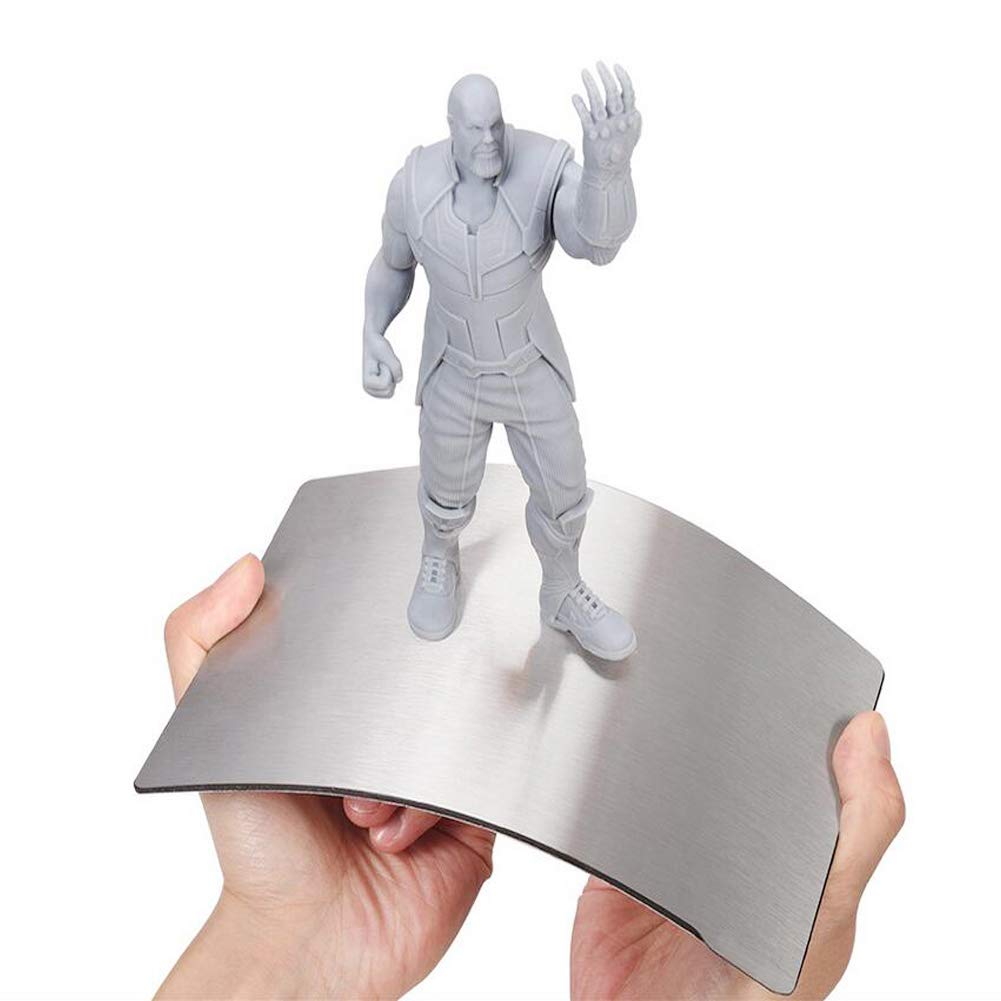
Image 7: Diagram illustrating the 160mm x 95mm dimensions of the flexible build plate.
Warranty and Support
KOYOFEI products are designed for durability and performance. For specific warranty information or technical support, please refer to the manufacturer's official website or contact their customer service directly. Please retain your proof of purchase for any warranty claims.
Ask a question about this manual
Ask about setup, troubleshooting, compatibility, parts, safety, or missing instructions. Manuals+ will review the question and use this page’s manual context to help answer it.