1. Introduction
The Hanicks Pro Series Wireless Programmable Thermostat is a 7-day programmable room thermostat designed to replace existing Honeywell CM Series wireless thermostats. Manufactured by Resideo (formerly part of Honeywell International Inc.) and distributed by Hanicks Ltd., this unit offers an updated user interface and seamless compatibility with existing Honeywell wireless relay boxes.

Image 1.1: Hanicks Pro Series Wireless Programmable Thermostat with its protective lid open, revealing the digital display and user interface buttons.
2. Package Contents
Verify that all items are present in the package:
- 1 x Pro Series 7-day Wireless Programmable Room Unit
- 2 x AA Alkaline Batteries
- 1 x Wall Mount Bracket
- 1 x Mounting Stand
3. Compatibility
The Hanicks Pro Series Wireless Programmable Thermostat is designed as a direct replacement for the following Honeywell CM Series products:
- CM921, CMS921, CMS921B1042
- CM927, CMS927, CMS927B1049
- CM727, CMS727, CMS727E1016
- CM721, CMS721
This thermostat operates with the following Honeywell wireless relay boxes. You may use your existing relay box or the one supplied with the programmer:
- BDR91
- HC60NG
- R6660D
- R8810A OpenTherm Bridge

Image 3.1: The Hanicks Pro Series Thermostat shown alongside a compatible Honeywell wireless relay box, illustrating its intended use as a replacement unit.
4. Key Features
- Direct replacement for all Honeywell CM700 and CM900 wireless thermostats.
- 7-day programmable functionality.
- Optimum Start & Stop feature for energy efficiency, reaching the desired temperature at the correct time and turning off heating early if the room temperature is adequate.
- Updated user interface with modern on-screen feedback.
- Integrated memory retains user programs indefinitely, even when batteries are removed.
- Easy pairing with existing Honeywell wireless relay boxes.
5. Setup and Installation
5.1. Battery Installation
- Open the battery compartment cover on the back of the thermostat unit.
- Insert the two supplied AA alkaline batteries, ensuring correct polarity (+/-).
- Close the battery compartment cover. The thermostat display should power on.
5.2. Mounting the Thermostat
The thermostat can be placed on a flat surface using the mounting stand or mounted on a wall using the wall mount bracket.
Desktop Placement:
- Attach the mounting stand to the base of the thermostat unit.
- Place the thermostat on a stable, flat surface away from direct sunlight, drafts, or heat sources.
Wall Mounting:
- Secure the wall mount bracket to a suitable wall location using appropriate screws (not supplied).
- Carefully attach the thermostat unit to the wall mount bracket.

Image 5.1: Side profile of the Hanicks Pro Series Thermostat, demonstrating its use with the included mounting stand for desktop placement.
5.3. Pairing with the Wireless Relay Box
The Hanicks Pro Series thermostat is designed to pair with existing Honeywell wireless relay boxes (e.g., BDR91). Follow these steps to establish communication:
- Ensure your existing Honeywell wireless relay box is powered on.
- On the relay box, press and hold the binding button (often labeled 'BIND' or 'RF BIND') for approximately 2-5 seconds until the LED indicator starts flashing. This puts the relay box into pairing mode.
- On the Hanicks Pro Series thermostat, navigate to the pairing menu. This is typically accessed by pressing and holding a specific button (e.g., 'MENU' or a dedicated 'BIND' button) for a few seconds. Refer to the on-screen prompts.
- Once the thermostat enters pairing mode, it will search for the relay box. The display may show a 'BINDING' or 'PAIRING' message.
- Upon successful pairing, the LED on the relay box will stop flashing and remain solid green, and the thermostat display will confirm successful connection (e.g., 'RF OK' or a signal strength indicator).
- If pairing fails, ensure the thermostat and relay box are within range and repeat the process.
Note: For detailed visual instructions, consult the installation video provided by Hanicks, often accessible via a QR code in the product packaging or on the product listing page.
6. Operating Instructions
6.1. Setting Date and Time
- Press the 'MENU' button.
- Navigate to the 'SET TIME/DATE' option using the arrow buttons.
- Adjust the year, month, day, hour, and minute using the '+' and '-' buttons. Confirm each setting with 'OK' or 'MENU'.
6.2. Programming the 7-Day Schedule
The thermostat allows for a 7-day programmable schedule with up to 2 on/off cycles per day. Each day can be programmed individually or copied to other days.
- Press the 'MENU' button and select 'PROGRAM' or 'SCHEDULE'.
- Select the day you wish to program (e.g., 'MON').
- Set the desired 'ON' time and temperature for the first heating period.
- Set the desired 'OFF' time and temperature (or setback temperature) for the first heating period.
- Repeat for the second 'ON' and 'OFF' cycle if required.
- Use the 'COPY' function to duplicate settings to other days, or program each day individually.
- Save and exit the programming menu.
6.3. Operating Modes
The thermostat typically offers the following operating modes:
- AUTO (Automatic) Mode: The thermostat follows the programmed 7-day schedule.
- MAN (Manual) Mode: The thermostat maintains a constant temperature set by the user, overriding the schedule. Adjust the temperature using the '+' and '-' buttons.
- OFF Mode: The heating system is turned off.
Switch between modes using the dedicated 'MODE' button or by navigating through the 'MENU' options.
6.4. Temperature Adjustment
In AUTO mode, you can temporarily override the current programmed temperature using the '+' or '-' buttons. This temporary override will typically last until the next programmed event or until manually cancelled.
In MAN mode, the '+' and '-' buttons directly adjust the constant target temperature.
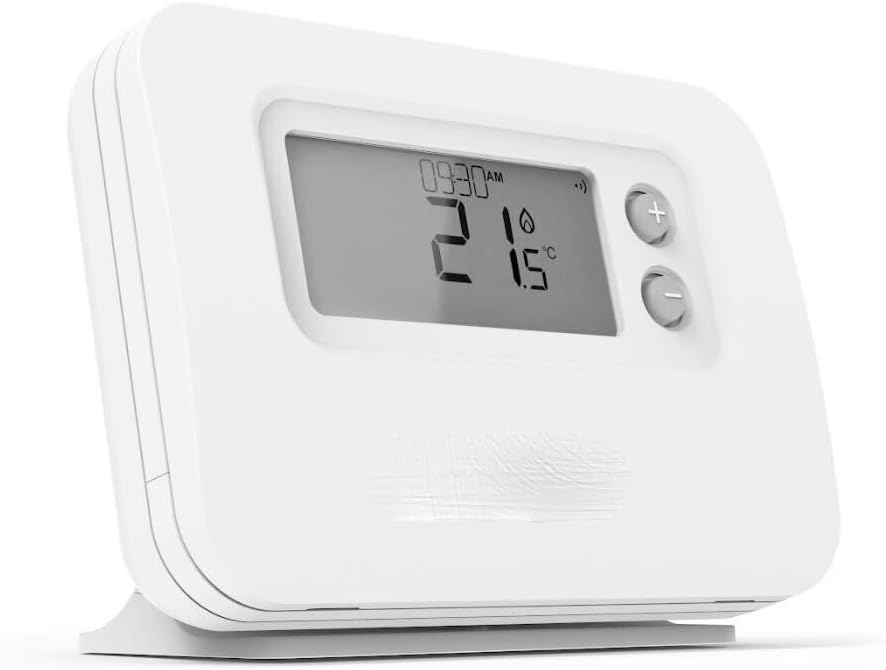
Image 6.1: The Hanicks Pro Series Thermostat displaying the current time and room temperature, ready for user interaction.

Image 6.2: The thermostat with its protective lid open, showing the primary control buttons for setting schedules and adjusting temperatures.
7. Maintenance
7.1. Cleaning
Wipe the thermostat's exterior with a soft, dry cloth. Do not use abrasive cleaners, solvents, or spray directly onto the unit.
7.2. Battery Replacement
When the low battery indicator appears on the display, replace the two AA alkaline batteries promptly. The integrated memory will retain your program settings during battery replacement.
8. Troubleshooting
| Problem | Possible Cause | Solution |
|---|---|---|
| Display is blank or dim. | Low or dead batteries. | Replace the two AA alkaline batteries. |
| Heating system not responding. | No communication with relay box; thermostat in OFF mode; incorrect temperature setting. | Check pairing with relay box (Section 5.3). Ensure thermostat is in AUTO or MAN mode. Verify target temperature is above current room temperature. |
| Thermostat not pairing with relay box. | Relay box not in pairing mode; out of range; interference. | Ensure relay box LED is flashing during pairing. Move thermostat closer to the relay box. Check for other wireless devices causing interference. Repeat pairing steps (Section 5.3). |
| Incorrect time or date. | Not set correctly or power interruption. | Reset the date and time (Section 6.1). |
| Programmed schedule not followed. | Thermostat in MAN mode; program not saved; temporary override active. | Ensure thermostat is in AUTO mode. Re-check and save the program (Section 6.2). Cancel any temporary overrides. |
9. Specifications
- Brand: Hanicks
- Model Numbers: CM927, CMS927, CM921, CMS921, CM727, CMS727, CM721, CMS721
- Color: White
- Material: Plastic
- Product Dimensions (L x W x H): 2.5 x 13.5 x 9.5 cm
- Item Weight: 500 grams
- Power Source: AC (for relay box), Batteries (for thermostat unit)
- Battery Type: 2 x AA (included)
- Connectivity Technology: Wireless
- Temperature Control Type: Programmable
- Controller Type: Push Button
10. Warranty and Support
For warranty information and technical support, please refer to the documentation provided with your purchase or contact Hanicks customer service directly. Keep your proof of purchase for any warranty claims.