1. Introduction
The Tissting XM-18G Egg Incubator Controller is an intelligent, fully automatic control system designed for precise temperature and humidity management during egg incubation. It features a six-screen display for real-time monitoring and offers automated functions for egg turning, temperature control, humidity control, cooling, and ventilation. This manual provides detailed instructions for the proper setup, operation, and maintenance of your XM-18G controller to ensure optimal incubation results.
2. Product Features
- Multi-Screen Display: Humanized six-screen, six-display design for comprehensive data viewing.
- Integrated Sensors: Equipped with accurate temperature and humidity sensors for stable performance.
- Automatic Micro-Processing: Fully automatic egg turning with adjustable timing, temperature control, humidity control, cooling, and ventilation.
- 7-Channel Signal Output: Includes outputs for over temperature, temperature control, low temperature, left turn, right turn, humidity control, and alarm.
- Wide Application: Suitable for incubating eggs of various poultry including chicken, peacock, geese, duck, crane, quails, and pigeons.
3. Package Contents
Upon unpacking, please verify that all components are present and undamaged:
- XM-18G Egg Incubator Controller Unit
- Temperature Sensor
- Humidity Sensor
- User Manual (this document)

Figure 3.1: XM-18G Controller with Temperature and Humidity Sensors.
4. Setup and Installation
Follow these steps for proper installation of the XM-18G controller:
- Mounting: Securely mount the controller unit in a suitable location within your incubator setup. Ensure it is protected from direct moisture and excessive vibrations.
- Sensor Connection: Connect the temperature sensor and humidity sensor to their respective ports on the controller. Ensure connections are firm.
- Power Connection: Connect the power supply to the controller. The unit operates on 110V.
- Output Connections: Connect the incubator's heating elements (HEAT1, HEAT2), fan, egg turning motor (TURN), humidifier (WET), and alarm to the corresponding output terminals on the back of the controller. Refer to the wiring diagram below.

Figure 4.1: Rear panel connections for power, sensors, and output devices.
5. Operating Instructions
The XM-18G controller features a user-friendly interface with multiple displays and control buttons. Familiarize yourself with the front panel layout:

Figure 5.1: Front Panel Overview with Displays and Controls.
5.1. Display Functions
- Temperature Display: Shows current temperature in °C.
- Humidity Display: Shows current humidity in %.
- Egg Turning Time: Displays the remaining time until the next automatic egg turn.
- Hatching Days: Indicates the number of days since incubation started.
- Work Indicators: LEDs for FAN, HEAT1, HEAT2, UP, DOWN, WET, ALARM show active functions.
5.2. Setting Parameters
To adjust incubation parameters:
- Press the SET key to enter parameter setting mode.
- Use the UP and DOWN arrow keys to navigate between parameters (e.g., target temperature, target humidity, egg turning interval).
- Press SET again to select a parameter, then use UP and DOWN to adjust its value.
- Press OK to confirm and save the setting.
5.3. Manual Controls
The controller includes manual switches for specific functions:
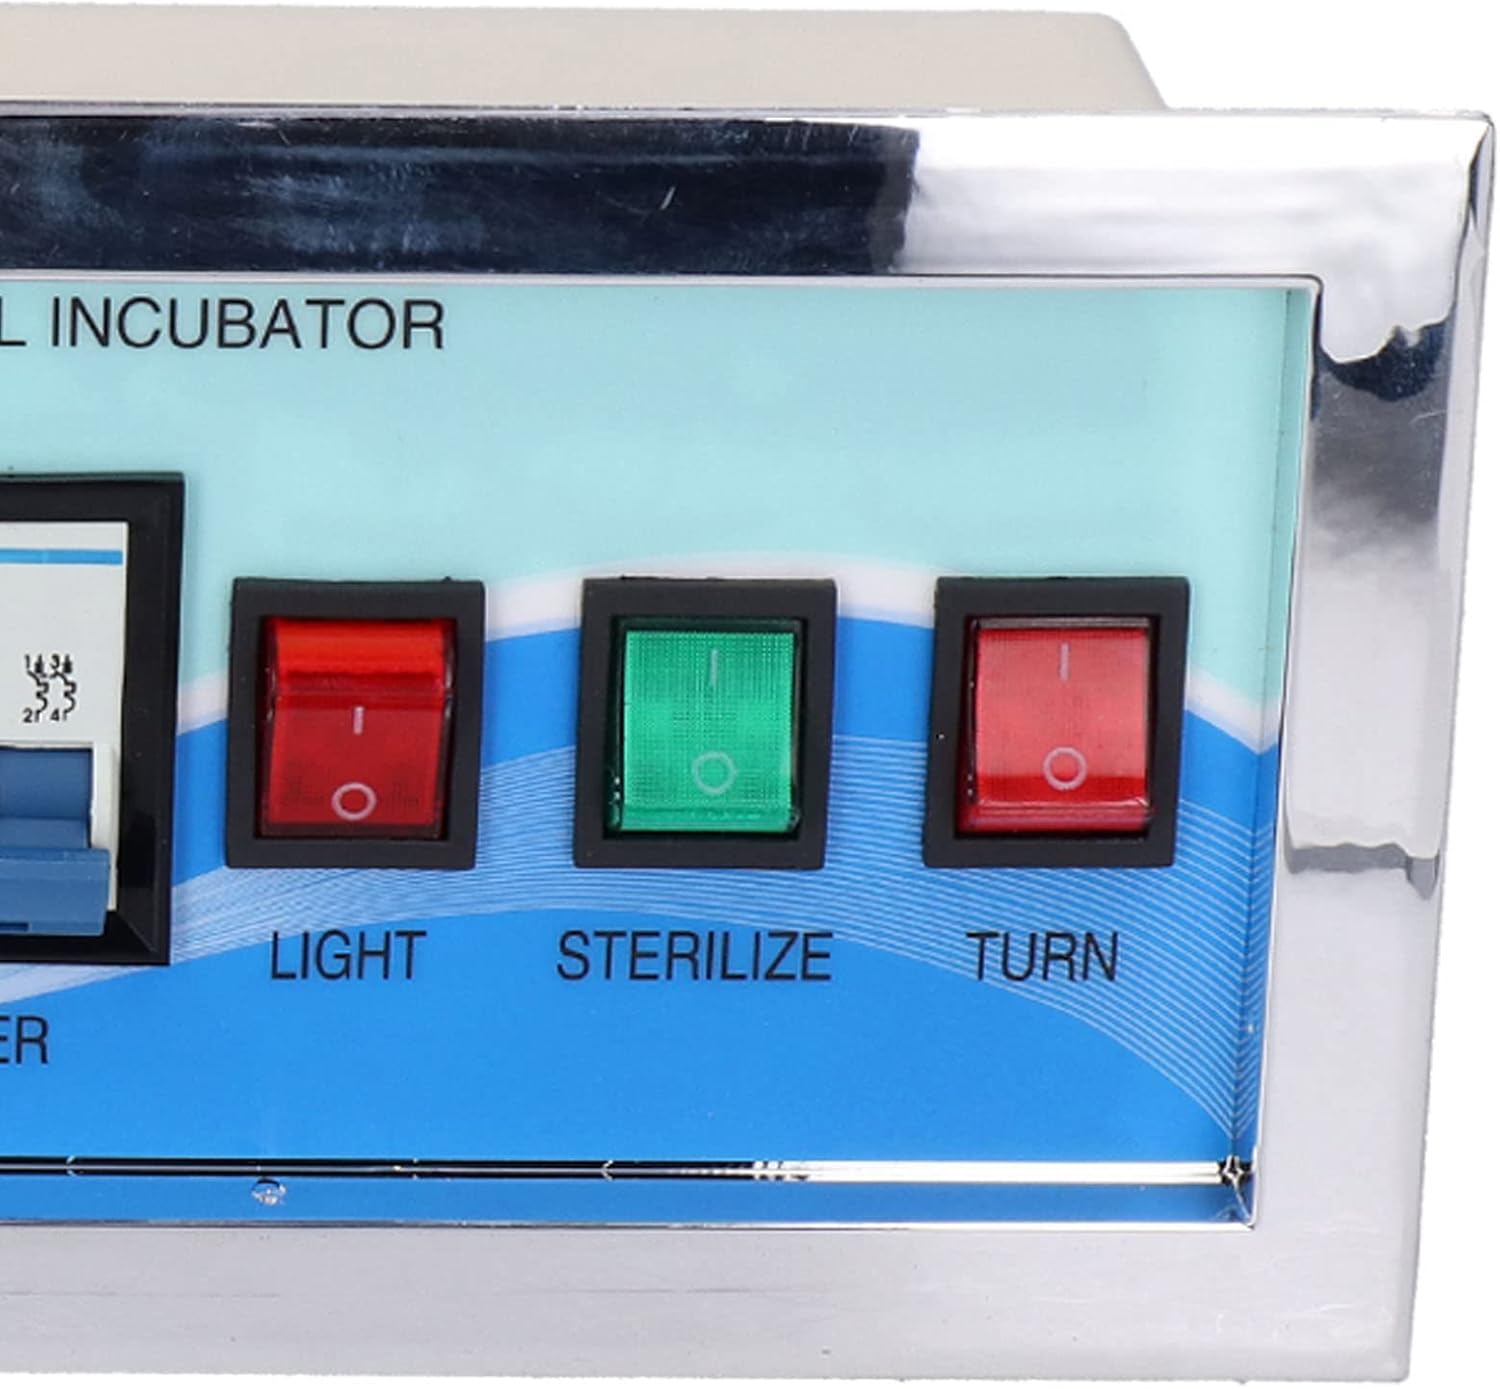
Figure 5.2: Manual Control Switches.
- LIGHT Switch: Controls the internal light of the incubator (if connected).
- STERILIZE Switch: Activates the sterilization function (if available and connected).
- TURN Switch: Initiates a manual egg turning cycle.
6. Maintenance
Regular maintenance ensures the longevity and accuracy of your XM-18G controller:
- Cleaning: Gently wipe the controller's surface with a soft, dry cloth. Avoid using abrasive cleaners or solvents.
- Sensor Care: Keep temperature and humidity sensors clean and free from dust or debris. Do not immerse them in water.
- Connections: Periodically check all wiring connections to ensure they are secure and free from corrosion.
- Storage: When not in use, store the controller in a dry, cool place away from direct sunlight.
7. Troubleshooting
If you encounter issues with your XM-18G controller, refer to the following common problems and solutions:
| Problem | Possible Cause | Solution |
|---|---|---|
| Controller does not power on. | No power supply; loose connection; faulty power source. | Check power cable connection. Verify power outlet is functional. Ensure the circuit breaker on the unit is engaged. |
| Temperature/Humidity readings are inaccurate. | Sensor dirty or damaged; sensor not properly placed. | Clean sensors. Ensure sensors are positioned correctly within the incubator, away from direct heat or moisture sources. Replace if damaged. |
| Egg turning mechanism is not working. | Egg turning motor not connected; motor malfunction; incorrect settings. | Check connection to the 'TURN' output. Verify egg turning interval settings. Test the motor independently if possible. |
| Alarm sounds frequently. | Temperature/humidity outside set range; alarm thresholds set too narrow. | Adjust temperature/humidity to desired levels. Review and adjust alarm threshold settings if necessary. |
8. Specifications
| Specification | Value |
|---|---|
| Model Number | XM-18G |
| Brand | Tissting |
| Voltage | 110V (as per product title) |
| Temperature Control Range | 0-99°C |
| Humidity Control Range | 0-99% RH |
| Temperature Measurement Accuracy | ±0.1°C |
| Output Channels | 7 (Over Temperature, Temperature Control, Low Temperature, Left Turn, Right Turn, Humidity Control, Alarm) |
| Item Weight | 1.35 kg |
| Manufacturer | Tissting |
9. Warranty and Support
For warranty information and technical support, please refer to the documentation provided with your purchase or contact Tissting customer service directly. Keep your purchase receipt as proof of purchase for any warranty claims.