
YAOHUIMI Remote Control+Holder
Instruction Manual for YAOHUIMI Infrared Remote Control
Model: Remote Control+Holder (JY-3B)
1. Introduction
This manual provides essential information for the proper setup, operation, and maintenance of your YAOHUIMI Infrared Remote Control. This remote is designed to be compatible with various Pleasant Hearth fireplace stove heater models, including but not limited to those listed in the compatibility section.
The remote control offers convenient wireless operation for your fireplace, allowing you to adjust settings from a distance. It features a simple, intuitive design for ease of use.

Figure 1: YAOHUIMI Infrared Remote Control with its wall mount holder.
2. Compatibility
This remote control is compatible with a wide range of Pleasant Hearth fireplace stove heater models. Please verify your fireplace model number against the list below to ensure compatibility:
- Pleasant Hearth Jy-3b EF33510AS-15
- 18-751-204-Y, 18-751-48, 18-751-93-Y
- 18-927-175-Y, 18-927-204-Y, 18-927-93, 18-927-93-Y
- 23-2000-001, 23-600-001, 23-800-001, 23-900-002, 23-900-003, 23-900-030
- 234-159-76, 239-118-121-Y, 239-118-165-Y
- 24-900-001, 24-900-002
- 25-900-001, 25-900-003, 253-77-70, 258-102-165-Y
- 26-2000-001, 26-800-004, 26-900-003, 26-900-004
- 269-125-463, 269-181-463, 269-218-463-Y, 269-218-463-Y1, 269-71-41, 269-887-75
- 27-800-001, 27-900-002, 27-900-003, 27-900-030
- 30-2000-001, 36-843-241, 365-61-241, 366-843-241
- 37-167-200, 370-182-204, 370-196-204, 370-196-204-KIT, 370-196-205, 370-196-48
- ES-920-10, MFB33WSC-2, SF103-18H
Note: This remote is not compatible with JY-3A models. If you require a remote for JY-3A, please search for "B09SXZJMWW" on Amazon.
3. Setup
3.1. Battery Installation
The remote control requires two (2) AAA 1.5V batteries (not included). Follow these steps to install the batteries:
- Locate the battery compartment cover on the back of the remote control.
- Slide the cover downwards to open the compartment.
- Insert two AAA batteries, ensuring the positive (+) and negative (-) ends align correctly with the markings inside the compartment.
- Slide the battery compartment cover back into place until it clicks securely.
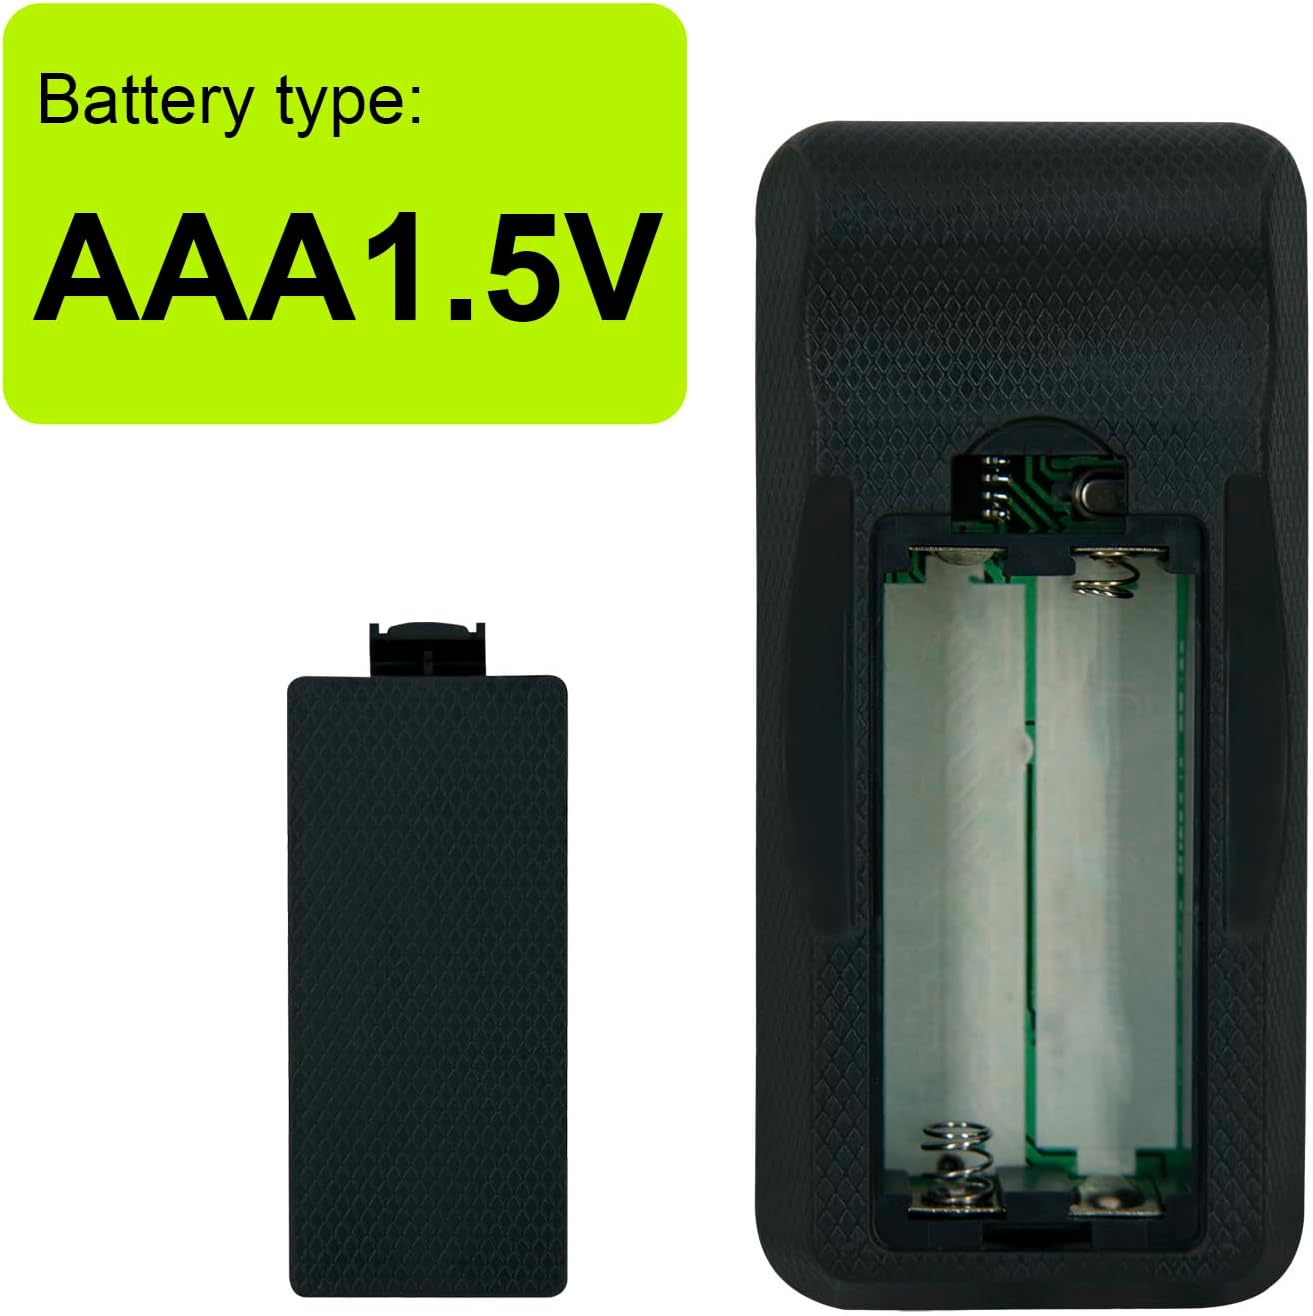
Figure 2: Battery compartment indicating AAA 1.5V battery type.

Figure 3: This remote uses a new design with 1.5V AAA batteries for longer durability compared to older coin battery designs.

Figure 4: Rear view of the remote control showing the battery compartment cover.
3.2. Wall Mount Holder Installation
The remote control comes with a convenient wall mount holder to prevent misplacement. To install the holder:
- Choose a suitable location near your fireplace, ensuring it is within easy reach and away from excessive heat or moisture.
- Use appropriate screws (not included) to secure the holder to the wall through the pre-drilled holes.
- Once installed, simply slide the remote control into the holder for storage.

Figure 5: The remote control stored in its wall mount holder, positioned conveniently near a fireplace.
4. Operating Instructions
The remote control features a simple layout with dedicated buttons for key functions. No programming is typically required; the remote should work immediately upon battery installation if compatible with your fireplace model.

Figure 6: Front view of the remote control with button icons.
4.1. Button Functions
- Power Button (): Press to turn the fireplace ON or OFF.
- Timer Button (): Activates or adjusts the timer function for automatic shutdown. Refer to your fireplace's manual for specific timer settings.
- Flame Effect Button (): Controls the flame effect settings (e.g., brightness, intensity). Multiple presses may cycle through available options.
- Temperature/Heat Button (): Adjusts the heat output or temperature setting of the fireplace.
Point the remote control directly towards the infrared receiver on your fireplace for optimal performance. Ensure there are no obstructions between the remote and the fireplace.
5. Maintenance
5.1. Battery Replacement
Replace batteries when the remote's range decreases or it stops responding. Always replace both batteries simultaneously with new AAA 1.5V batteries. Do not mix old and new batteries or different battery types.
5.2. Cleaning
To clean the remote control, wipe it gently with a soft, dry cloth. Do not use abrasive cleaners, solvents, or immerse the remote in water. Keep the remote control dry and away from direct sunlight or extreme temperatures.
6. Troubleshooting
| Problem | Possible Cause | Solution |
|---|---|---|
| Remote not responding. |
|
|
| Limited range or intermittent operation. |
|
|
7. Specifications
| Feature | Detail |
|---|---|
| Brand | YAOHUIMI |
| Model Name | Infrared Remote Control (Remote Control+Holder) |
| Power Source | Battery Powered (2 x AAA 1.5V) |
| Special Feature | Infrared |
| Included Components | Remote Control, Wall Mount Holder |
| Item Weight | 1.13 ounces (approx. 32 grams) |
| Package Dimensions | 6.57 x 3.43 x 1.54 inches (approx. 16.7 x 8.7 x 3.9 cm) |
| Manufacturer | HUIMIKEJI |
8. Warranty Information
This product comes with a Limited Warranty. For specific terms, conditions, and duration of the warranty, please refer to the documentation provided with your purchase or contact the manufacturer directly.
9. Customer Support
For further assistance, technical support, or inquiries regarding your YAOHUIMI Infrared Remote Control, please contact the manufacturer or your point of purchase. When contacting support, please have your product model number (Remote Control+Holder) and purchase details ready.
Manufacturer: HUIMIKEJI
Brand: YAOHUIMI
Ask a question about this manual
Ask about setup, troubleshooting, compatibility, parts, safety, or missing instructions. Manuals+ will review the question and use this page’s manual context to help answer it.