1. Product Overview
The TFA Dostmann AIRCO2NTROL UP is an advanced CO2 monitor designed to assess indoor air quality by measuring carbon dioxide concentration, temperature, and humidity. This device provides crucial information for maintaining a healthy indoor environment, especially in spaces where people gather, such as schools, offices, and public buildings. Its high-quality NDIR Dual Beam sensor ensures accurate measurements, and the extended traffic light display offers an intuitive visual indication of air quality.
Key features include an alarm function for exceeding set CO2 levels, storage of highest and lowest values, a high-contrast display with adjustable brightness, and an integrated rechargeable battery for portable use.

Figure 1: Front view of the TFA Dostmann AIRCO2NTROL UP CO2 Monitor, displaying CO2 levels, temperature, humidity, and the 'GOOD' air quality indicator.
2. Setup
2.1 Unpacking and Initial Charge
- Carefully remove the CO2 monitor, USB-C cable, and AC adapter (EU plug) from the packaging.
- Connect the USB-C cable to the monitor and the AC adapter. Plug the adapter into a power outlet.
- For optimal battery performance and initial calibration, allow the device to charge for at least 24 hours before first use. The device will automatically turn on when plugged in.
2.2 Initial Calibration
The device performs an automatic calibration during the initial 24-hour charging period. Ensure the device is placed in a well-ventilated area during this time for accurate baseline establishment.
2.3 Powering On/Off
- To power on, ensure the device is charged or connected to power, then press and hold the power button (if available, otherwise it powers on automatically when plugged in).
- To power off, press and hold the power button until the display turns off.
- Note on "ERR" message: If an "ERR" message appears upon initial startup, especially when plugged in, try unplugging the device, then powering it on using its internal battery. Once successfully powered on, you can reconnect the charger. This can resolve an initial software or power-related issue.
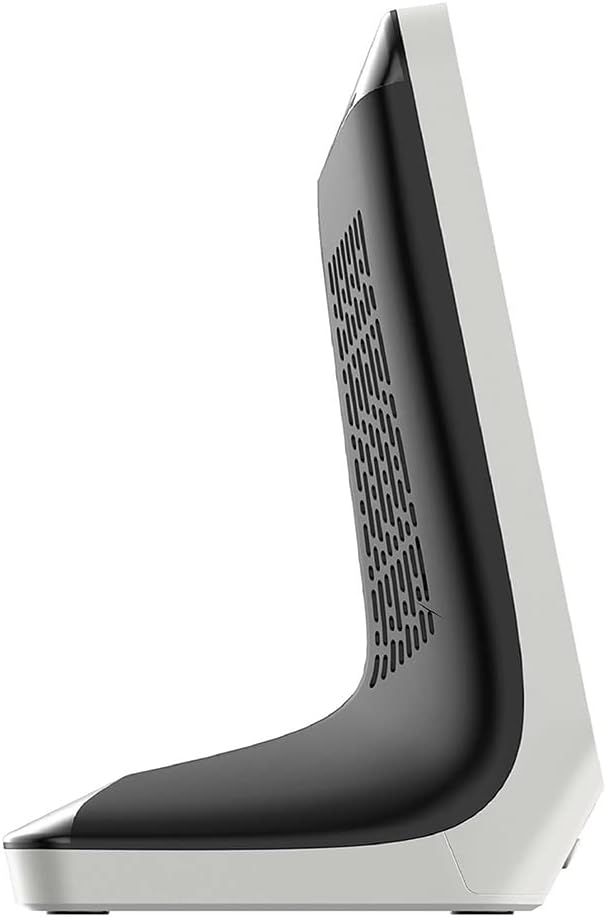
Figure 2: Side view of the CO2 monitor, showing its sleek profile and ventilation grilles.
3. Operating Instructions
3.1 Display Elements
The high-contrast display shows the following information:
- CO2 Concentration: Large numerical display in Parts Per Million (PPM).
- Traffic Light Indicator: Visual representation of air quality (Green, Blue, Yellow, Red).
- Temperature: Displayed in degrees Celsius (°C) or Fahrenheit (°F).
- Humidity: Displayed as a percentage (%).
- Battery Indicator: Shows current battery level.
3.2 CO2 Traffic Light System
The device uses an extended traffic light system to quickly indicate CO2 levels:
- Green: Good air quality.
- Blue: Normal air quality.
- Yellow: Poor air quality, ventilation recommended.
- Red: Serious air quality, immediate ventilation required.
3.3 Button Functions
- CALIBRATE: Initiates manual calibration. Refer to Section 4.2 for details.
- MEM: Displays the highest and lowest recorded CO2, temperature, and humidity values. Press again to cycle through values or exit.
- SET CO2: Allows adjustment of the CO2 alarm threshold. Use the +/- buttons to set the desired PPM value.
- ALARM CO2: Toggles the CO2 alarm function on or off. An audible alarm will sound if the CO2 level exceeds the set threshold.
- +/-: Used to adjust settings (e.g., alarm threshold, brightness) and navigate menus.
- Light Bulb Icon Button: Adjusts the display brightness through 4 available levels.

Figure 3: The CO2 monitor positioned on an office desk, demonstrating its use in a typical indoor environment.
4. Maintenance
4.1 Cleaning
To clean the device, use a soft, dry cloth. Do not use abrasive cleaners, solvents, or immerse the device in water. Ensure the ventilation openings on the back and sides remain clear of dust and debris.
4.2 Manual Calibration
While the device features automatic calibration, manual calibration may be performed if you suspect inaccurate readings. To manually calibrate:
- Place the device outdoors in fresh air for at least 10-15 minutes to ensure it is exposed to ambient CO2 levels (approximately 400 PPM).
- Press and hold the "CALIBRATE" button until the calibration process begins. Follow any on-screen prompts.
- Allow the calibration to complete. The device will return to normal operation once finished.
4.3 Battery Care
The integrated Lithium-Ion battery provides approximately 12 hours of operation on a full charge. For continuous monitoring, keep the device connected to the AC adapter. To prolong battery life, avoid fully discharging the battery frequently.

Figure 4: Rear view of the CO2 monitor, highlighting the ventilation grilles and the USB-C charging port.
5. Troubleshooting
- Device does not power on:
- Ensure the device is fully charged or connected to the AC adapter.
- If connected to power, try unplugging and then powering on using the battery. Reconnect power after successful startup.
- "ERR" message displayed:
- This can occur if the device is turned on while charging. Unplug the device, power it on, then reconnect the charger.
- Perform a manual calibration outdoors (refer to Section 4.2).
- Inaccurate CO2 readings:
- Ensure the device is not placed near strong air currents, vents, or sources of CO2 (e.g., exhaled breath directly onto the sensor).
- Perform a manual calibration outdoors (refer to Section 4.2).
- Allow the device to stabilize for a few hours after initial setup or relocation.
- Temperature/Humidity readings are slightly off:
- The device's internal temperature can slightly affect readings. Allow it to operate for a few hours in a stable environment for more accurate readings.
- Compare with other calibrated devices, understanding that minor variations (e.g., 1-2°C for temperature, ~10% for humidity) can occur between different sensors.
- Alarm not sounding:
- Check if the alarm function is enabled using the "ALARM CO2" button.
- Verify the alarm threshold is set correctly using the "SET CO2" button.
6. Technical Specifications
| Feature | Specification |
|---|---|
| Model Number | 31.5010.02 |
| Dimensions (L x W x H) | 7.7 x 9.6 x 14.4 cm |
| Weight | 203 Grams |
| Material | New plastic |
| Power Source | AC (USB-C cable, AC adapter included) |
| Battery | 1 Lithium Ion battery (included), approx. 12 hours operation |
| Sensor Type | NDIR Dual Beam (Non-Dispersive Infrared) |
| Special Features | Alarm function, memory for min/max values, 4 brightness levels |
| Included Components | CO2 monitor, USB-C cable, AC adapter (EU plug), instruction manual |

Figure 5: The CO2 monitor with its key dimensions (length, width, height) indicated for reference.
7. Warranty and Support
7.1 Warranty Information
This product comes with a manufacturer's warranty. Please refer to the included warranty card or contact your retailer for specific warranty terms and conditions. EU spare part availability duration is 1 year.
7.2 Customer Support
For technical assistance, troubleshooting not covered in this manual, or inquiries regarding your device, please contact TFA Dostmann customer support or your authorized dealer. Contact information can typically be found on the manufacturer's website or in your purchase documentation.


