PartsStorm GM60
PartsStorm GM60 Mini LCD Projector User Manual
Model: GM60
1080P HD Projector Pocket Mini LCD Projector 1000Lm 800 x 480 1080P Beamer with USB HDMI VGA AV Connectivity
1. Introduction
Thank you for purchasing the PartsStorm GM60 Mini LCD Projector. This compact and versatile projector is designed to deliver a high-definition viewing experience with its 800 x 480 native resolution, supporting up to 1080P input. With multiple connectivity options including USB, HDMI, VGA, and AV, it is suitable for various entertainment and presentation needs. Please read this manual thoroughly before operating the device to ensure proper use and maintenance.
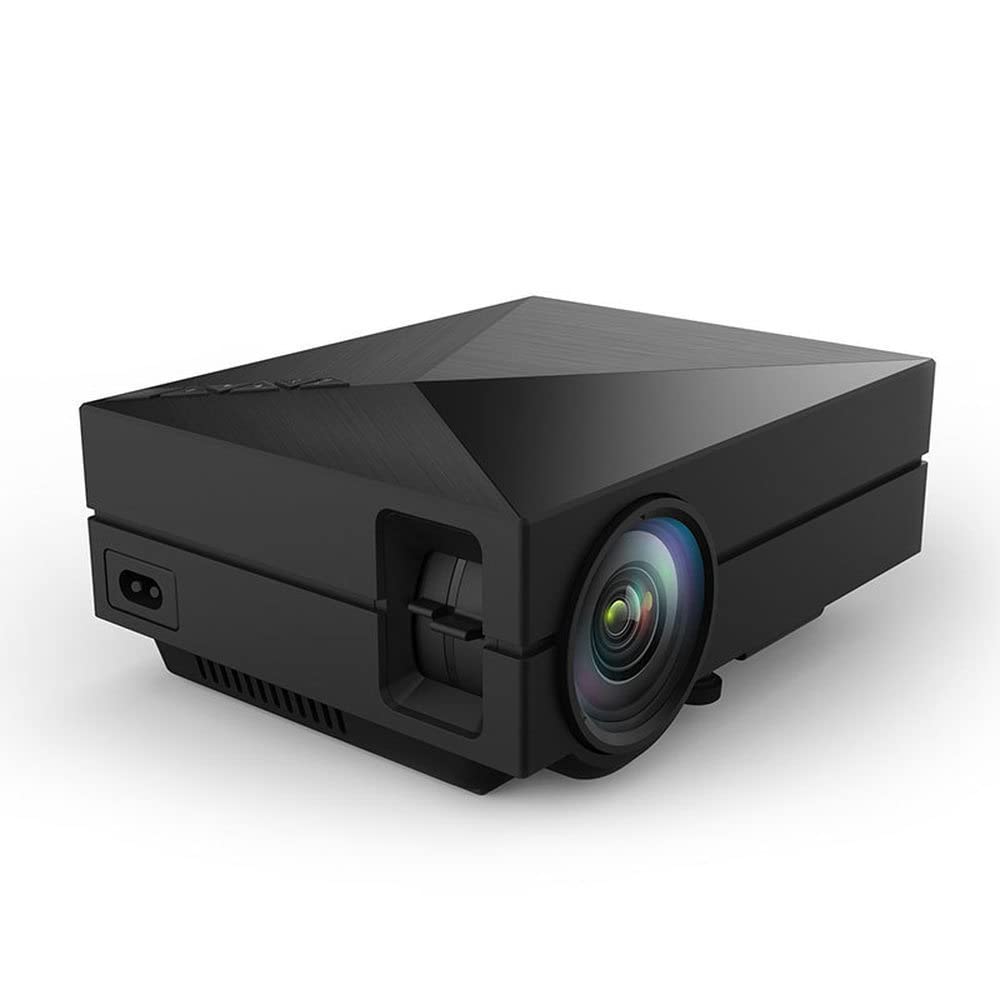
Figure 1.1: Front-side view of the PartsStorm GM60 Mini LCD Projector, showcasing its compact design and lens.
2. Product Features
- High Definition Display: Native resolution of 800 x 480 pixels, supporting up to 1920 x 1080 (1080P) input for clear and vibrant images.
- Brightness: 1000 Lumens for a bright viewing experience in various lighting conditions.
- Multiple Connectivity Options: Equipped with HDMI, USB, VGA, and AV ports for broad compatibility with devices such as laptops, gaming consoles, USB drives, and more.
- Portable Design: Compact and lightweight, making it easy to transport and set up in different locations.
- Versatile Use: Ideal for home entertainment, small presentations, and educational purposes.
3. Package Contents
Please check the package contents upon unboxing to ensure all items are present:
- PartsStorm GM60 Mini LCD Projector
- Power Adapter
- Remote Control
- AV Cable
- User Manual
4. Setup
4.1 Physical Placement
Place the projector on a stable, flat surface. Ensure there is adequate ventilation around the projector to prevent overheating. Position the projector directly in front of the screen or wall for optimal image projection.

Figure 4.1: Front view of the GM60 projector, showing the lens and front ventilation.
4.2 Power Connection
- Connect the power adapter to the DC IN port on the projector.
- Plug the other end of the power adapter into a wall outlet.
- The power indicator light on the projector will illuminate.
4.3 Connecting Devices
The GM60 projector offers various input options. Identify the correct port for your device and connect the appropriate cable.

Figure 4.2: Detailed view of the projector's input ports, including AV, USB, and HDMI, highlighting its broad compatibility.
- HDMI: Connect an HDMI cable from your laptop, gaming console, or Blu-ray player to the HDMI port on the projector.
- USB: Insert a USB flash drive into one of the USB ports to play media files directly.
- VGA: Connect a VGA cable from your computer to the VGA port on the projector.
- AV: Use the provided AV cable to connect to devices with AV output, such as DVD players or older video game consoles.
- Audio Out: Connect external speakers or headphones to the 3.5mm audio jack for enhanced sound.
5. Operating Instructions
5.1 Power On/Off
- Power On: Press the power button on the projector or the remote control. The projector will start up, and the fan will begin to operate.
- Power Off: Press the power button again. A confirmation message may appear; select "Yes" to shut down. Always allow the projector to cool down before unplugging it.

Figure 5.1: Top view of the projector, showing the integrated control panel for power, navigation, and input selection.
5.2 Focus and Keystone Correction
- Focus Adjustment: Rotate the focus ring located near the lens until the projected image appears sharp and clear.
- Keystone Correction: If the image appears trapezoidal (wider at the top or bottom), use the keystone correction dial (if available) or the menu settings to adjust the image geometry until it is rectangular.
5.3 Input Source Selection
After connecting your device, you need to select the correct input source:
- Press the "Input" or "Source" button on the projector's control panel or remote control.
- Use the arrow keys to navigate through the input options (HDMI, USB, VGA, AV).
- Press "OK" or "Enter" to confirm your selection.
5.4 Menu Navigation
Use the navigation buttons (up, down, left, right) and the "OK" button on the projector or remote to access and adjust settings such as picture mode, sound, and display options.
6. Maintenance
- Lens Cleaning: Use a soft, lint-free cloth specifically designed for optical lenses to gently wipe the projector lens. Do not use abrasive cleaners or excessive force.
- Ventilation Cleaning: Regularly check and clean the ventilation openings to ensure proper airflow and prevent dust buildup. Use a soft brush or compressed air.
- Storage: When not in use for extended periods, store the projector in a cool, dry place, away from direct sunlight and extreme temperatures. Use the original packaging or a protective case.
- Power Off Properly: Always follow the proper power-off procedure to allow the lamp to cool down, which extends its lifespan.
7. Troubleshooting
| Problem | Possible Cause | Solution |
|---|---|---|
| No Power | Power cable not connected; power outlet issue; projector off. | Ensure power cable is securely connected. Check power outlet. Press power button. |
| No Image | Incorrect input source; cable not connected properly; device not outputting signal. | Select correct input source. Reconnect video cable. Check source device settings. |
| Blurry Image | Focus not adjusted; keystone not corrected; projector too close/far. | Adjust focus ring. Adjust keystone correction. Reposition projector. |
| No Sound | Volume too low; audio cable not connected; source device audio settings. | Increase projector volume. Check audio cable connection. Adjust source device audio output. |
8. Specifications
| Brand | PartsStorm |
| Model | GM60 |
| Display Resolution (Native) | 800 x 480 |
| Display Resolution (Maximum) | 1920 x 1080 (1080P) |
| Brightness | 1000 Lumens |
| Connectivity Technology | HDMI, USB, VGA, AV |
| Special Feature | Portable |
| Manufacturer | PartsStorm |
| Date First Available | November 4, 2021 |
9. Warranty and Support
The PartsStorm GM60 Mini LCD Projector comes with a standard manufacturer's warranty. Please refer to the warranty card included in your package for specific terms and conditions, including warranty period and coverage details.
For technical support, troubleshooting assistance, or warranty claims, please contact PartsStorm customer service through the contact information provided on their official website or the product packaging. When contacting support, please have your product model (GM60) and purchase details ready.
Related Documents - GM60
 |
Ermenrich Reel GM60/GM100 Laser Meter User Manual User manual for the Ermenrich Reel GM60/GM100 Laser Meter, detailing its features, usage, specifications, and maintenance. Learn how to measure distance, area, and volume with this versatile tool. |
 |
Ermenrich Reel GM60/GM100 Laser Meter: User Guide and Specifications This document provides comprehensive instructions for the Ermenrich Reel GM60 and GM100 laser meters, covering their features, operation, measurement modes, specifications, and safety guidelines. |
 |
Ermenrich Reel PRO GM60/GM100 Laser Meter User Manual User manual for the Ermenrich Reel PRO GM60/GM100 laser meter, detailing its features, operation, specifications, and maintenance. Learn how to use this advanced measuring tool for various applications. |
 |
GM60 Bar Code Reader Module User Manual - Hangzhou Grow Technology Comprehensive user manual for the GM60 Bar Code Reader Module by Hangzhou Grow Technology. Covers setup, configuration, specifications, and operation of this high-performance scanner. |
 |
GM60-S Bar Code Reader Module User Manual Comprehensive user manual for the GROW GM60-S Bar Code Reader Module, covering setup, communication, read modes, data editing, and barcode type configurations. |
 |
Ermenrich Measuring Tools: Comprehensive Product Guide Explore the extensive range of Ermenrich measuring tools, from laser levels and tape measures to electrical testers and thermal cameras. Discover innovative solutions for construction, surveying, automotive, and more. |