
1. Introduction
This manual provides detailed instructions for installing the G Radio Wiring Harness (Model SYUS0-011) in select 2000-2013 GM vehicles equipped with amplified audio systems. This harness is designed to simplify the installation of an aftermarket stereo by providing a direct plug-and-play connection to your vehicle's factory wiring, retaining essential factory functions.
What's Included:
- G Radio Wiring Harness (Model SYUS0-011)
- Steering Wheel Control (SWC) cables (if applicable to your aftermarket radio)
Note: This product is specifically designed for amplified systems only and does not include a breakout box where the radio needs to be placed.
2. Compatibility
The G Radio Wiring Harness (Model SYUS0-011) is compatible with select GM vehicles from 2000 to 2013 that feature amplified audio systems, including Bose Class II, Monsoon, and Y-91 audio systems. Please verify your vehicle's specific audio system before installation.
Compatible with the following vehicle makes and models:
Buick:
- 2004-2005 Century
- 2005-2007 LaCrosse
- 2004-2007 Rainier
- 2003-2005 Rendezvous
- 2005-2007 Terraza
Cadillac:
- 2004-2006 Escalade
Chevrolet:
- 2003-2006 Avalanche
- 2000-2005 Cavalier
- 2004-2013 Colorado
- 2006-2013 Corvette
- 2004-2007 Express
- 2000-2005 Impala
- 2000-2005 Monte Carlo
- 2003-2004 S-10
- 2003-2006 Silverado
- 2007 Silverado Classic
- 2003-2006 SSR
- 2003-2006 Suburban
- 2003-2006 Tahoe
- 2002-2009 Trailblazer
- 2005-2008 Uplander
- 2003-2005 Venture
GMC:
- 2004-2011 Canyon
- 2002-2009 Envoy
- 2003-2007 Savana
- 2003-2006 Sierra
- 2007 Sierra Classic
- 2003-2006 Yukon
Hummer:
- 2003-2007 H2
- 2005-2009 H3
Isuzu:
- 2003-2008 Ascender
Oldsmobile:
- 2001-2004 Alero
- 2002-2004 Bravada
- 2000-2004 Silhouette
Pontiac:
- 2001-2005 Aztek
- 2001-2005 Grand Am
- 2004-2008 Grand Prix
- 2000-2006 Montana
- 2000-2005 Sunfire
Saab:
- 2005-2008 9-7X
Saturn:
- 2005-2007 Relay

3. Setup and Installation
Before beginning installation, ensure your vehicle's battery is disconnected to prevent electrical shorts. This harness is designed for direct connection, eliminating the need to cut factory wires.
Installation Steps:
- Prepare the Vehicle: Disconnect the negative terminal of your vehicle's battery. Remove the factory radio from the dashboard, exposing the vehicle's wiring harness.
- Identify Connections: Locate the factory wiring harness connector in your vehicle. This harness will plug directly into it.
- Connect to Aftermarket Stereo: Match the pre-stripped wires of the G Radio Wiring Harness to the corresponding wires on your aftermarket stereo's harness. Refer to the standard color codes provided in Section 4. Secure connections using crimp connectors or solder and heat shrink tubing for reliable contact.
- Connect Steering Wheel Control (SWC) Wires: If your aftermarket stereo supports steering wheel controls, connect the included SWC cables to your stereo's SWC input. The harness includes separate jacks for Pioneer/Sony and Alpine/Clarion compatible units.
- Plug into Vehicle: Once all connections to the aftermarket stereo are secure, plug the G Radio Wiring Harness's vehicle-side connector into your vehicle's factory wiring harness. Ensure a firm and secure connection.
- Test and Reassemble: Reconnect the vehicle's battery. Turn on the ignition and test the aftermarket stereo's functionality, including power, audio output, balance, fade, and steering wheel controls (if connected). If all functions are correct, carefully reassemble your vehicle's dashboard.


4. Wiring Diagram and Color Codes
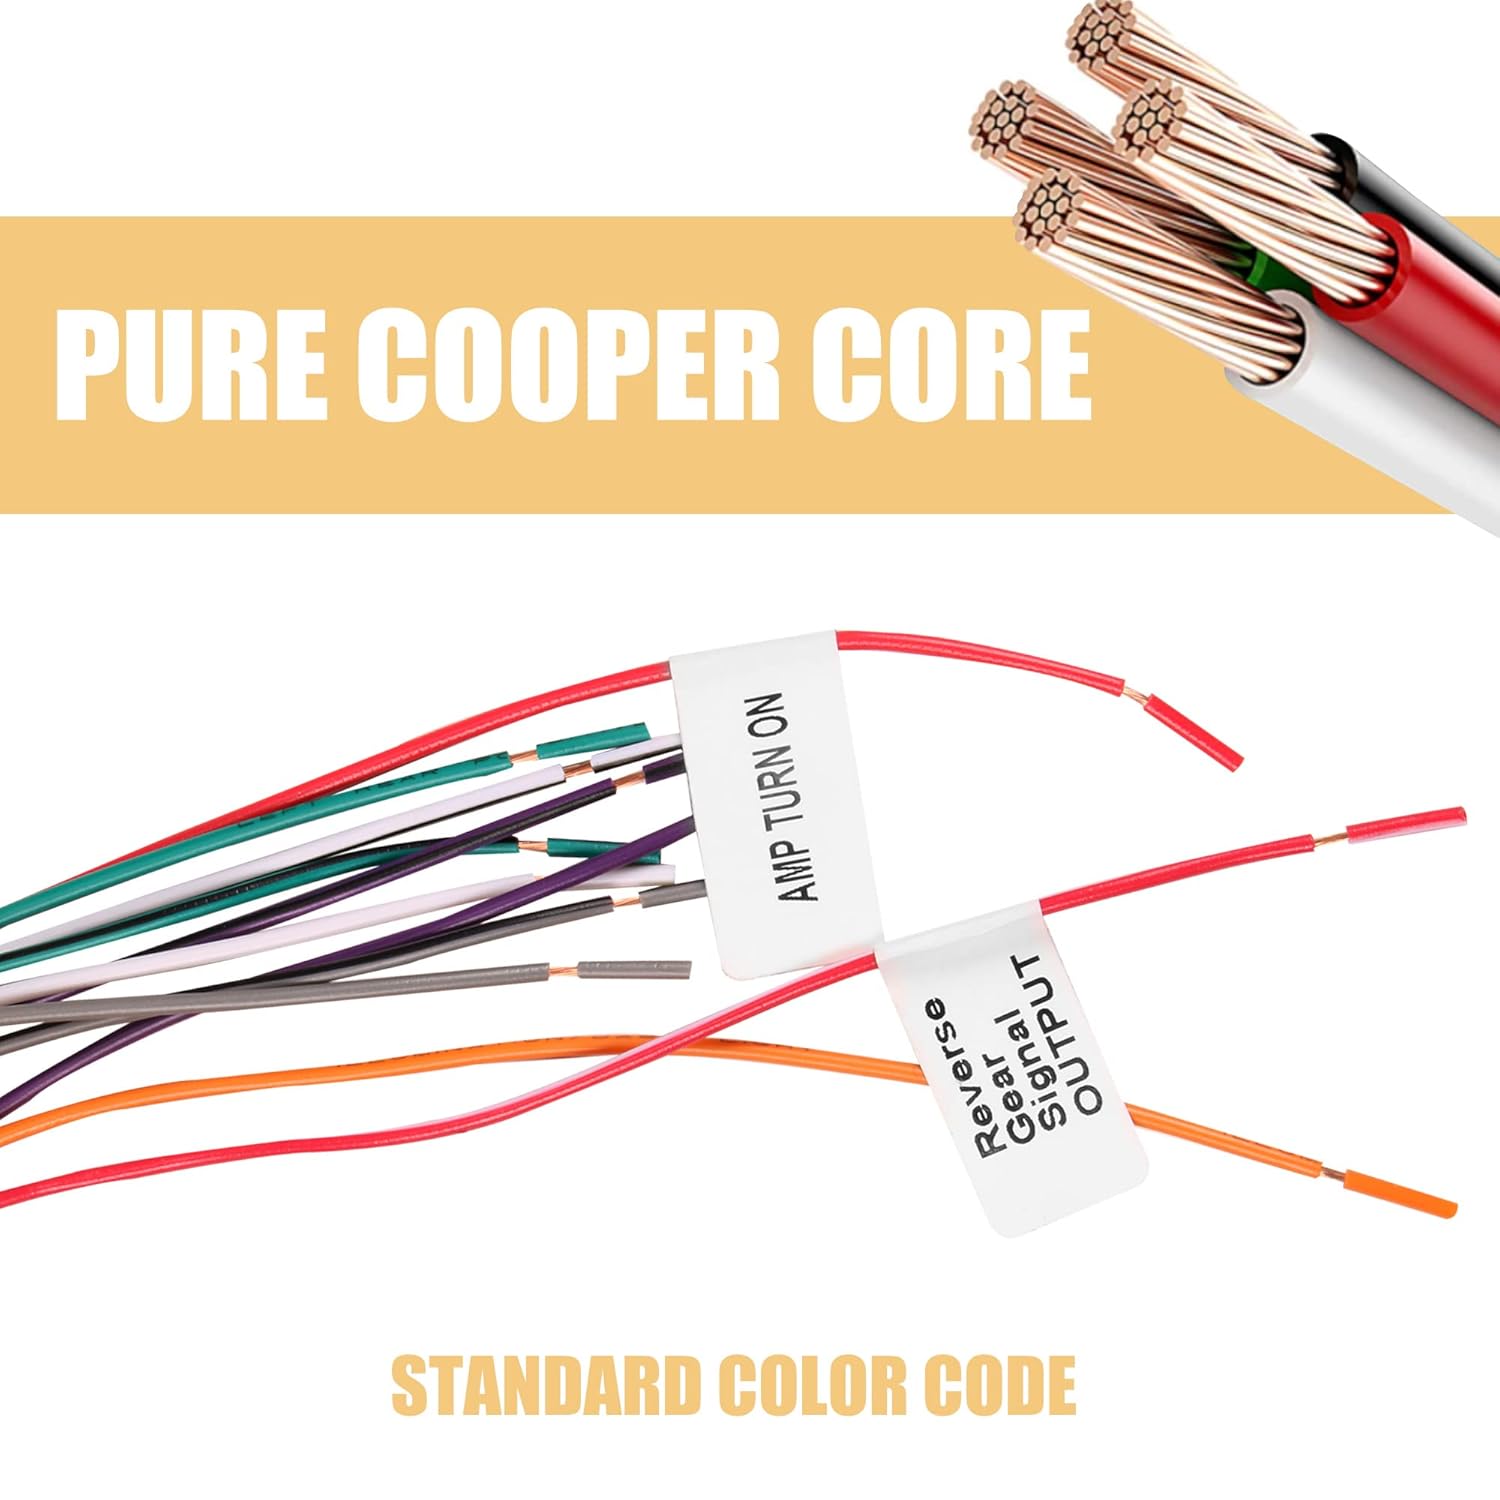
The G Radio Wiring Harness uses standard EIA color codes for easy identification and connection to your aftermarket stereo. The wires are pre-stripped for efficient installation.
Standard Wire Color Functions:
| Wire Color | Function |
|---|---|
| Yellow | Constant 12V (Battery) |
| Red | Accessory 12V (Switched) |
| Black | Ground |
| Blue | Power Antenna / Remote Turn-On |
| Orange | Illumination |
| White | Front Left Speaker (+) |
| White/Black | Front Left Speaker (-) |
| Gray | Front Right Speaker (+) |
| Gray/Black | Front Right Speaker (-) |
| Green | Rear Left Speaker (+) |
| Green/Black | Rear Left Speaker (-) |
| Purple | Rear Right Speaker (+) |
| Purple/Black | Rear Right Speaker (-) |
| Light Green (labeled "AMP TURN ON") | Amplifier Turn-On |
| Brown (labeled "Reverse Gear Signal OUTPUT") | Reverse Gear Signal Output (for backup cameras, etc.) |

5. Specifications
| Feature | Detail |
|---|---|
| Model Number | SYUS0-011 |
| Compatibility | 2000-2013 Select GM Vehicles (Amplified Systems only) |
| Connector Type | Proprietary GM |
| Material | Acrylonitrile Butadiene Styrene, Rubber (for insulation) |
| Wire Core | Pure Copper |
| Package Dimensions | 7.2 x 4.65 x 0.83 inches |
| Item Weight | 3.52 ounces |

6. Troubleshooting
If you encounter issues after installation, review the following common troubleshooting steps:
- No Power to Stereo:
- Ensure the yellow (constant 12V) and red (accessory 12V) wires are correctly connected to your aftermarket stereo and receiving power.
- Check vehicle fuses. A blown fuse can prevent power from reaching the stereo.
- Verify the ground wire (black) is securely connected to a good chassis ground point.
- Some vehicles may require the red accessory wire to be connected to an external switched 12V source (e.g., a fuse tap) if the factory harness does not provide a switched accessory signal.
- No Sound from Speakers:
- Confirm all speaker wires (white, gray, green, purple, and their black-striped counterparts) are correctly matched and connected to the aftermarket stereo.
- Ensure the amplifier turn-on wire (often blue or a specific labeled wire like "AMP TURN ON" on this harness) is connected to the aftermarket stereo's remote turn-on output. Amplified systems require this signal to activate the factory amplifier.
- Check the stereo's fader and balance settings.
- Steering Wheel Controls Not Working:
- Verify the correct SWC cable is used and properly connected to your aftermarket stereo's SWC input.
- Ensure your aftermarket stereo is configured to recognize external steering wheel controls. Refer to your stereo's manual for programming instructions.
- Loose Connections:
- Inspect all connections for tightness. Loose connections are a common cause of intermittent issues.
- Ensure the main vehicle connector is fully seated into the factory harness.
7. Maintenance
The G Radio Wiring Harness is designed for durability and requires minimal maintenance. Once installed correctly, it should provide reliable performance.
- Regular Checks: Periodically check for any loose connections if you experience audio issues.
- Cleanliness: Keep the area around the wiring harness free from excessive dust or moisture.
- Avoid Stress: Ensure the harness is not pinched or under excessive tension during reassembly of the dashboard.
8. Warranty and Support
For warranty information or technical support regarding your G Radio Wiring Harness, please contact the manufacturer directly through their official website or the retailer where the product was purchased. Please have your model number (SYUS0-011) and purchase details ready when contacting support.
You can visit the G Store on Amazon for more information: G Store