1. Introduction
This instruction manual provides detailed guidance for the safe and efficient assembly, installation, operation, and maintenance of your Extralink 15U 600x450mm Rackmount Cabinet, model EX.12905. Please read this manual thoroughly before proceeding with any steps to ensure proper usage and to prevent damage or injury. This cabinet is designed for organizing server and network equipment in a secure and accessible manner.
2. Safety Information
Always adhere to the following safety precautions during assembly, installation, and operation of the rackmount cabinet:
- Ensure the cabinet is placed on a stable, level surface if used as a standing unit, or securely mounted to a structurally sound wall if wall-mounted.
- Due to the weight of the cabinet (approximately 27 kg) and potential equipment, always use appropriate lifting techniques and seek assistance when moving or mounting.
- Do not overload the cabinet beyond its specified weight capacity.
- Keep all tools and small parts away from children.
- Ensure proper ventilation to prevent overheating of installed equipment.
- Route all cables carefully to avoid pinching or damage, which could lead to electrical hazards.
- Always disconnect power from equipment before performing maintenance or adjustments inside the cabinet.
3. Package Contents
Before beginning assembly, verify that all components are present and undamaged. The package should contain all necessary parts for the cabinet frame, mounting rails, side panels, front door, and assembly hardware. If any parts are missing or damaged, please contact customer support.
4. Setup and Assembly
The Extralink 15U cabinet is designed for self-assembly, allowing for easier transport and setup. It supports both wall-mounting and standing configurations.
4.1. Frame Assembly
Assemble the main frame components according to the included diagrams. Ensure all screws are tightened securely to provide a stable structure. The frame is designed for 19-inch standard mounting equipment.
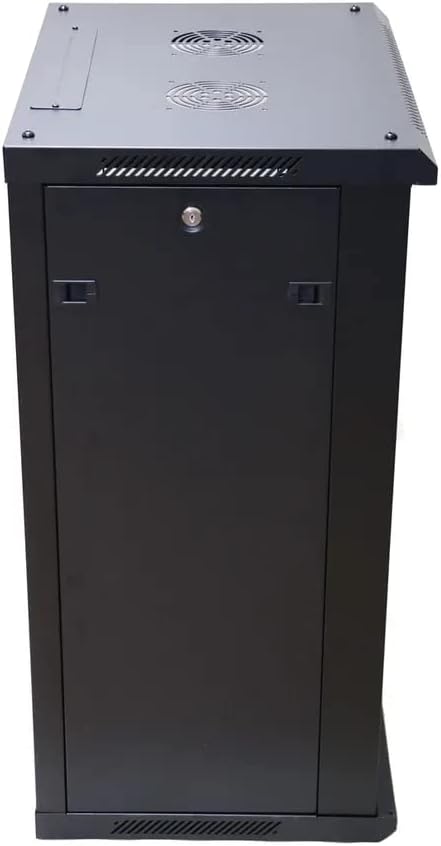
Figure 1: Interior view of the Extralink 15U Rackmount Cabinet, showing the mounting rails and internal structure before the front door is attached.
4.2. Wall Mounting (Optional)
If you choose to wall-mount the cabinet, ensure the wall material is capable of supporting the cabinet's weight plus the weight of all installed equipment. Use appropriate wall anchors and fasteners (not included) for your specific wall type. The cabinet features pre-drilled holes on the rear for wall attachment.
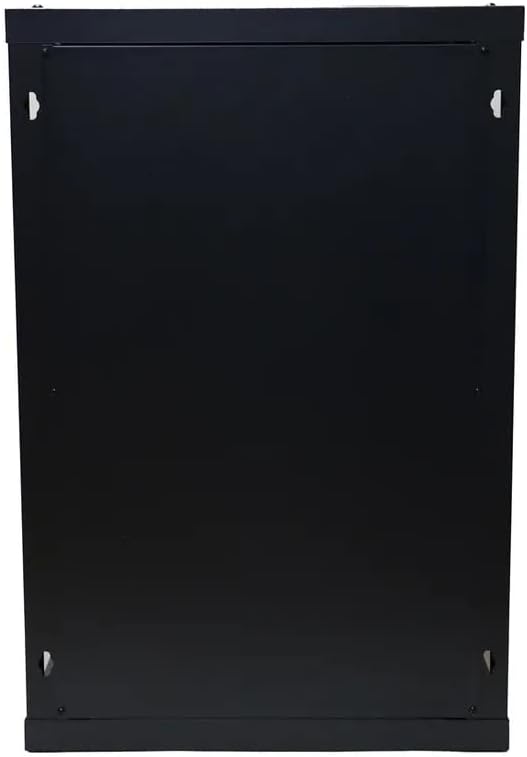
Figure 2: Rear view of the Extralink 15U Rackmount Cabinet, highlighting the designated points for wall mounting.
4.3. Installing Equipment
Once the cabinet is assembled and secured, you can begin installing your 19-inch rack-mountable equipment. Use appropriate rack screws and cage nuts (not included) to secure devices to the front and rear mounting rails. Ensure even weight distribution within the cabinet.

Figure 3: Front view of the Extralink 15U Rackmount Cabinet with the door open, illustrating the adjustable internal mounting rails and optional shelves for equipment installation.
5. Operating Instructions
The Extralink 15U Rackmount Cabinet is designed for straightforward operation and equipment management.
5.1. Accessing Equipment
The cabinet features a front door for secure access to your equipment. The side panels are also removable, providing convenient access for installation, maintenance, and cable management from the sides.

Figure 4: Front view of the Extralink 15U Rackmount Cabinet with the front door closed, providing a secure enclosure for your server equipment.
5.2. Cable Management
The cabinet includes dedicated cable entry holes at both the top and bottom. Utilize these openings to route power and data cables neatly, minimizing clutter and improving airflow. Consider using cable ties or management panels (not included) for optimal organization.
6. Maintenance
Regular maintenance ensures the longevity and optimal performance of your rackmount cabinet.
- Cleaning: Periodically wipe down the exterior surfaces with a soft, damp cloth. Avoid abrasive cleaners or solvents.
- Inspection: Annually inspect all mounting hardware, screws, and structural components for any signs of loosening or damage. Tighten any loose fasteners.
- Ventilation: Ensure that the ventilation openings (if any) are clear of dust and obstructions to maintain proper airflow for your equipment.
7. Troubleshooting
This section addresses common issues you might encounter with your rackmount cabinet.
- Cabinet Instability: Ensure all assembly screws are fully tightened. If wall-mounted, verify the wall anchors are secure and the wall can support the load. If standing, ensure it is on a level surface.
- Difficulty Closing Door/Panels: Check for any cables or equipment protruding from the cabinet that might obstruct the door or panels. Ensure the cabinet frame is square and not twisted.
- Overheating Equipment: Verify that the cabinet's ventilation openings are not blocked. Ensure proper airflow within the cabinet by organizing cables and leaving adequate space between equipment where possible. Consider adding active cooling solutions if necessary.
8. Specifications
| Feature | Specification |
|---|---|
| Brand | EXTRALINK |
| Model Number | EX.12905 |
| Manufacturer | ACER |
| Rack Units (U) | 15U |
| Product Dimensions | 24 x 69 x 2.5 cm (approximate assembled dimensions: 600x450mm depth/width) |
| Item Weight | 27 kg |
| Material Type | Alloy Steel |
| Mounting Type | Wall Mount / Standing |
| Compatible Devices | Server, Network Equipment |
| Color | Black |
| Assembly Required | Yes |
9. Warranty and Support
For warranty information or technical support, please refer to the documentation provided at the time of purchase or contact your retailer. You may also visit the official EXTRALINK website for further assistance and contact details.