1. Introduction
This manual provides essential information for the safe and efficient installation, operation, and maintenance of the Ebm Papst A2D250-AA02-01 Axial Fan. This fan is designed for motor cooling applications, particularly for spindle motors, and operates on AC 230V/400V power. Please read this manual thoroughly before installation and use to ensure proper function and safety.
2. Safety Information
WARNING: Electrical shock hazard. Improper installation or use can result in serious injury or death. Always follow local electrical codes and safety regulations.
- Ensure power is disconnected before performing any installation, maintenance, or troubleshooting.
- Installation and wiring should only be performed by qualified personnel.
- Do not operate the fan if it is damaged or if any components are missing.
- Keep hands and foreign objects away from the fan blades during operation.
- Ensure proper grounding to prevent electrical hazards.
- This fan is designed for specific industrial applications. Do not use it for purposes other than its intended use.
3. Package Contents
Verify that all items are present and undamaged upon unpacking:
- One (1) Ebm Papst A2D250-AA02-01 Axial Fan
- Instruction Manual (this document)
4. Specifications
| Parameter | Value |
|---|---|
| Model | A2D250-AA02-01 |
| Nominal Voltage | AC 230V / 400V |
| Speed | 2650 / 2950 min-1 (RPM) |
| Power | 110W / 160W |
| Current | 0.22A / 0.26A |
| Blade Diameter | 250mm |
| Fan Type | Axial Fan |
| Application | Motor Cooling Fan (e.g., Spindle Motors) |
| Phase | 3-Phase |
| Power Connector Type | 4-Pin |
| Cooling Method | Air |
| Material | Copper (Motor windings) |
5. Setup and Installation
IMPORTANT: Installation must be performed by a qualified electrician or technician familiar with industrial electrical systems and safety procedures.
- Power Disconnection: Before beginning installation, ensure that the main power supply to the equipment where the fan will be installed is completely disconnected and locked out.
- Mounting: Securely mount the axial fan to the designated cooling position on the spindle motor or equipment. Ensure that the mounting surface is stable and can support the fan's weight and operational vibrations. Use appropriate fasteners.
- Wiring:
- Identify the fan's 4-pin power connector and the corresponding power input on your equipment.
- Connect the fan's wires according to the wiring diagram provided with your equipment or the fan's specific wiring instructions (if separate documentation is available). Pay close attention to phase connections (3-phase) and voltage requirements (AC 230V or 400V).
- Ensure all connections are tight and insulated to prevent short circuits or electrical hazards.
- Properly ground the fan as per local electrical codes.
- Airflow Direction: Verify that the fan is oriented to provide the correct airflow direction for optimal motor cooling. Axial fans typically draw air from one side and expel it from the other.
- Clearance: Ensure there is adequate clearance around the fan for unobstructed airflow and to prevent contact with moving parts or other components.
- Final Check: After installation, visually inspect all connections and mounting points.

Figure 1: Side view of the axial fan with wiring.
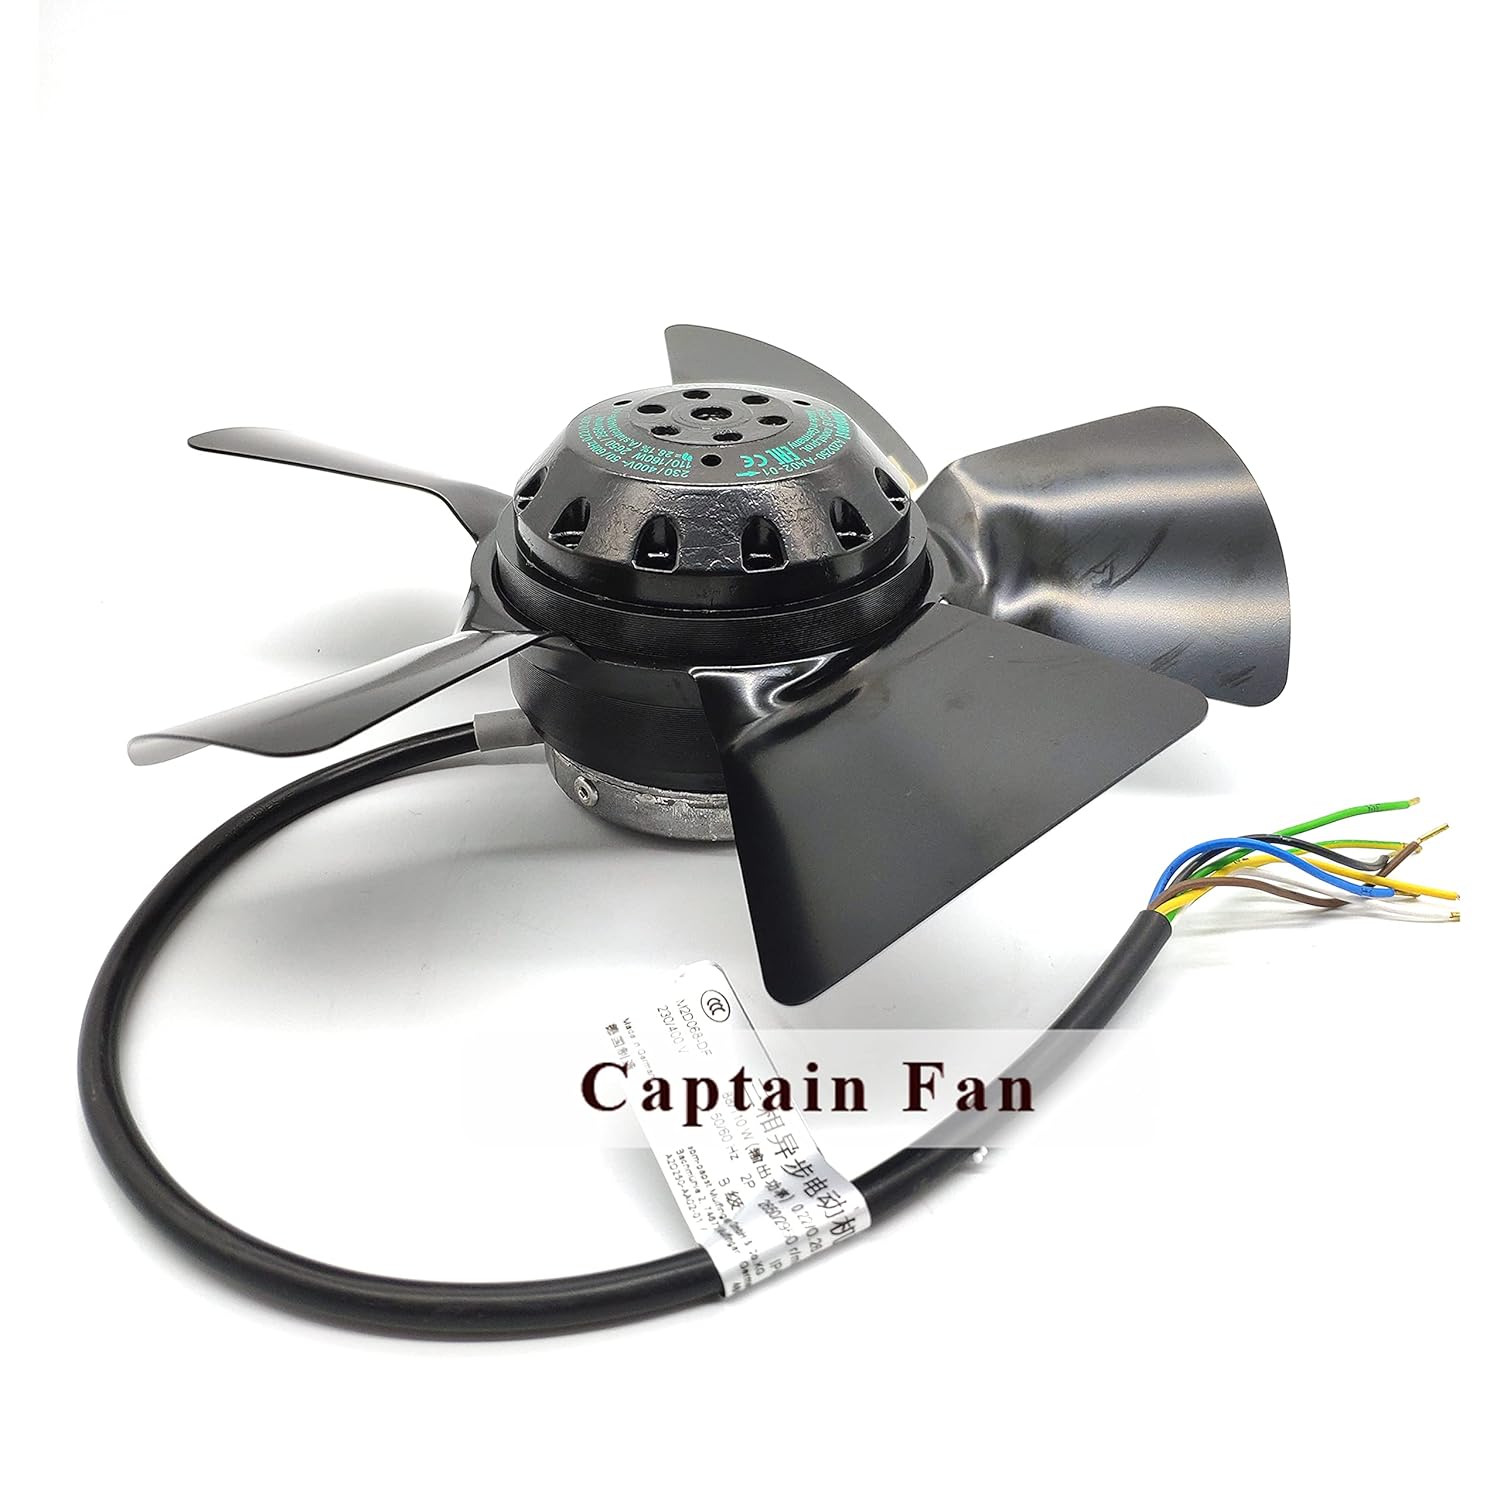
Figure 2: Top view of the axial fan, highlighting the blades and wiring.
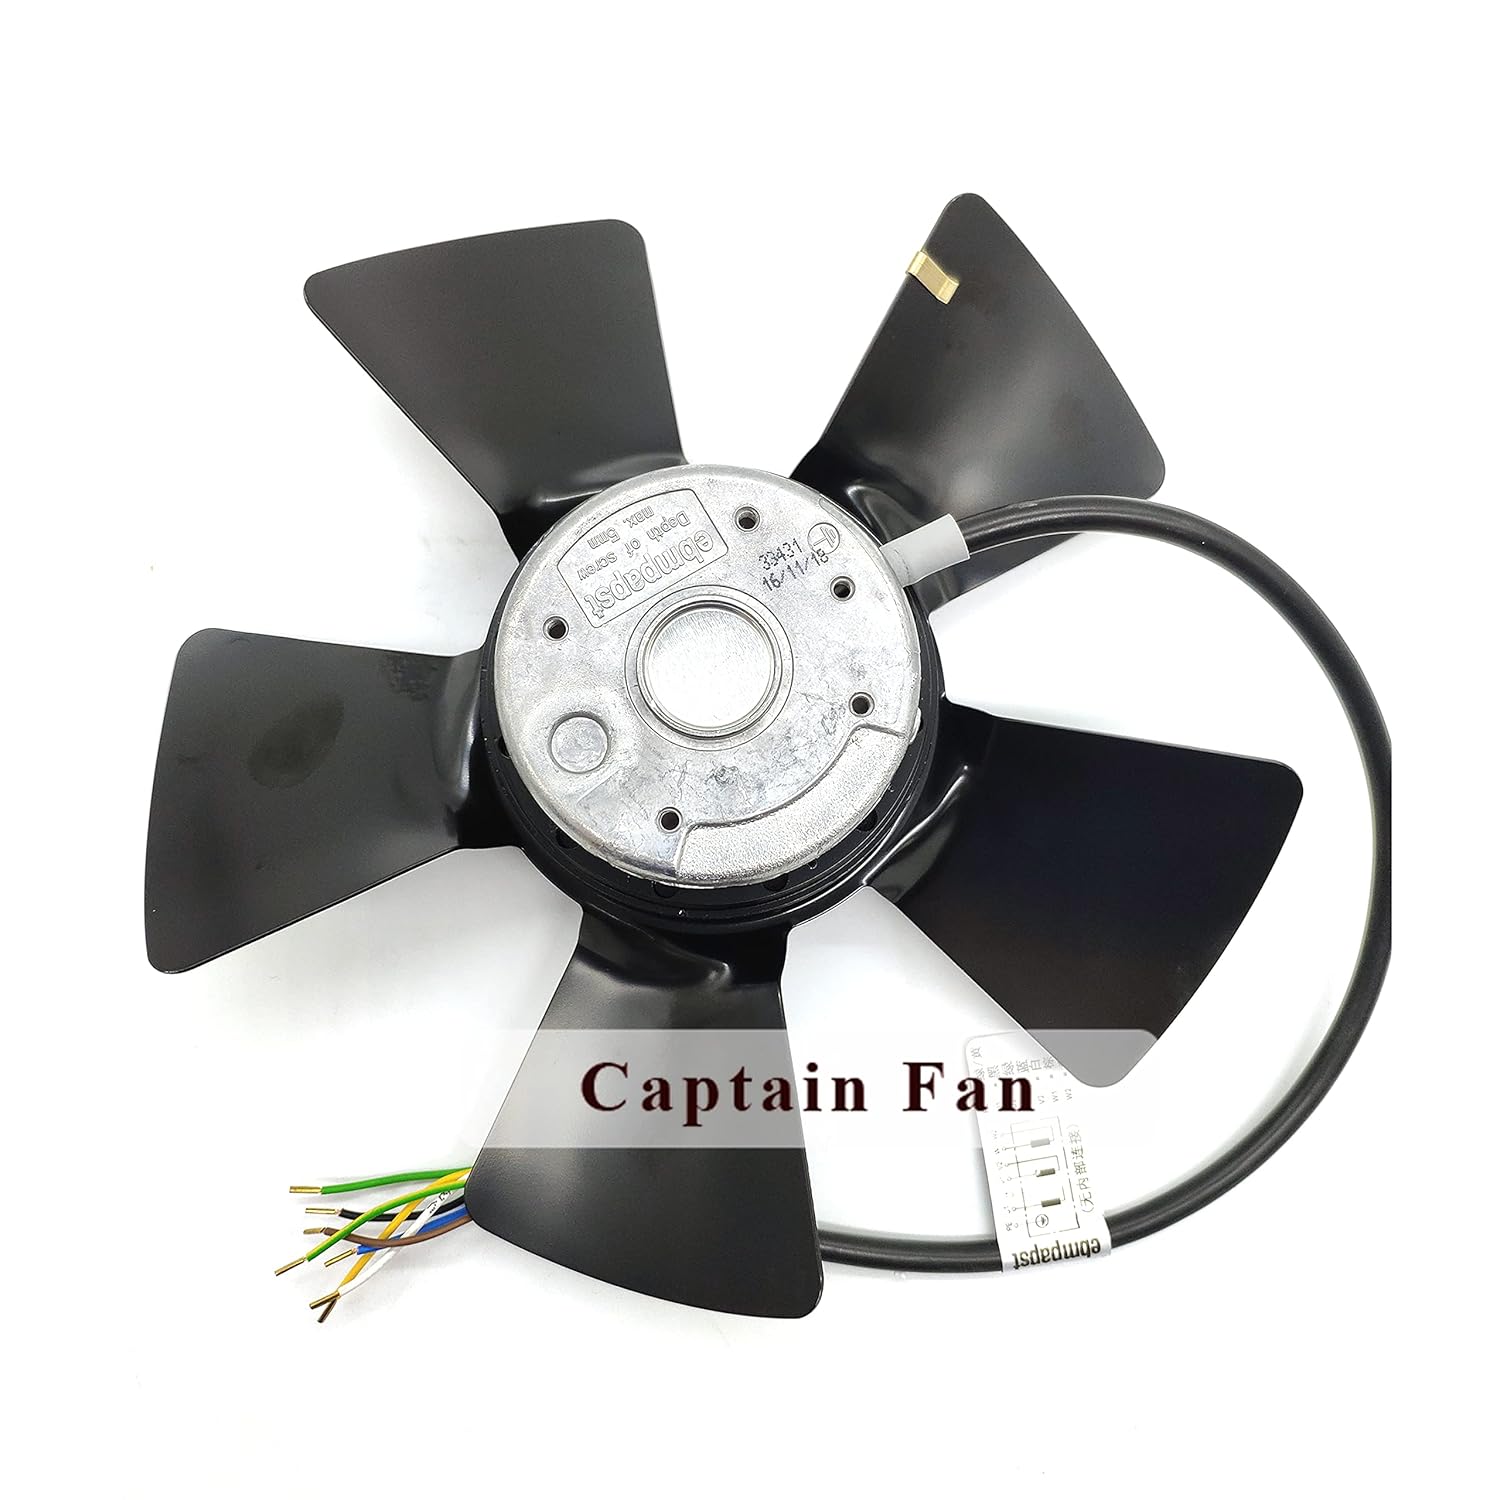
Figure 3: Bottom view of the axial fan, showing Ebm Papst branding.
6. Operating Instructions
Once the fan is correctly installed and wired, it is ready for operation.
- Power On: Restore power to the equipment. The fan should start operating immediately or upon activation by the equipment's control system.
- Initial Check: Observe the fan for any unusual noises, vibrations, or signs of malfunction. Ensure the fan blades are rotating freely and that airflow is consistent.
- Continuous Operation: The fan is designed for continuous operation to provide consistent cooling for the motor. Monitor the motor temperature as per your equipment's guidelines.
7. Maintenance
Regular maintenance ensures optimal performance and extends the lifespan of the fan. Always disconnect power before performing any maintenance.
- Cleaning: Periodically inspect the fan blades and housing for dust, dirt, or debris accumulation. Clean gently with a soft brush or compressed air. Do not use liquids directly on electrical components.
- Inspection: Regularly check for any signs of wear, damage, or loose connections. Pay attention to the fan blades for cracks or imbalances.
- Lubrication: This fan typically features sealed bearings that do not require lubrication. Refer to the manufacturer's specific guidelines if you suspect bearing issues.
- Vibration Check: Excessive vibration can indicate an imbalance or bearing issue. If significant vibration is detected, discontinue use and investigate the cause.
8. Troubleshooting
If you encounter issues with your fan, refer to the following troubleshooting guide. For problems not listed here, contact qualified service personnel.
| Problem | Possible Cause | Solution |
|---|---|---|
| Fan does not start | No power supply; Incorrect wiring; Motor fault | Check power connections and circuit breaker. Verify wiring against diagram. If wiring is correct, motor may be faulty; seek professional service. |
| Reduced airflow | Blocked intake/exhaust; Dirty fan blades; Motor running slow | Clear any obstructions. Clean fan blades. Check power supply voltage and ensure it matches specifications. |
| Excessive noise or vibration | Loose mounting; Damaged blades; Bearing wear; Debris in fan | Tighten mounting screws. Inspect blades for damage and replace if necessary. Clean any debris. If bearings are worn, professional repair or replacement may be needed. |
| Overheating motor | Insufficient cooling; Fan malfunction; Incorrect fan selection | Ensure fan is operating correctly and airflow is unobstructed. Verify fan specifications match cooling requirements. |
9. Warranty and Support
This product is typically covered by a manufacturer's warranty against defects in materials and workmanship. For specific warranty terms, duration, and claim procedures, please refer to the documentation provided at the time of purchase or contact your vendor.
For technical support, service, or replacement parts, please contact the seller or the Ebm Papst authorized service center in your region. When contacting support, please have your model number (A2D250-AA02-01) and purchase information readily available.