1. Product Overview
The Bell+Howell InView BHSLC1 is a solar-powered outdoor floodlight camera designed to provide smart security surveillance. It captures full 1080p HD video and features built-in motion sensors, LED floodlights, and two-way audio communication via a mobile application. The integrated solar panels ensure continuous power by charging the internal rechargeable batteries with direct sunlight.

Image: Front view of the Bell+Howell InView BHSLC1 Solar Floodlight Camera, showcasing the solar panel on top, two large LED floodlights, and the central camera lens.
Key Features:
- 1080p HD Video Recording: Provides sharp and clear video footage.
- Two-Way Talk: Communicate with visitors or deter intruders directly through the mobile app.
- Built-in Motion Sensor: Triggers instant alerts to your phone or tablet when motion is detected.
- Ultra-Bright LED Floodlights: Illuminates surroundings and activates upon motion detection. Can also be controlled via the app.
- Solar Powered: Integrated solar panels keep the camera charged with a few hours of direct sunlight daily.
- Rechargeable Batteries: Internal batteries ensure continuous operation even on cloudy days.
- Advanced Infrared LEDs: Enables clear night vision for surveillance in low-light or dark conditions.
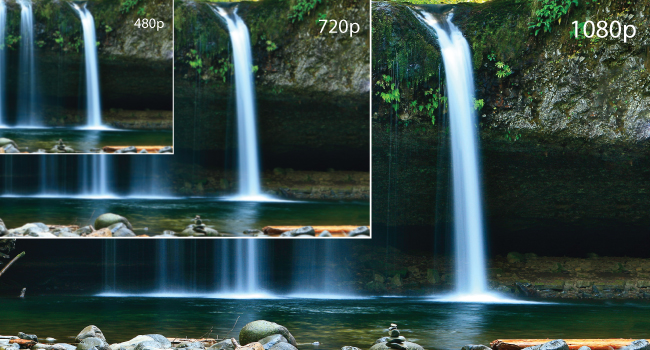
Image: Visual comparison demonstrating the superior clarity of 1080p video resolution compared to 480p and 720p, highlighting the camera's high-definition capability.
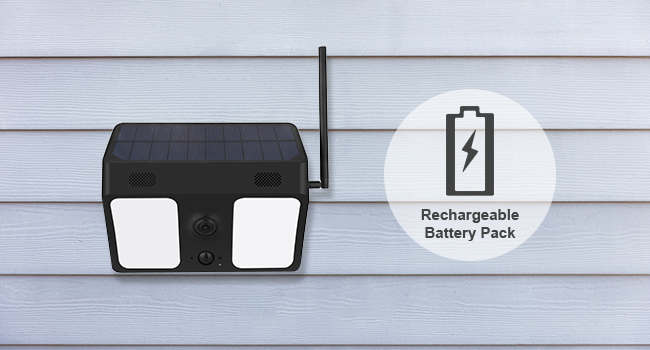
Image: An illustration depicting two individuals engaged in conversation, symbolizing the two-way audio communication feature of the camera, allowing users to speak and listen remotely.
2. What's in the Box
Upon opening the package, please verify that all the following components are included:
- Bell+Howell BHSLC1 Camera
- Mounting Bracket
- Anchors and Screws (for installation)
- Wireless Antenna
- USB Cable (for initial charging/setup)
- User Manual (this document)
- Warranty Card
3. Setup Guide
3.1 Initial Charging
Before first use, it is recommended to fully charge the camera's internal batteries using the provided USB cable. Connect the USB cable to the camera's charging port and a standard USB power adapter (not included).
3.2 App Installation and Pairing
The Bell+Howell InView camera operates with the Tuya app. Follow these steps to set up your camera:
- Download the Tuya App: Search for "Tuya" in your smartphone's app store (Google Play Store for Android or Apple App Store for iOS) and download the official application.
- Create an Account: Open the Tuya app and follow the on-screen instructions to create a new user account or log in if you already have one.
- Connect to Wi-Fi: Ensure your smartphone is connected to a 2.4GHz Wi-Fi network. The camera supports Wi-Fi connectivity.
- Add Device: In the Tuya app, tap the "+" button (usually in the top right corner) to add a new device. Select "Security & Video Surveillance" and then "Smart Camera" or similar option.
- Follow In-App Instructions: The app will guide you through the pairing process, which typically involves scanning a QR code displayed on your phone with the camera, or listening for a pairing sound.
- Name Your Camera: Once successfully paired, you can assign a name to your camera (e.g., "Front Door Camera," "Backyard Floodlight").

Image: A visual guide illustrating the three main steps for setting up the camera: downloading the Tuya app from an app store, connecting through smartphone wireless settings, and adding the camera within the app.
3.3 Mounting the Camera
Choose a location that receives several hours of direct sunlight daily for optimal solar charging. Ensure the camera has a clear line of sight to the area you wish to monitor and is within range of your Wi-Fi network.
- Select Location: Identify a suitable outdoor wall or surface.
- Drill Pilot Holes: Use the mounting bracket as a template to mark and drill pilot holes.
- Insert Anchors: If mounting into drywall or masonry, insert the provided wall anchors.
- Secure Bracket: Attach the mounting bracket to the surface using the screws.
- Attach Camera: Securely attach the camera to the mounting bracket.
- Adjust Angle: Adjust the camera's angle to cover the desired surveillance area.
4. Operating Instructions
4.1 Live View and Recording
Open the Tuya app and select your camera from the device list to access the live video feed. From here, you can manually initiate video recording or capture still images.
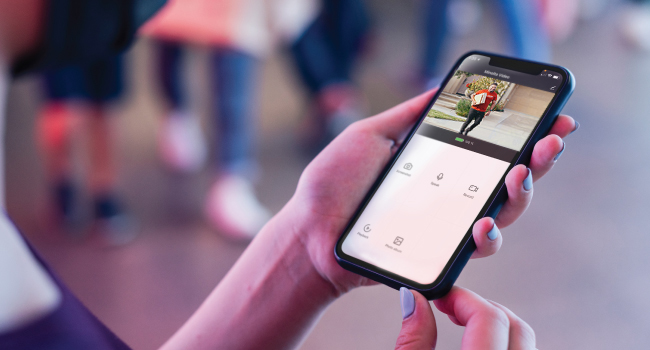
Image: A hand holding a smartphone, showing the Tuya app's live view interface for the camera, with options for speaking, recording, and taking photos.
4.2 Motion Detection and Alerts
The camera's built-in motion sensor will detect movement within its field of view. When motion is detected, you will receive an instant push notification on your smartphone or tablet via the Tuya app. You can customize motion detection sensitivity and alert settings within the app.
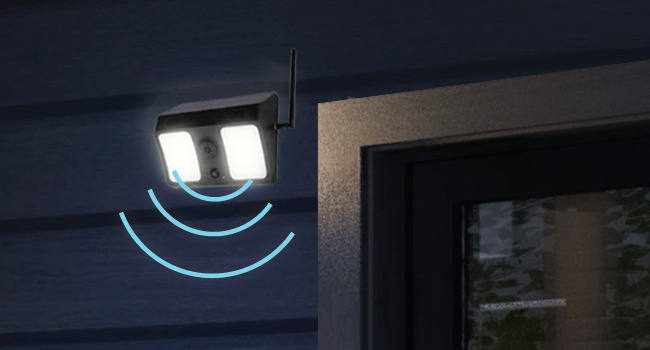
Image: An illustration showing the camera with blue wave patterns emanating from it, representing its motion detection capabilities and the area it monitors for activity.
4.3 Floodlight Control
The integrated LED floodlights will automatically activate when motion is detected at night. You can also manually turn the floodlights on or off, or adjust their settings (e.g., brightness, duration) through the Tuya app.
4.4 Night Vision
The camera is equipped with infrared LEDs for clear night vision. This feature allows the camera to capture video in low-light or complete darkness, providing 24/7 surveillance.
5. Maintenance
5.1 Solar Panel Care
To ensure optimal charging efficiency, periodically clean the surface of the solar panel with a soft, damp cloth to remove any dust, dirt, or debris. Avoid using abrasive cleaners or materials that could scratch the panel.
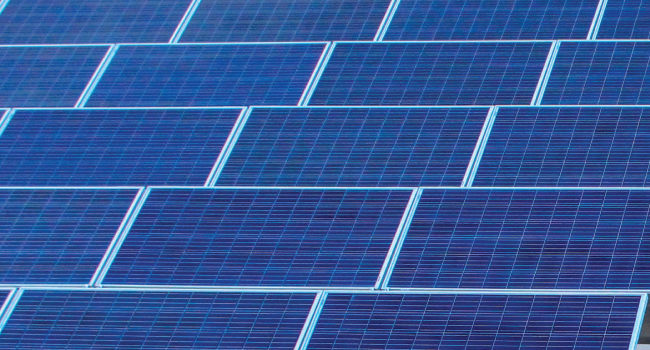
Image: A close-up view of solar panels, emphasizing the importance of keeping the camera's integrated solar panel clean for efficient power generation.
5.2 Battery Management
The camera features built-in rechargeable lithium-ion batteries. While the solar panel keeps them charged, prolonged periods of low sunlight or heavy usage may deplete the battery. If the battery level becomes critically low, you may need to manually charge the camera using the USB cable.
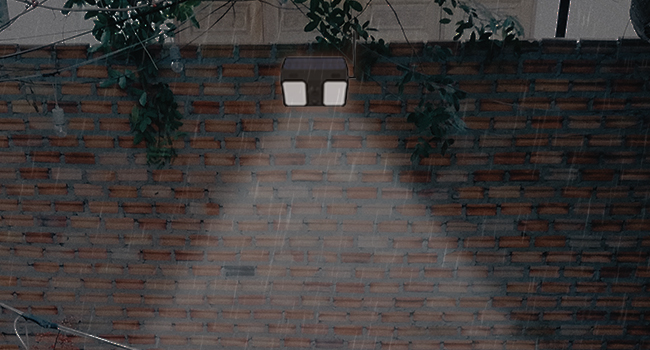
Image: The camera displayed alongside an icon representing a rechargeable battery pack, indicating its internal power source that is maintained by solar charging.
5.3 General Cleaning
Wipe the camera body and lens with a soft, dry cloth. Do not use liquid cleaners or sprays directly on the camera.
6. Troubleshooting
| Problem | Possible Cause | Solution |
|---|---|---|
| Camera not pairing with app / Cannot connect to Wi-Fi. |
|
|
| Poor video quality or blurry images. |
|
|
| Battery not holding charge / Camera frequently offline. |
|
|
7. Specifications
| Feature | Detail |
|---|---|
| Model Name | BHSLC1-BK |
| Brand | Bell+Howell |
| Video Capture Resolution | 1080p |
| Power Source | Battery Powered, Solar Powered |
| Connectivity Protocol | Wi-Fi (2.4GHz) |
| Controller Type | Android, iOS (via Tuya App) |
| Mounting Type | Wall Mount |
| Color | Black |
| Item Dimensions (L x W x H) | 7 x 8.5 x 4 inches |
| Item Weight | 2.47 pounds |
| Water Resistance Level | Water Resistant |
| Batteries | 4 Lithium Ion batteries (included) |
| Low Light Technology | Night Color (Infrared LEDs) |
| Alert Type | Audio and Motion |
| Light Source Type | LED |
| UPC | 084438901795 |
| Date First Available | November 2, 2021 |
8. Warranty and Support
This product includes a Warranty Card in the packaging. Please refer to the Warranty Card for specific terms and conditions regarding your product's warranty coverage.
For technical support, troubleshooting assistance, or warranty claims, please contact Bell+Howell customer service. Contact information is typically provided on the Warranty Card or the official Bell+Howell website.
Important Legal Disclaimer:
WARNING: This product contains chemicals known to the State of California to cause cancer and birth defects or other reproductive harm.