1. Introduction
This manual provides comprehensive instructions for the assembly, adjustment, operation, and maintenance of your Marada Racing Simulator Cockpit. This stable support frame is designed for an immersive racing experience and is compatible with a wide range of racing peripherals.
Compatibility: Logitech G923, G29, G920, Thrustmaster T300RS, CSL, TD, TX, Fanatec, PXN, and other similar brands of steering wheels, pedals, and shifters.
Please Note: Racing wheels, handbrakes, seats, and pedals are not included with this frame and must be purchased separately.
2. Safety Information
- Ensure all bolts and fasteners are securely tightened before use to prevent instability.
- Do not exceed the maximum player weight limit of 500 pounds for the frame.
- Keep hands and fingers clear of moving parts during adjustments.
- Place the simulator on a stable, level surface.
3. Package Contents
Verify that all components are present before beginning assembly:
- Main frame components (base, uprights, crossbars)
- Steering wheel platform
- Pedal platform
- Shifter platform
- Seat mounting brackets
- Assorted bolts, nuts, washers, and U-shaped locking clips
- Assembly tools (wrenches, Allen keys)
- 8 height-adjustable non-slip foot pads

Image: All components of the Marada Racing Simulator Cockpit laid out for assembly.
4. Setup & Assembly
Follow these steps carefully for proper assembly. It is recommended to tighten bolts slowly and evenly on both sides where applicable.
- Assemble the Base Frame: Connect the main base sections using the provided bolts, nuts, and washers. Ensure all connections are secure but do not fully tighten until all major components are in place.
- Attach Upright Supports: Secure the upright supports for the steering wheel and pedal platforms to the base frame. Use the U-shaped locking clips and 4-point flange fixing for enhanced stability.
- Install Steering Wheel Platform: Mount the steering wheel platform to the upright support. This platform features dual-stage angle adjustment.
- Install Pedal Platform: Attach the pedal platform to its designated support on the base. This platform allows for angle and fore/aft adjustments.
- Mount Shifter Platform: Secure the shifter platform. It can be mounted on either the left or right side of the frame to suit user preference.
- Install Seat Mounting Brackets: Attach the seat mounting brackets to the rear section of the frame. These brackets are adjustable in width to accommodate various seat types.
- Attach Foot Pads: Screw the 8 height-adjustable non-slip foot pads into the bottom of the frame for stability and floor protection.
- Final Tightening: Once all components are in place and aligned, fully tighten all bolts and fasteners.
Video: Detailed installation guide for the Marada Racing Simulator Cockpit, demonstrating bolt and tool usage.

Image: Illustration of the sturdy alloy steel construction, rustproof layer, and 8 foot pads for stability.
5. Adjustments
The Marada Racing Simulator Cockpit offers multiple adjustment points to customize your racing position for optimal comfort and performance.
- Steering Wheel Platform: The steering wheel platform features a dual-stage angle adjustment, allowing for a large adjustment angle from 0-30 degrees. This ensures compatibility with various wheel types and user preferences.
- Pedal Platform: The pedal angle is adjustable, and the platform can be moved fore and aft to achieve the desired distance from the seat.
- Shifter Platform: The shifter platform is interchangeable for left or right-hand driving and can be freely mounted to suit your driving habits.
- Seat Mounting: The width of the seat bracket mounting plate is adjustable (9"-17.3"). The distance between the bottom mounting holes is 11". If your seat's mounting holes do not match, DIY drilling is supported.

Image: Visual guide to the adjustable steering wheel platform (0-30 degrees) and pedal platform (2.5-32.5 degrees).
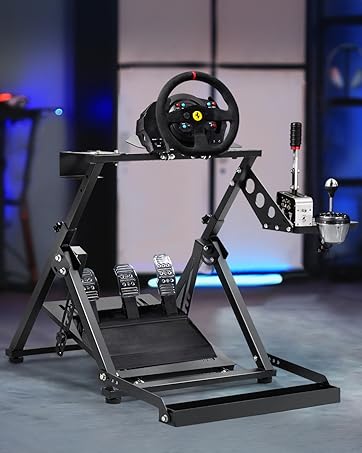
Image: Detail of the shifter platform, highlighting its interchangeable left/right mounting capability.
6. Operating Instructions
Once assembled and adjusted, connect your compatible racing wheel, pedals, and shifter to your gaming system. The robust design of the Marada Racing Simulator Cockpit ensures a stable and immersive experience during gameplay, minimizing shake and maximizing control.
Video: Overview of the Marada Racing Simulator Cockpit highlighting its super stable support and design.
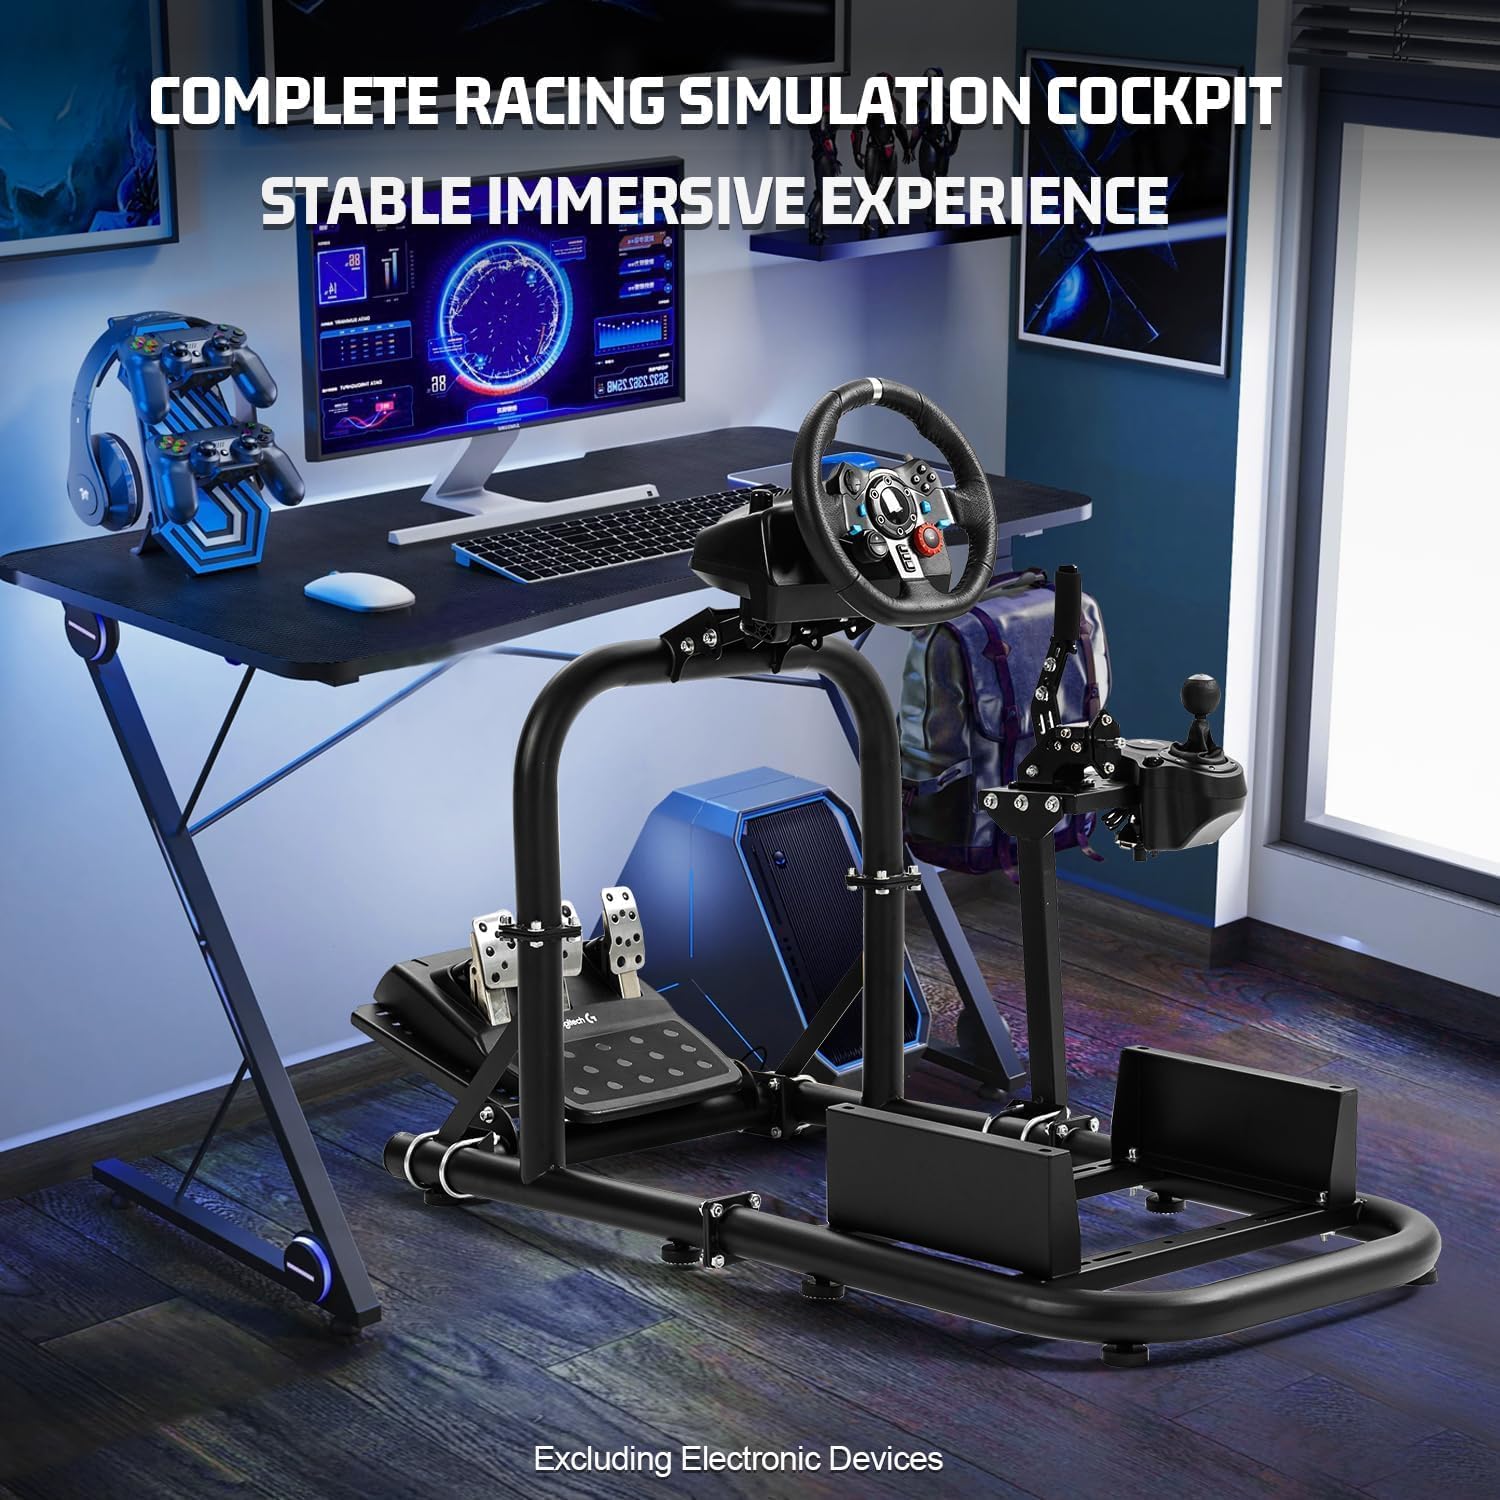
Image: A complete racing simulation cockpit setup, demonstrating the stable and immersive experience.
7. Maintenance
- Cleaning: The sturdy alloy steel construction is easy to clean. Simply wipe down the frame with a damp cloth (wet rag) as needed. Avoid abrasive cleaners.
- Fastener Check: Periodically inspect all bolts, nuts, and U-shaped locking clips to ensure they remain tight. Re-tighten if any looseness is detected.
- Foot Pads: Ensure the 8 height-adjustable non-slip foot pads are properly seated and adjusted to maintain stability.
8. Troubleshooting
- Instability/Wobbling:
- Check all assembly bolts and U-clips for tightness.
- Ensure the frame is on a level surface. Adjust the non-slip foot pads if necessary.
- Peripherals Not Fitting:
- Verify your racing wheel, pedals, and shifter are listed as compatible models.
- Utilize the multi-faceted adjustment options for platforms (steering wheel, pedal, shifter) to find the correct fit.
- For seat mounting, ensure your seat's mounting holes align with the adjustable brackets. DIY drilling is supported if needed.
- Difficulty with Assembly:
- Refer to the "Setup & Assembly" section and the provided installation video for visual guidance.
- Ensure bolts are not fully tightened until all components are loosely assembled to allow for alignment.
9. Specifications
| Feature | Detail |
|---|---|
| Brand | Marada |
| Model Number | Marada-us-55 |
| Material | Sturdy Alloy Steel (Rustproof Layer) |
| Product Dimensions | 23.6 x 23.6 x 7.9 inches |
| Item Weight | 35 pounds |
| Player Height Range | 4.6ft - 6.3ft |
| Player Weight Limit | 500 pounds |
| Foot Pads | 8 height-adjustable non-slip foot pads |
| Steering Wheel Platform Adjustment | Dual-stage angle adjustment (0-30 degrees) |
| Pedal Platform Adjustment | Adjustable angle and fore/aft position |
| Shifter Platform | Interchangeable left/right mounting |
| Seat Mounting Hole Distance | 11 inches (distance between bottom mounting holes) |
| Seat Mounting Plate Width Adjustment | 9 inches - 17.3 inches |

Image: Product dimensions and recommended user height/weight limits for the frame.
10. Warranty & Support
For warranty information, technical support, or any inquiries regarding your Marada Racing Simulator Cockpit, please contact Marada customer service through the retailer's platform or the official Marada website. Please have your model number (Marada-us-55) and purchase details available.