
1. Introduction
This manual provides detailed instructions for the proper use, setup, operation, and maintenance of your KRACESS Adult Smart Bike Helmet. This helmet integrates advanced features such as a driving recorder, Bluetooth connectivity, and intelligent LED taillights to enhance your cycling experience and safety. Please read this manual thoroughly before using the product to ensure optimal performance and safety.
2. Safety Information
Your safety is paramount. Always wear your helmet correctly and ensure all features are functioning before each ride. While the helmet offers enhanced visibility and recording capabilities, it does not replace safe riding practices.
- Always ensure the helmet fits snugly and securely on your head.
- Do not modify the helmet or its components.
- Avoid prolonged exposure to heavy rain, as the helmet is rated IPX5 water-resistant, not fully waterproof.
- Regularly check the helmet for any signs of damage or wear. Replace immediately if damaged.
- Ensure the LED taillights are clean and visible, especially when riding at night.
3. Product Components
The KRACESS Smart Bike Helmet comes equipped with several integrated components designed for convenience and safety:
- Helmet Shell: PC+EPS construction for impact resistance.
- Integrated Front Camera: 1080p Full HD for driving recording.
- Bluetooth Module: For calls, music, and voice navigation.
- Built-in Loudspeaker and Windproof Microphone.
- LED Taillight System: Automatic sensing, turn signals, and brake lights.
- Magnetic-Replaceable Visor: For eye protection.
- Removable Windproof Ear Protection.
- Remote Control: For active control of turn signals.

4. Setup
4.1. Fitting the Helmet
Proper helmet fit is crucial for safety and comfort. The helmet is designed for head circumferences between 21.65-24.4 inches.
- Place the helmet on your head, ensuring it sits level and covers your forehead.
- Adjust the chin strap so it is snug but comfortable, with no more than two fingers fitting between the strap and your chin.
- Use the rear adjustment dial to tighten or loosen the internal retention system until the helmet feels secure without causing pressure points.
4.2. Installing the Remote Control
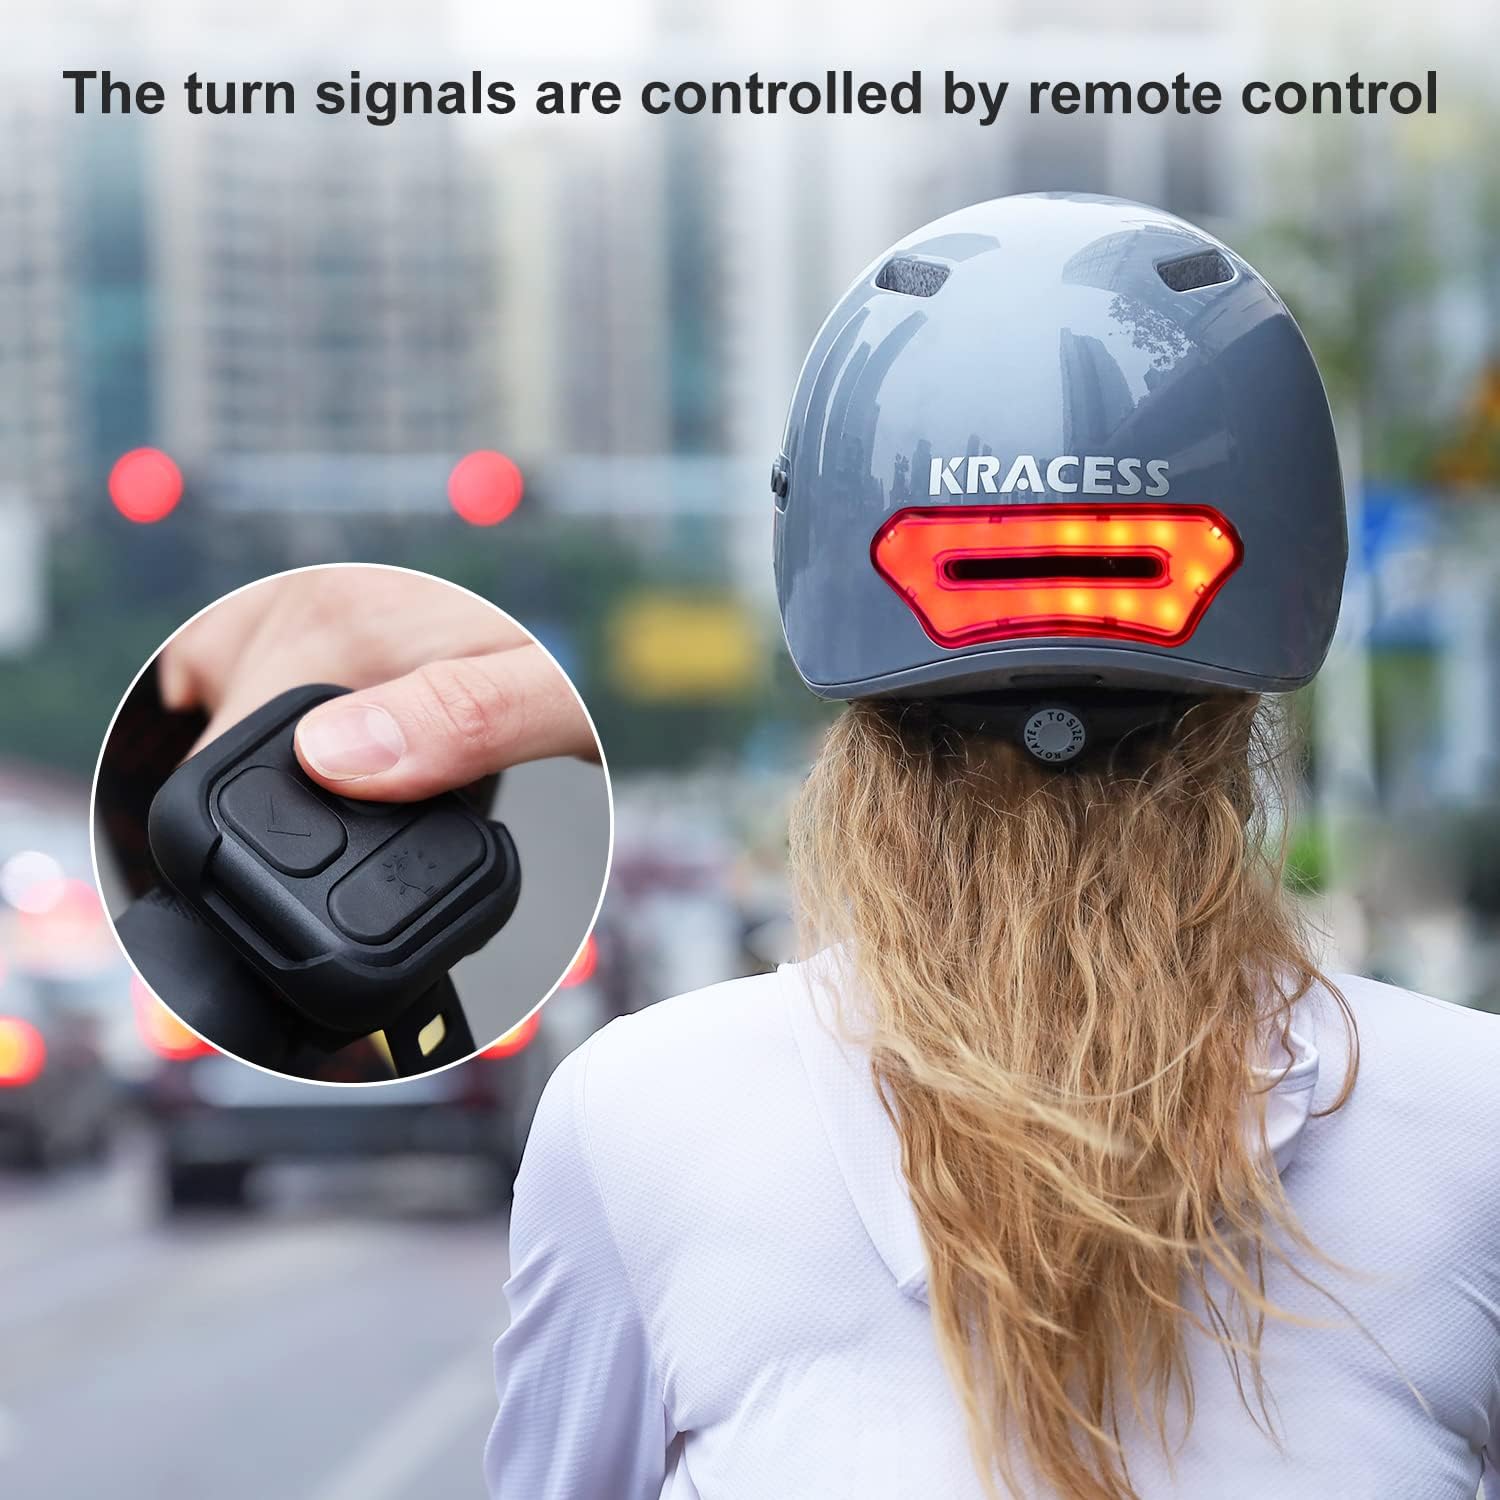
The remote control allows for active control of the helmet's turn signals.
- Attach the remote control to your bicycle's handlebar using the provided strap or mount.
- Ensure it is within easy reach and does not obstruct your steering or braking.
4.3. Attaching the Visor
The helmet features a magnetic visor for easy attachment and removal.
- Align the magnetic points on the visor with those on the helmet.
- The visor will snap into place securely. To remove, gently pull it away from the helmet.

4.4. Bluetooth Pairing
Connect your helmet to your smartphone or other Bluetooth-enabled device for calls, music, and navigation.
- Long press the call button on the helmet to turn on the smart helmet and activate Bluetooth pairing mode.
- On your device, go to Bluetooth settings and search for "Helmet_BT".
- Select "Helmet_BT" to pair. A confirmation sound will indicate successful pairing.

4.5. Driving Recorder Setup
The integrated 1080p front camera can function as a driving recorder or action camera.
- Insert a memory card (up to 64GB, not included) into the designated slot inside the helmet.
- The helmet will automatically manage memory, deleting older files when full to continue recording.

5. Operating Instructions
5.1. Power On/Off
- To power on the helmet, long press the light button.
- To power off, long press the light button again.
5.2. Bluetooth Functions
- Answering Calls: Press the call button once to answer an incoming call.
- Rejecting Calls: Double-click the call button to reject an incoming call.
- Music Playback: Once paired, music from your device will play through the helmet's speakers. Use your device to control playback.
- Voice Navigation: Audio navigation from your device will be transmitted to the helmet's speakers.
5.3. Driving Recorder Operation
- Start/Stop Recording: Click the camera button on the helmet to start or stop video recording.
- Take Photo: Press and hold the camera button to capture a still image.
5.4. LED Taillight Functions
The helmet's taillights offer multiple safety features:
- Automatic Safety Sensing: The helmet automatically senses acceleration, deceleration, or falls, activating a highlight warning light to alert rear vehicles.
- Turn Signals: Use the remote control installed on your vehicle handle to actively control the left and right turn signal lamps.
- Double Signal (Hazard Lights): Activate via the remote control for increased visibility when stopped or in hazardous conditions.
- Brightness Adjustment: The taillight brightness increases with speed for better visibility at night.

6. Maintenance
Regular maintenance will prolong the life and functionality of your helmet.
- Cleaning: Use a soft, damp cloth and mild soap to clean the helmet's exterior. Do not use harsh chemicals or abrasive cleaners.
- Internal Padding: The internal padding and ear protection are removable for cleaning. Hand wash with mild soap and water, then air dry completely before reinserting.
- Visor Care: Clean the visor with a soft cloth and water. Avoid scratching the surface.
- Battery Care: Charge the helmet regularly, even when not in use, to maintain battery health. Avoid fully draining the battery for extended periods.
- Storage: Store the helmet in a cool, dry place away from direct sunlight and extreme temperatures.

7. Troubleshooting
If you encounter issues with your helmet, refer to the table below for common problems and solutions.
| Problem | Possible Cause | Solution |
|---|---|---|
| Helmet does not power on. | Low battery. | Charge the helmet fully. |
| Bluetooth not connecting. | Helmet not in pairing mode; device Bluetooth off; interference. | Ensure helmet is in pairing mode. Turn device Bluetooth off/on. Move closer to helmet. |
| Driving recorder not recording. | No memory card; memory card full or corrupted; camera not activated. | Insert a memory card. Format or replace memory card. Press camera button to activate. |
| Taillights not working. | Low battery; light sensor obstructed; remote control battery low or not paired. | Charge helmet. Clean light sensor. Check remote control battery/pairing. |
| Visor detaches easily. | Magnets are loose or damaged. | Contact customer support for replacement parts. |
8. Specifications
| Feature | Detail |
|---|---|
| Model Name | SS-001 |
| Shell Material | PC+EPS (Polycarbonate + Expanded Polystyrene) |
| Head Circumference | 21.65-24.4 inches (L) |
| Camera Resolution | 1080p Full HD |
| Memory Card Support | Up to 64GB (not included) |
| Water Resistance | IPX5 |
| Bluetooth | Yes |
| LED Taillight | Automatic sensing, turn signals, brake lights |
| Item Dimensions (LxWxH) | 11.2 x 8.26 x 7.28 inches |
| Item Weight | Approx. 1.21 Kilograms |
9. Warranty and Support
KRACESS provides a one-year after-sales warranty service for this product. If you encounter any problems during use, please contact KRACESS customer support for assistance. Please refer to your purchase documentation for specific contact details or visit the official KRACESS store on Amazon.
KRACESS Store: https://www.amazon.com/stores/KRACESSfranchise/page/7AC00ACC-593E-4CDA-BF3D-FECD4C9C42F4