Introduction
This manual provides detailed instructions for the installation, operation, and maintenance of your Safety 1st OutSmart No-Tools Bathroom Safety Set. This set is designed to enhance bathroom safety by preventing young children from accessing the toilet bowl and flushing mechanism. It includes a toilet lid lock and a toilet flush lock, both featuring tool-free installation.
Please read all instructions carefully before installation and retain this manual for future reference.

Image: Packaging of the Safety 1st OutSmart Bathroom Safety Set, showing both the toilet lid lock and flush lock components.
Safety Information
WARNING:
- This product is a deterrent and not a substitute for adult supervision. Never leave a child unattended in the bathroom.
- Regularly check all components for proper attachment and function. Discontinue use if any part becomes damaged or detached.
- Ensure surfaces are clean and dry before applying adhesive components.
- Keep small parts away from children.
Package Contents
Your Safety 1st OutSmart Bathroom Safety Set includes:
- 1 x OutSmart Toilet Lid Lock
- 1 x OutSmart Toilet Flush Lock
- Instruction Manual (this document)
Setup and Installation
No tools are required for the installation of this safety set. Ensure all surfaces are clean, dry, and free of dust or residue before applying adhesive components.
1. Toilet Lid Lock Installation
- Prepare the Surface: Clean and thoroughly dry the top surface of the toilet lid and the side of the toilet bowl where the lock will be attached.
- Position the Main Lock Unit: Place the main lock unit (the part with the button) on the center-front of the toilet lid. Ensure it is positioned so the strap can reach the side of the toilet bowl without obstruction.
- Attach the Main Lock Unit: Remove the adhesive backing from the main lock unit. Press firmly onto the toilet lid for at least 30 seconds.
- Attach the Strap Anchor: Extend the strap down the front of the toilet bowl. Position the strap anchor (the small piece at the end of the strap) on the side of the toilet bowl, ensuring the strap is taut but not overly stretched. Mark the position.
- Secure the Strap Anchor: Remove the adhesive backing from the strap anchor. Press firmly onto the marked position on the toilet bowl for at least 30 seconds.
- Allow Adhesive to Cure: For optimal adhesion, wait at least 24 hours before using the lock.

Image: A white toilet with the Safety 1st OutSmart Toilet Lid Lock securely installed, showing the main unit on the lid and the strap anchor on the side of the bowl.

Image: A close-up view of the Safety 1st OutSmart Toilet Lid Lock, highlighting the flexible strap and the adhesive anchor point.
2. Toilet Flush Lock Installation
- Prepare the Surface: Clean and thoroughly dry the side of the toilet tank where the flush lever is located.
- Position the Flush Lock: Hold the flush lock against the toilet tank, aligning it with the flush lever. Ensure the lock's arm can move freely to cover and uncover the lever. The decoy button should be easily accessible.
- Attach the Flush Lock: Remove the adhesive backing from the flush lock. Press firmly onto the toilet tank for at least 30 seconds, ensuring it is level and securely attached.
- Allow Adhesive to Cure: For optimal adhesion, wait at least 24 hours before using the lock.

Image: The Safety 1st OutSmart Toilet Flush Lock installed on the side of a toilet tank, positioned to cover the flush lever.
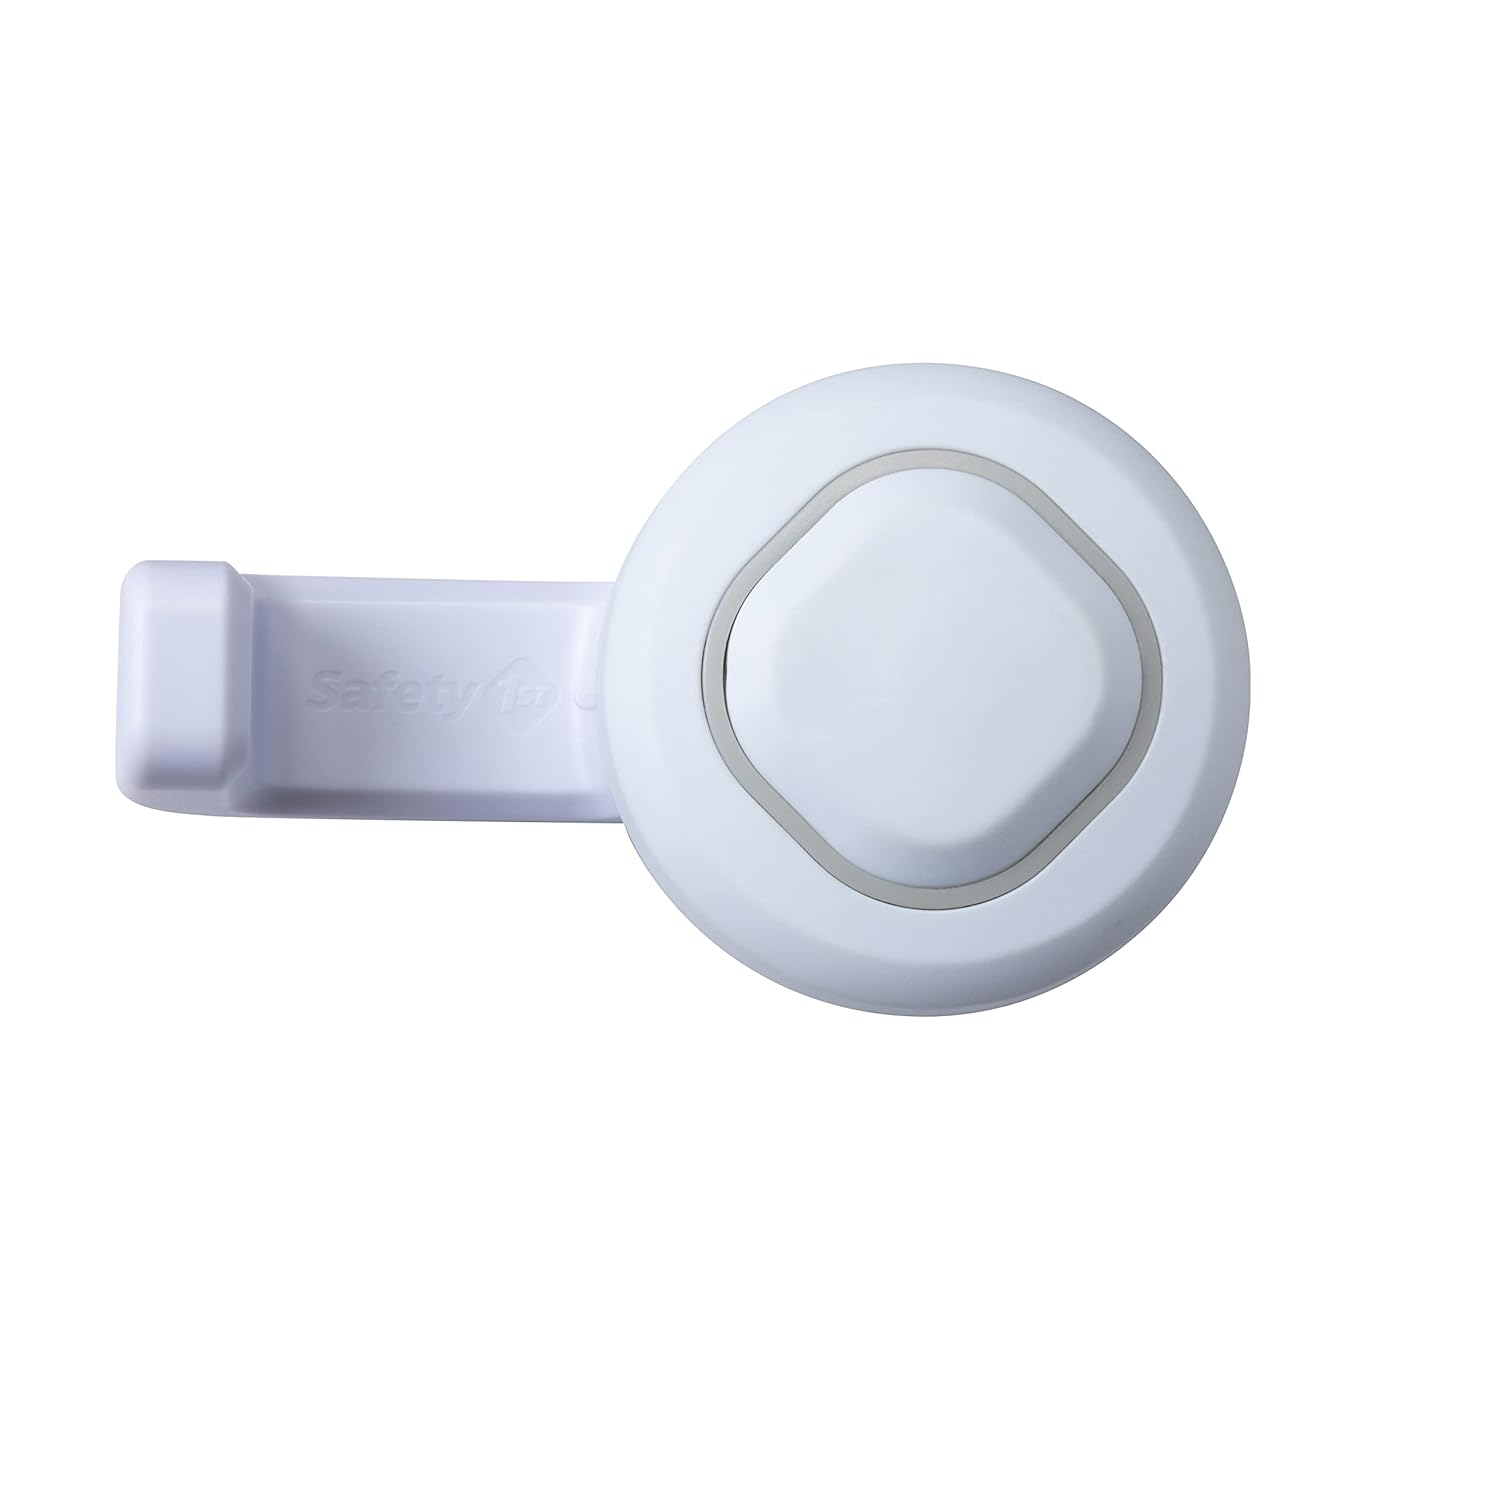
Image: A top-down view of the Safety 1st OutSmart Toilet Flush Lock, showing its design and the decoy button.
Complete Installation View

Image: A white toilet with both the Safety 1st OutSmart Toilet Lid Lock and Toilet Flush Lock securely installed, providing comprehensive child safety.
Operating Instructions
Using the Toilet Lid Lock
- To Lock: Ensure the toilet lid is closed. Press the main lock unit onto the lid and secure the strap anchor to the side of the bowl. The strap should be taut.
- To Unlock: Press the button on the main lock unit. This will release the strap, allowing you to lift the toilet lid.

Image: A hand demonstrating how to operate the Safety 1st OutSmart Toilet Lid Lock by pressing the release button.

Image: The Safety 1st OutSmart Toilet Lid Lock shown in an open position, with the strap detached from the anchor point, allowing the toilet lid to be lifted.
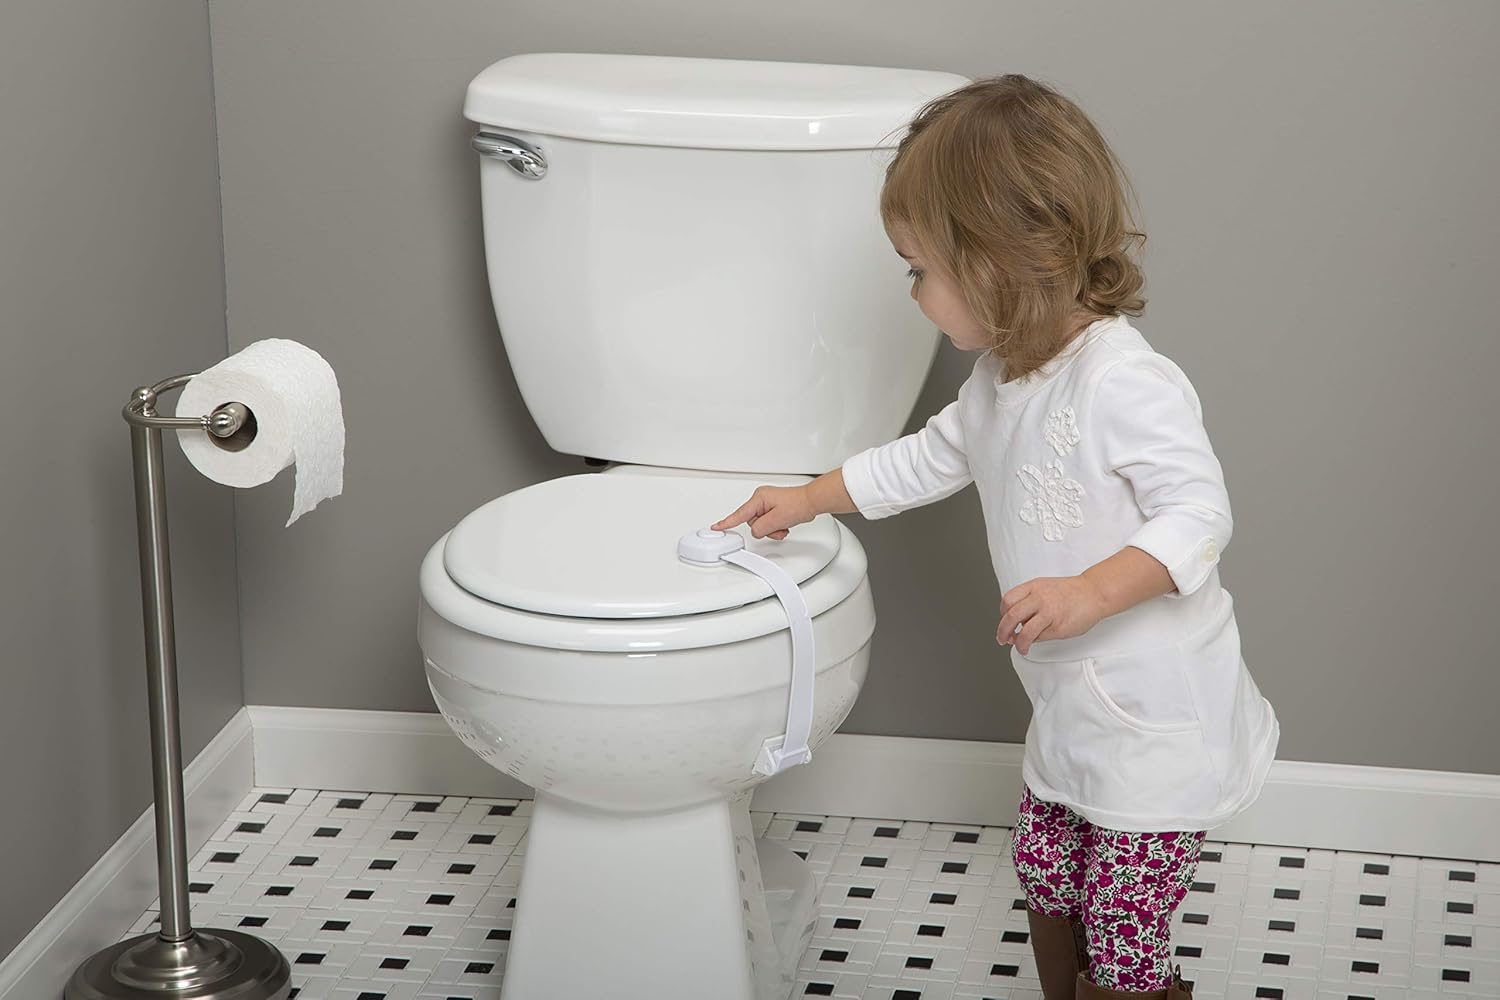
Image: A young child attempting to open the Safety 1st OutSmart Toilet Lid Lock, demonstrating its child-resistant design.
Using the Toilet Flush Lock
- To Lock: Rotate the flush lock arm to cover the toilet flush lever. This prevents the lever from being pressed.
- To Unlock: Rotate the flush lock arm away from the toilet flush lever. This allows access to the lever for flushing.
- OutSmart Decoy Button: The flush lock features a decoy button. Pressing this button will not operate the flush mechanism, redirecting a child's attention from the actual flush lever.

Image: A close-up of the Safety 1st OutSmart Toilet Flush Lock in its locked position, covering the toilet's flush lever.

Image: A hand demonstrating how to operate the Safety 1st OutSmart Toilet Flush Lock by rotating its arm to access the flush lever.
Maintenance
- Cleaning: Clean the safety set components with a damp cloth and mild soap. Do not use abrasive cleaners or solvents, as these may damage the plastic or adhesive.
- Inspection: Periodically inspect both locks for any signs of wear, damage, or loosening of the adhesive. If any part is damaged or the adhesive is no longer secure, replace the product immediately.
Troubleshooting
| Problem | Possible Cause | Solution |
|---|---|---|
| Lid lock adhesive is not holding. | Surface was not clean or dry; insufficient pressure applied during installation; adhesive has worn out. | Ensure surfaces are thoroughly cleaned and dried before reapplication. Apply firm pressure for at least 30 seconds. If adhesive is worn, the product may need replacement. |
| Flush lock adhesive is not holding. | Surface was not clean or dry; insufficient pressure applied during installation; adhesive has worn out; toilet tank curvature. | Ensure surfaces are thoroughly cleaned and dried before reapplication. Apply firm pressure for at least 30 seconds. If the toilet tank has significant curvature, the flush lock may not adhere properly. Consider alternative safety solutions if this is the case. If adhesive is worn, the product may need replacement. |
| Child can still operate the flush lever. | Flush lock is not correctly positioned or is not in the locked position. | Ensure the flush lock arm fully covers the flush lever when in the locked position. Re-adjust if necessary. |
Specifications
- Model Number: HS3610600
- Material: Plastic
- Package Dimensions: 7.56 x 5.63 x 1.77 inches
- Item Weight: 6.3 ounces
- Batteries Required: No
Warranty and Support
For warranty information or product support, please refer to the manufacturer's official website or contact their customer service department. Keep your purchase receipt for warranty claims.
Manufacturer: Safety 1st
Website: Visit the Safety 1st Store on Amazon


