1. Safety Information
Please read all instructions carefully before installation and use. Retain this manual for future reference.
- Ensure power is disconnected at the circuit breaker before installation or maintenance.
- Installation should be performed by a qualified electrician.
- Mounting surface must be capable of supporting a minimum of 110 pounds (50 kg).
- Ceiling height should be greater than 110 inches (2.8 meters) for optimal performance and safety.
- Use only the provided remote control for operation.
- Do not attempt to repair or modify the unit yourself. Contact customer support for assistance.
2. Package Contents
Verify all components are present and undamaged before beginning installation.
- Ceiling Fan Unit (with LED lighting board and retractable blades) x 1
- Screws Set x 1
- Down Rods x 2 (10CM & 20CM)
- Remote Control x 1
- Instruction Manual x 1

Image: All components of the OUKANING 42-inch Fandelier Ceiling Fan laid out on a surface, including the main fan body, downrods, remote, and hardware.
3. Specifications
| Brand | OUKANING |
| Model | 42-Inch Fandeliers Ceiling Fan |
| Style | Classic / Modern |
| Light Source | LED lighting board (Included) |
| Shade Material | Metal with Craft-made colorful painted |
| Blade Material | Amber acrylic |
| Dimensions | 42 Inch (extended), 19 Inch (retracted) |
| Down Rods | 10CM & 20CM (selectable) |
| Light Wattage | 48W |
| Motor Wattage | 56W |
| Fan Speeds | 3 |
| Color Temperature | 3 light cycles (3000K Warm white, 4500K Day light, 6000K Cool White) |
| Voltage | 110-120 Volts |
| Control Method | Remote Control |
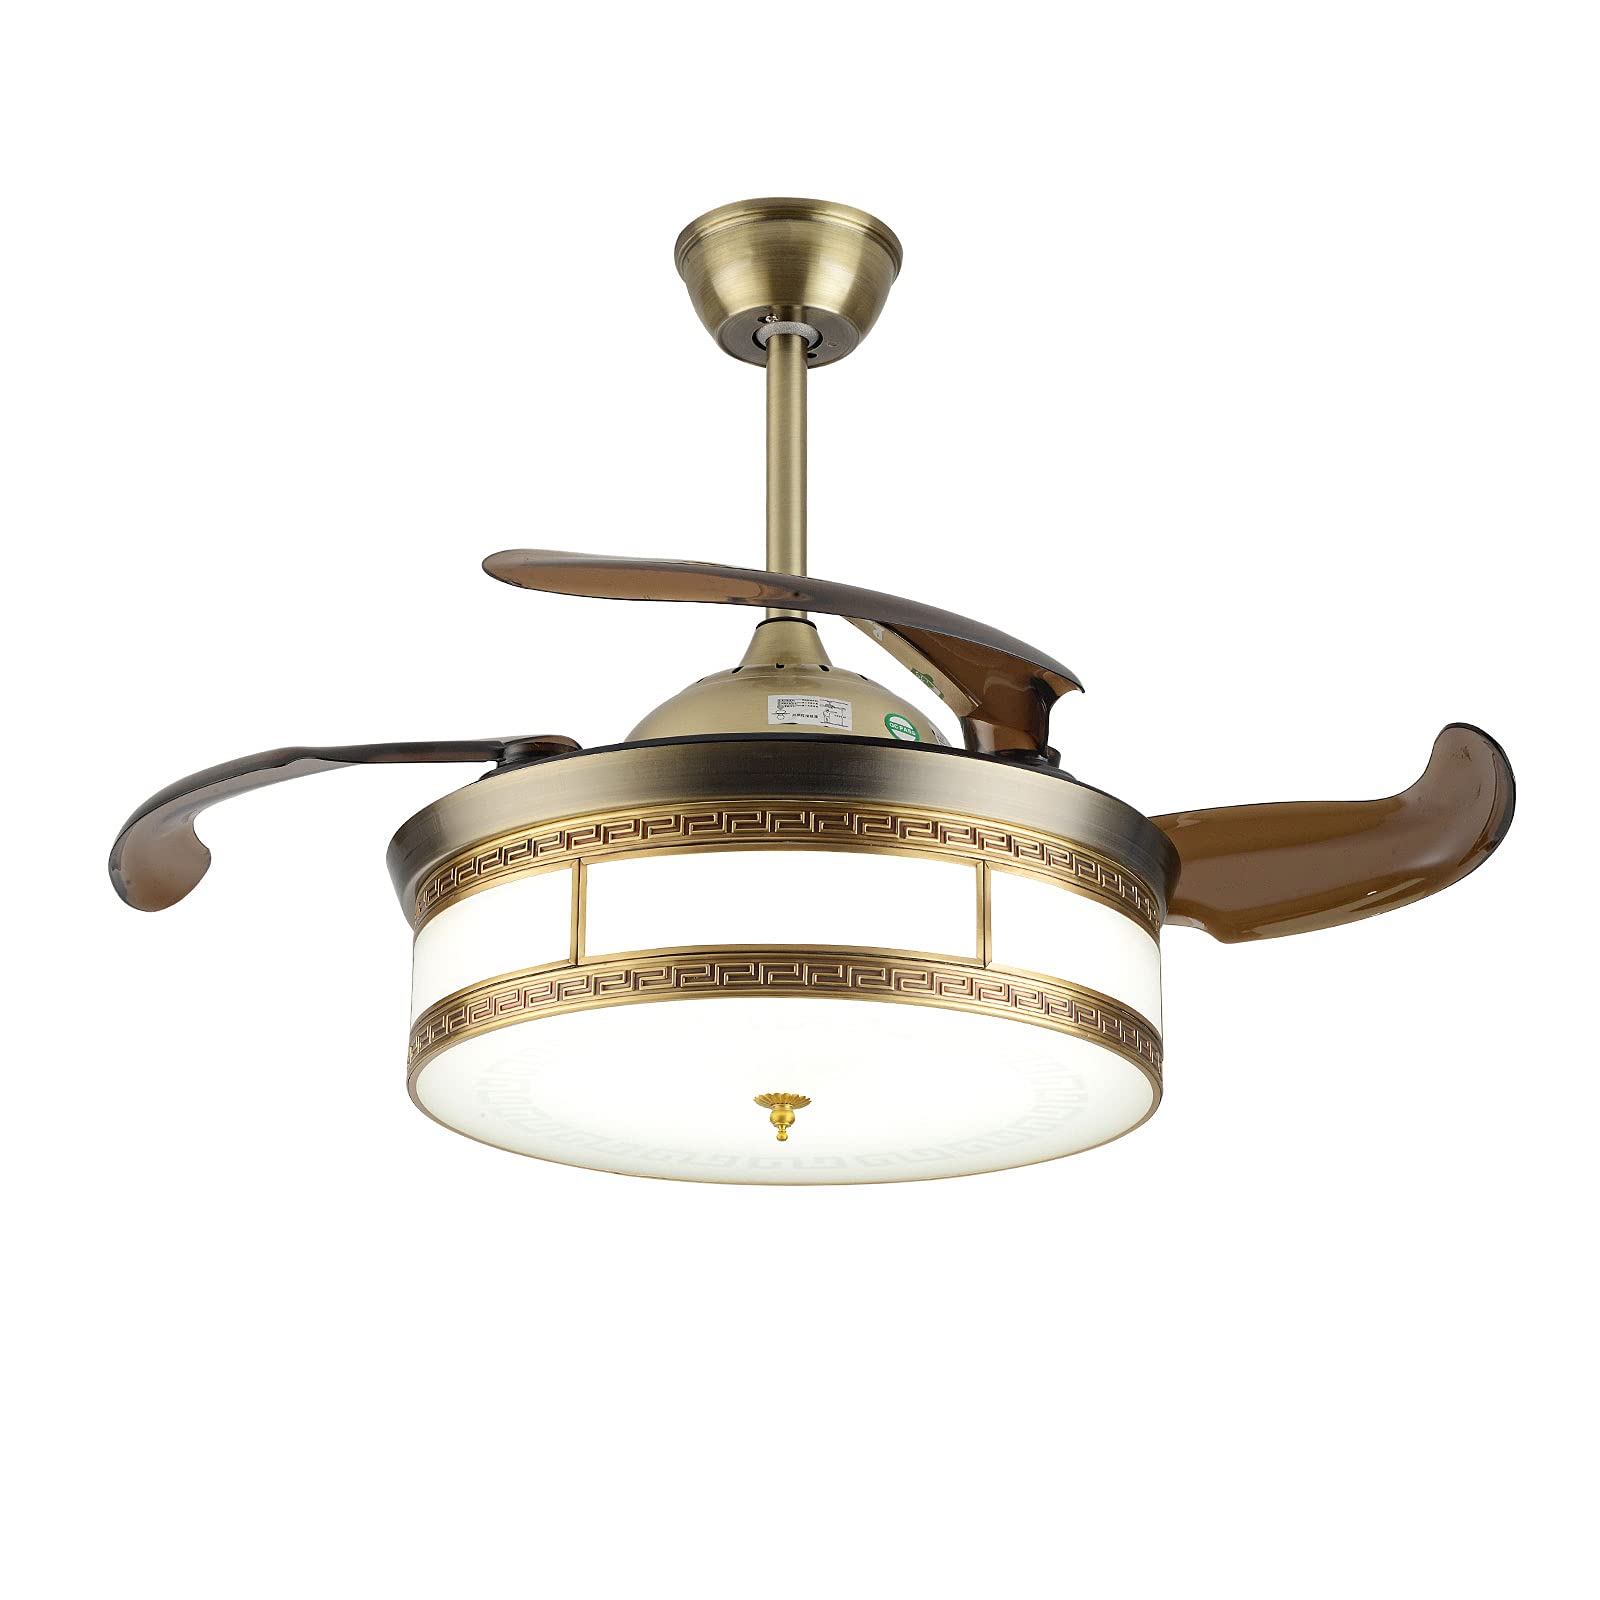
Image: A detailed view of the ceiling fan's dimensions, indicating a 42-inch diameter when blades are extended and a total height of 15.7 inches with the shorter downrod.
4. Installation Instructions
Follow these steps carefully for proper installation. It is recommended to have a qualified electrician perform the installation.
4.1 Pre-Installation Check
- Ensure the ceiling is suitable for mounting a ceiling fan. For gypsum board and wood ceilings, a remodeling bracket may be required.
- Confirm the ceiling height is greater than 110 inches (2.8 meters).
- Perform a power-on test on the ground to ensure all components are working before mounting.
4.2 Assembling the Down Rod and Canopy
- Select the desired down rod (10CM or 20CM).
- Pass the electrical wires from the fan motor through the chosen down rod.
- Secure the down rod to the fan motor assembly using the provided pins and screws.
- Slide the canopy and adapter cover onto the down rod.
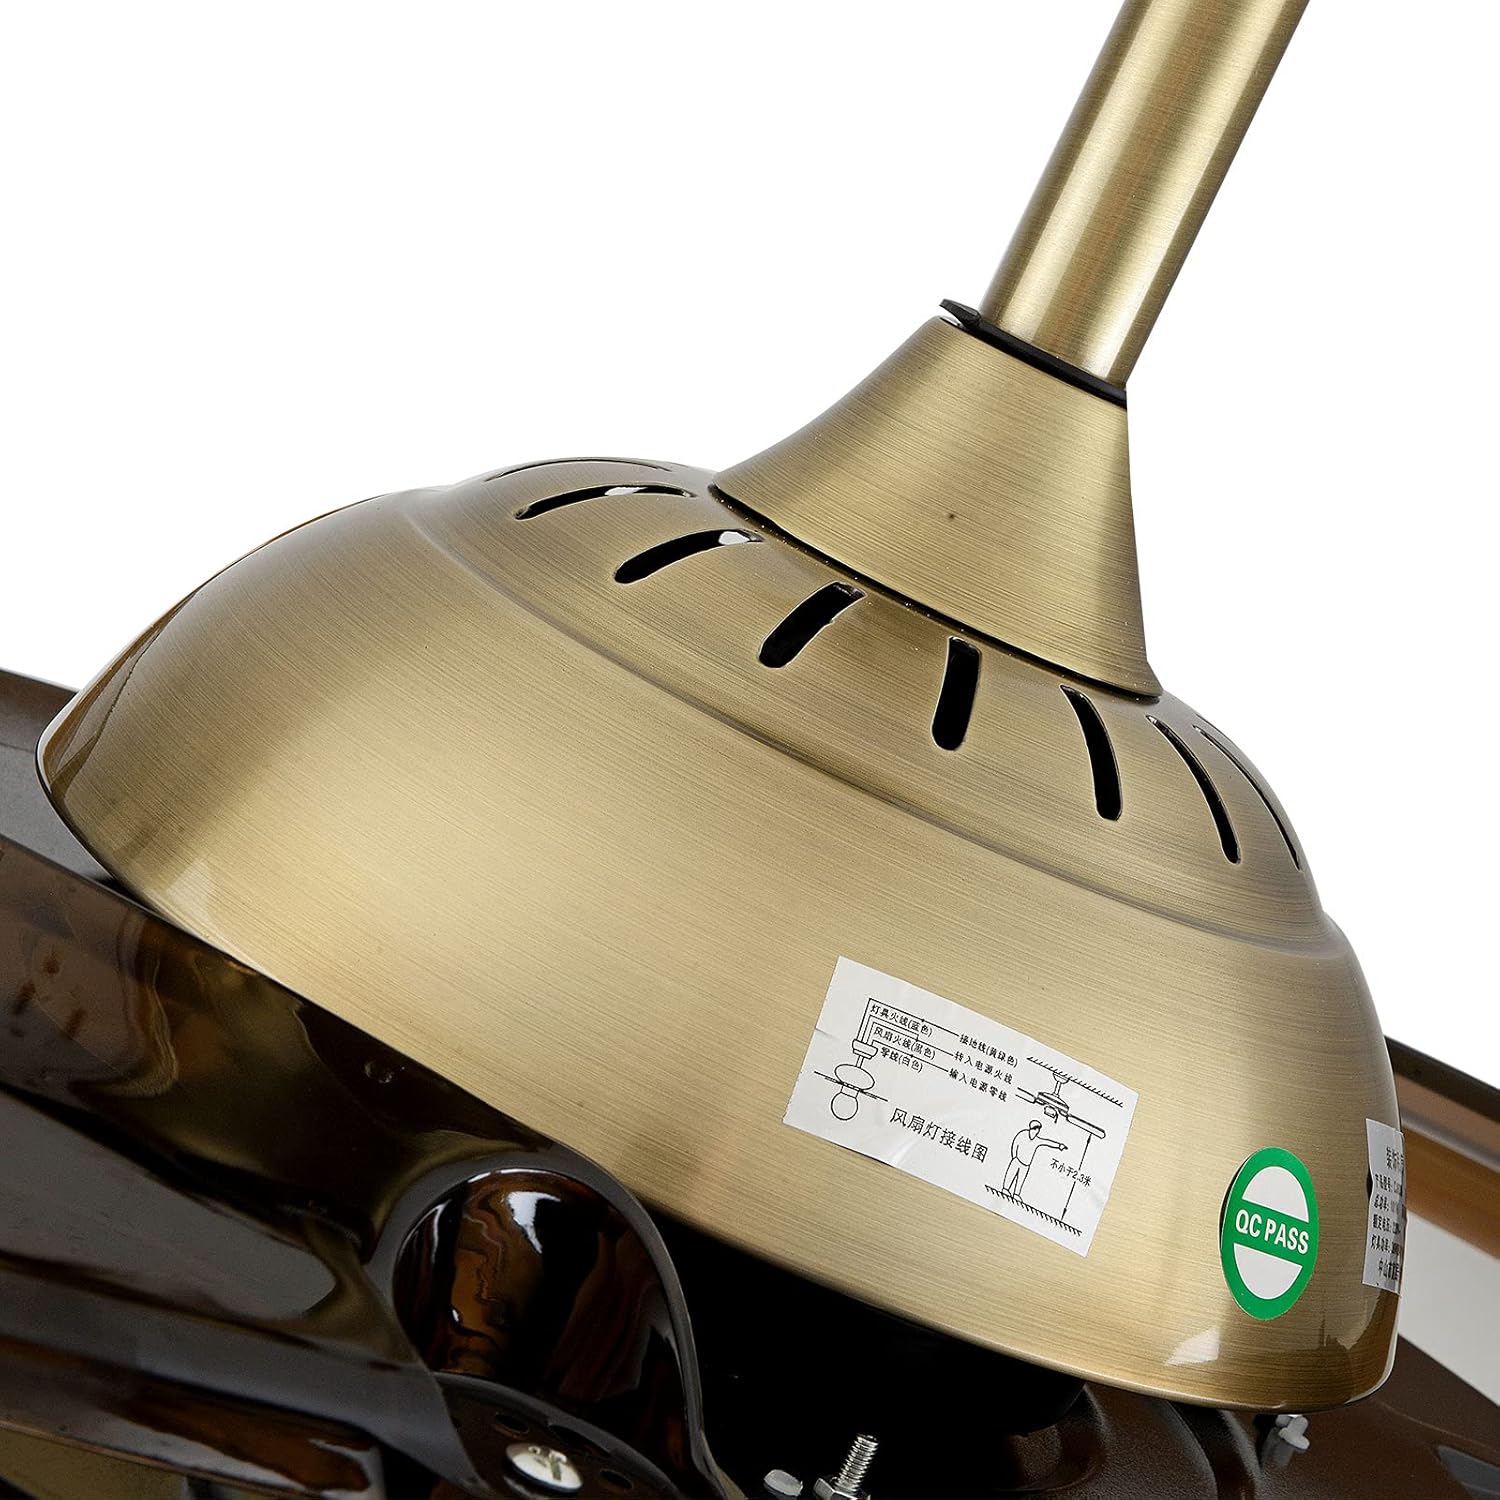
Image: A detailed view of the downrod connected to the fan motor, with the canopy and adapter cover in place.
4.3 Mounting the Hanger Bracket
- Attach the hanger bracket securely to the ceiling junction box using appropriate screws and anchors. Ensure it is firmly fixed to support the fan's weight.
4.4 Wiring Connections
- Carefully connect the electrical wires from the fan to the household wiring according to the wiring diagram. Match colors (e.g., black to black, white to white, ground to ground).
- Ensure all connections are secure with wire nuts.
- Tuck all wires neatly into the junction box.
4.5 Securing the Fan to the Hanger Bracket
- Lift the fan assembly and carefully place the down rod ball into the hanger bracket.
- Ensure the safety cable is attached to the ceiling structure.
- Slide the canopy up to cover the hanger bracket and secure it with screws.
4.6 Installing the LED Light Board and Lampshade
- Connect the LED light board wires to the corresponding connectors inside the fan housing.
- Secure the LED light board in place.
- Attach the lampshade by rotating it until it snaps into place or is secured by screws.
4.7 Installation Video
Video: A detailed installation guide for a Crystal Chandelier Ceiling Fan with Light, demonstrating the assembly and mounting process.
5. Operating Instructions
The OUKANING Fandelier is operated using the included remote control.
5.1 Remote Control Functions
- Fan Speed: Adjust between 3 fan speeds (Low, Medium, High).
- Light Control: Turn the light ON/OFF.
- Color Temperature Change: Cycle through 3 color temperatures: 3000K (Warm white), 4500K (Day light), and 6000K (Cool White).
- Timing Function: Set a timer for the fan to turn off automatically.
- Retractable Blades: The blades automatically extend when the fan is turned on and retract when turned off.

Image: The ceiling fan showcasing its ability to change light color temperature, with examples of Warm Light, Neutral Light, and White Light in a bedroom environment.
5.2 App Control and Light Effects
Some models may support app control for advanced lighting effects and music synchronization. Refer to the remote control manual for specific instructions on pairing and app usage.
Video: Demonstration of the Fandelier Ceiling Fan's app control features, including changing light colors, scenes (Night Light, Rainbow, Heartbeat, Run, Flash, Slow, Melody, Random, Magic), and Bluetooth music playback.
6. Maintenance
Regular maintenance ensures optimal performance and longevity of your ceiling fan.
- Cleaning: Dust the fan and light fixture regularly with a soft, dry cloth. Do not use abrasive cleaners or solvents.
- Blade Cleaning: The acrylic blades can be wiped gently with a damp cloth. Ensure the fan is off and stationary before cleaning.
- Tighten Screws: Periodically check all screws and connections for tightness. Loose connections can cause noise or malfunction.
- Light Source: The LED lighting board is designed for long life. If replacement is needed, contact customer support.
7. Troubleshooting
If you encounter issues, refer to the following common problems and solutions:
| Problem | Possible Cause | Solution |
|---|---|---|
| Fan does not start | No power supply; Loose wiring; Remote control battery low. | Check circuit breaker; Verify wiring connections; Replace remote control battery. |
| Light does not turn on | Loose wiring; LED board issue; Remote control battery low. | Check wiring to LED board; Contact customer support if LED board is faulty; Replace remote control battery. |
| Fan makes noise | Loose screws; Improper installation; Blades unbalanced. | Tighten all mounting screws; Ensure proper installation as per manual; Check for balanced blades. |
| Remote control not working | Battery low/dead; Remote not paired; Obstruction between remote and receiver. | Replace battery; Re-pair remote (refer to remote manual); Ensure clear line of sight. |
8. Warranty and Support
For warranty information or technical support, please contact OUKANING customer service through your purchase platform or visit the official OUKANING store online.
Keep your purchase receipt as proof of purchase for warranty claims.
Visit the OUKANING Store: OUKANING Store