1. Introduction
The X-Sense SD19-W Wireless Interconnected Smoke Detector is designed to provide comprehensive fire safety for your home or property. This advanced smoke alarm features wireless interconnection, meaning that if one alarm detects smoke, all connected alarms will sound simultaneously, ensuring everyone in your household is alerted promptly, regardless of their location. Each unit is powered by a sealed 10-year lithium battery, offering long-lasting, maintenance-free operation.
The SD19-W utilizes a photoelectric sensor for reliable smoke detection and is constructed from durable, fire-retardant ABS material for enhanced safety and longevity. With a transmission range of over 820 ft (250 m) in open air, these detectors create a robust and customizable wireless network for optimal coverage.

Figure 1.1: X-Sense SD19-W Wireless Interconnected Smoke Detectors (12-Pack).
2. Setup and Installation
2.1 Package Contents
Before beginning installation, verify that all components are present in your package:
- X-Sense SD19-W Smoke Alarms with Sealed 10-Year Lithium Battery (Quantity as per pack size, e.g., 12 for 12-Pack)
- User Manual (this document)
- Screws and Anchor Plugs (2 per alarm)
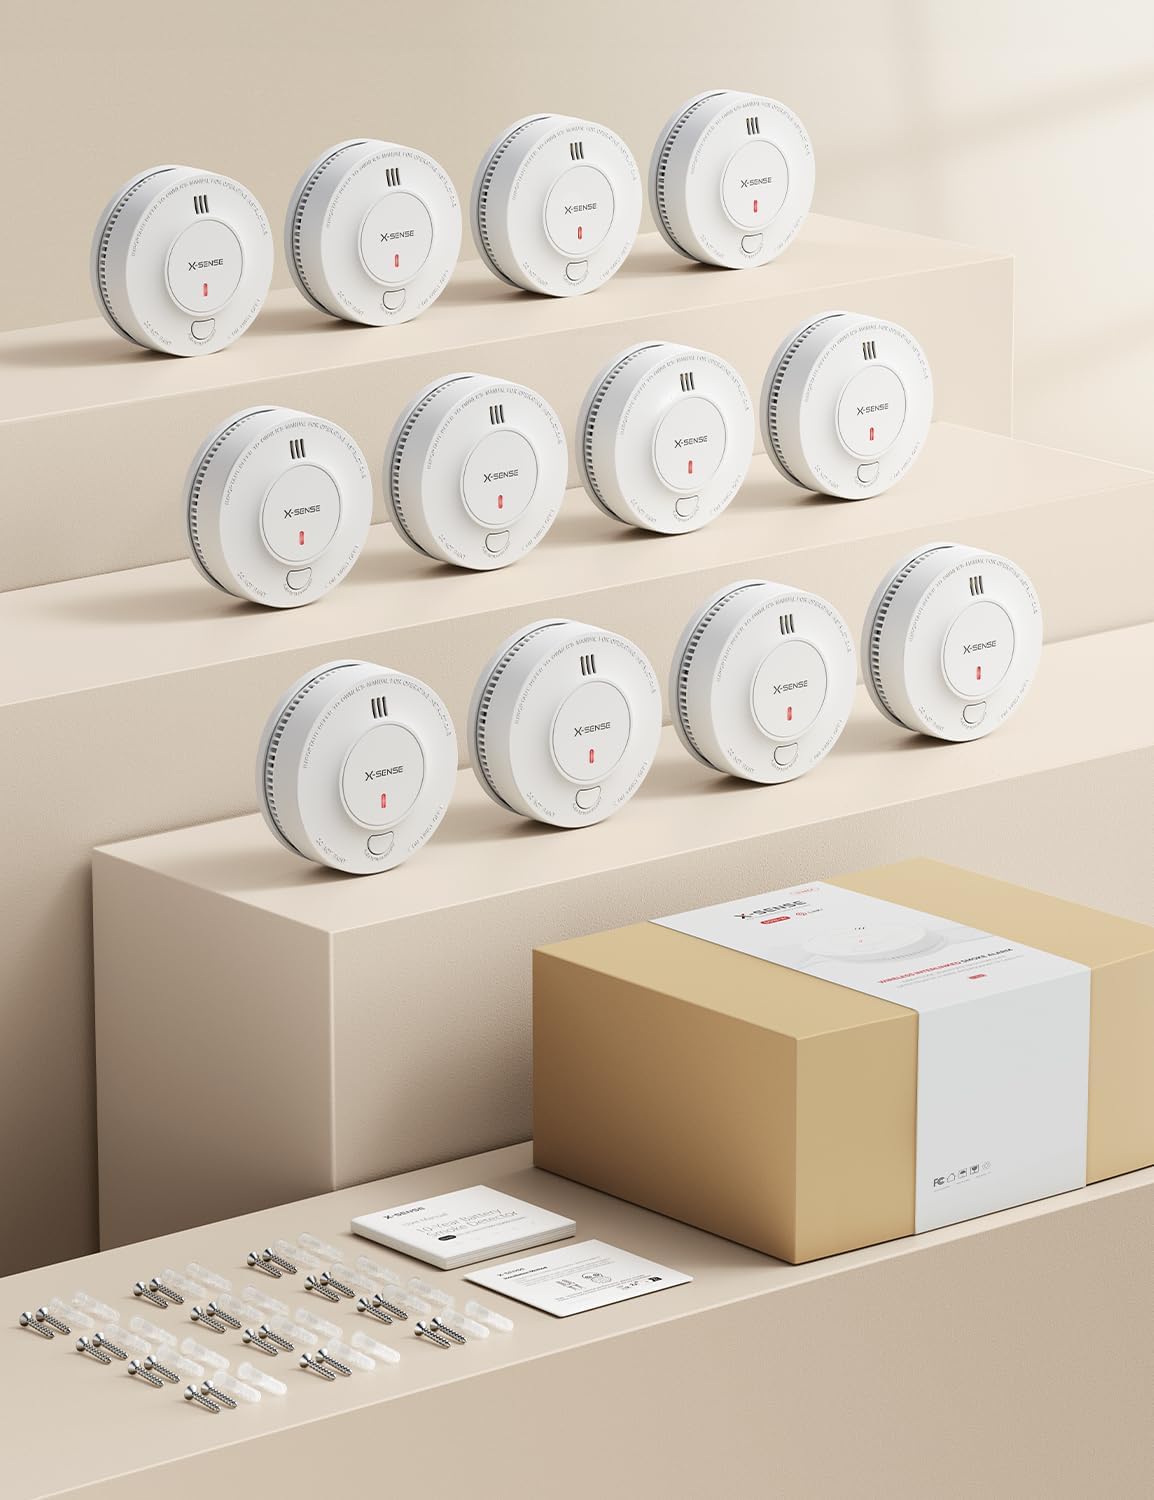
Figure 2.1: Typical package contents for X-Sense SD19-W.
2.2 Initial Activation and Interconnection
The SD19-W detectors are designed for easy interconnection. For multi-packs, units are often pre-connected for immediate use. If you need to add new devices or create multiple networks, follow these steps:
- Activate Units: Place each smoke detector onto its mounting base. This action activates the internal sealed 10-year lithium battery. Ensure all units you intend to interconnect are activated and placed on a flat surface, such as a table, for easy access.
- Initiate Linking (First Unit): On the first unit you wish to be the primary for the network, press its test/silence button 4 times rapidly. The LED indicator will begin to flash, indicating it is searching for other units to link with.
- Link Additional Units: For each subsequent unit you want to add to the network, press its test/silence button 2 times rapidly. The LED indicator on these units will also flash, confirming they are attempting to connect to the primary unit. Repeat this for all units you wish to include in this specific network.
- Confirm Interconnection: Once all units are linked, test the network. Press and hold the test/silence button on any one unit continuously. Not only should that unit alarm, but after a short delay, all other linked units should also begin to sound their alarms. This confirms successful interconnection.
You can connect up to 24 Link+ wireless alarms at a time to form a comprehensive whole-home alert system. For larger properties or multiple distinct areas, you can create multiple independent networks.

Figure 2.2: Whole-Home Alerts through Wireless Interconnection.

Figure 2.3: Customizable Wireless Networks.

Figure 2.4: Expanding your interconnected system with up to 24 alarms.
2.3 Mounting Locations
For optimal protection, install smoke detectors in every sleeping area, outside each separate sleeping area, and on every level of the home, including the basement. Avoid installing in kitchens, bathrooms, or garages where steam, cooking fumes, or exhaust can cause false alarms.
2.4 Physical Installation
The SD19-W can be installed using either self-adhesive pads (not included, if desired) or the provided screws and anchor plugs.
- Prepare Mounting Surface: Choose a clean, dry, and flat surface on the ceiling or wall.
- Mark Drill Holes: Use the mounting base as a template to mark the positions for the two drill holes.
- Drill Holes: Drill two holes at the marked positions. Insert the anchor plugs into the holes.
- Attach Mounting Base: Secure the mounting base to the ceiling or wall using the provided screws.
- Attach Smoke Detector: Align the smoke detector with the mounting base and twist clockwise until it clicks securely into place.
3. Operation
3.1 Normal Operation
In normal operating conditions, the SD19-W smoke detector continuously monitors the air for the presence of smoke. The photoelectric sensor is designed to detect visible particles of combustion, providing early warning of smoldering fires.
The device takes 3 air samples every 10 seconds to precisely detect smoke with fewer false alarms.

Figure 3.1: Air Sampling Mechanism.
3.2 Alarm Indication
When smoke is detected, the alarm will emit a loud audible signal (audible alarm) and the LED indicator will flash rapidly. If interconnected, all other linked alarms will also sound their alarms.
3.3 Test Function
It is recommended to test your smoke detectors weekly to ensure proper operation. To test a unit:
- Press and hold the test/silence button on the front of the alarm.
- The alarm will sound a loud siren, and the LED will flash. If interconnected, all linked alarms should also sound.
- Release the button to stop the test.
If the alarm does not sound during the test, refer to the Troubleshooting section.
3.4 Silence Function
In case of a nuisance alarm (e.g., from cooking fumes), you can temporarily silence the alarm by pressing the test/silence button. The alarm will enter a temporary silence mode for approximately 9 minutes. After this period, if smoke is still present, the alarm will reactivate.
4. Maintenance
4.1 Battery Life
The X-Sense SD19-W smoke detector is equipped with a sealed 10-year lithium battery. This battery is designed to power the alarm for its entire 10-year lifespan under normal operating conditions, eliminating the need for battery replacement.

Figure 4.1: 10-Year Sealed Lithium Battery.
4.2 Cleaning Your Smoke Detector
Dust and debris can accumulate on the smoke detector, potentially affecting its performance. Clean your smoke detector at least once a month:
- Gently vacuum the outside of the alarm using the soft brush attachment of your vacuum cleaner.
- Do not paint the alarm. Paint can clog the openings and interfere with the sensor's ability to detect smoke.
- Do not use cleaning solvents or sprays on the alarm.
5. Troubleshooting
| Problem | Possible Cause | Solution |
|---|---|---|
| Alarm chirps periodically. | End-of-life warning. The 10-year battery is depleted. | Replace the entire smoke detector unit. The battery is sealed and not replaceable. |
| Alarm sounds without visible smoke. | Nuisance alarm (steam, cooking fumes, dust). | Press the test/silence button to temporarily silence. Ventilate the area. Clean the alarm if dusty. |
| Alarm does not sound during test. | Unit not activated, faulty unit, or battery issue. | Ensure the unit is properly twisted onto its mounting base. If still no sound, the unit may be faulty and needs replacement. |
| Interconnected alarms do not all sound. | Units not properly linked or out of range. | Re-perform the interconnection steps (Section 2.2). Ensure units are within the 820 ft transmission range (less through walls). Reduce obstacles between units. |
6. Specifications
| Feature | Detail |
|---|---|
| Model Number | SD19-W |
| Power Source | Sealed 10-Year Lithium Battery (included) |
| Sensor Type | Photoelectric |
| Alarm Type | Audible |
| Interconnection | Wireless RF Interconnected |
| Transmission Range | Over 820 ft (250 m) in open air |
| Material | Fire-Retardant ABS Material |
| Color | White |
| Item Weight | 6.4 ounces (per unit) |
| Dimensions | Approx. 4.8 inches (diameter) |
| Installation Method | Self-Adhesive or Screw-In |
| Operating Voltage | 3 Volts |

Figure 6.1: Fire-Retardant ABS Material Construction.
7. Warranty and Support
7.1 Warranty Information
X-Sense provides the following warranty for the SD19-W Wireless Interconnected Smoke Detector:
- 60-Day Money-Back Guarantee: If you are not satisfied with your purchase, you may return it within 60 days for a full refund.
- 5-Year Quality Warranty: The product is covered by a 5-year warranty against defects in materials and workmanship from the date of purchase.
7.2 Technical Support
X-Sense offers lifetime technical support for the SD19-W. If you encounter any issues or have questions regarding the product's operation, installation, or maintenance, please contact X-Sense customer service.
For further assistance and to explore other X-Sense products, visit the official X-Sense Store: