1. Introduction
This manual provides detailed instructions for the installation, operation, and maintenance of your ESSGOO Double DIN Android 9.1 Car Stereo. Please read this manual thoroughly before using the product to ensure proper functionality and safety.
The ESSGOO car stereo features a 7-inch capacitive touch screen, Android 9.1 operating system, GPS navigation, Bluetooth 4.0, Wi-Fi connectivity, and support for iOS/Android phone mirror link. It also includes a backup camera for enhanced safety.
2. Package Contents
Verify that all items listed below are included in your package:
- 1 x Android Car Stereo Player
- 1 x Radio Frame
- 1 x Bracket and Screws
- 1 x GPS Antenna
- 1 x Universal Power Cable
- 1 x ISO Power Cable
- 1 x RCA Cable
- 1 x Backup Camera Input Cable
- 1 x Backup Camera
- 2 x USB Cables
- 1 x User Manual

Figure 2.1: Included Package Contents
3. Specifications
| Feature | Specification |
|---|---|
| Operating System | Android 9.1 |
| CPU | Quad-Core |
| RAM | 1GB |
| ROM | 16GB |
| Bluetooth Version | 4.0 |
| Operating Voltage | 12V DC |
| Max Power Output | 4 x 50W |
| Screen Size | 7-inch Capacitive Touch Screen |
| Screen Resolution | 1024x600 |
| Supported Audio Formats | MP3, WMA, WAV, FLAC |
| Supported Video Formats | MP4, MP5, MKV, AVI |
| Connectivity | Bluetooth, Wi-Fi (802.11b/g/n), USB |
| Special Features | GPS Navigation, Mirror Link (iOS/Android), Backup Camera Support, Steering Wheel Control |
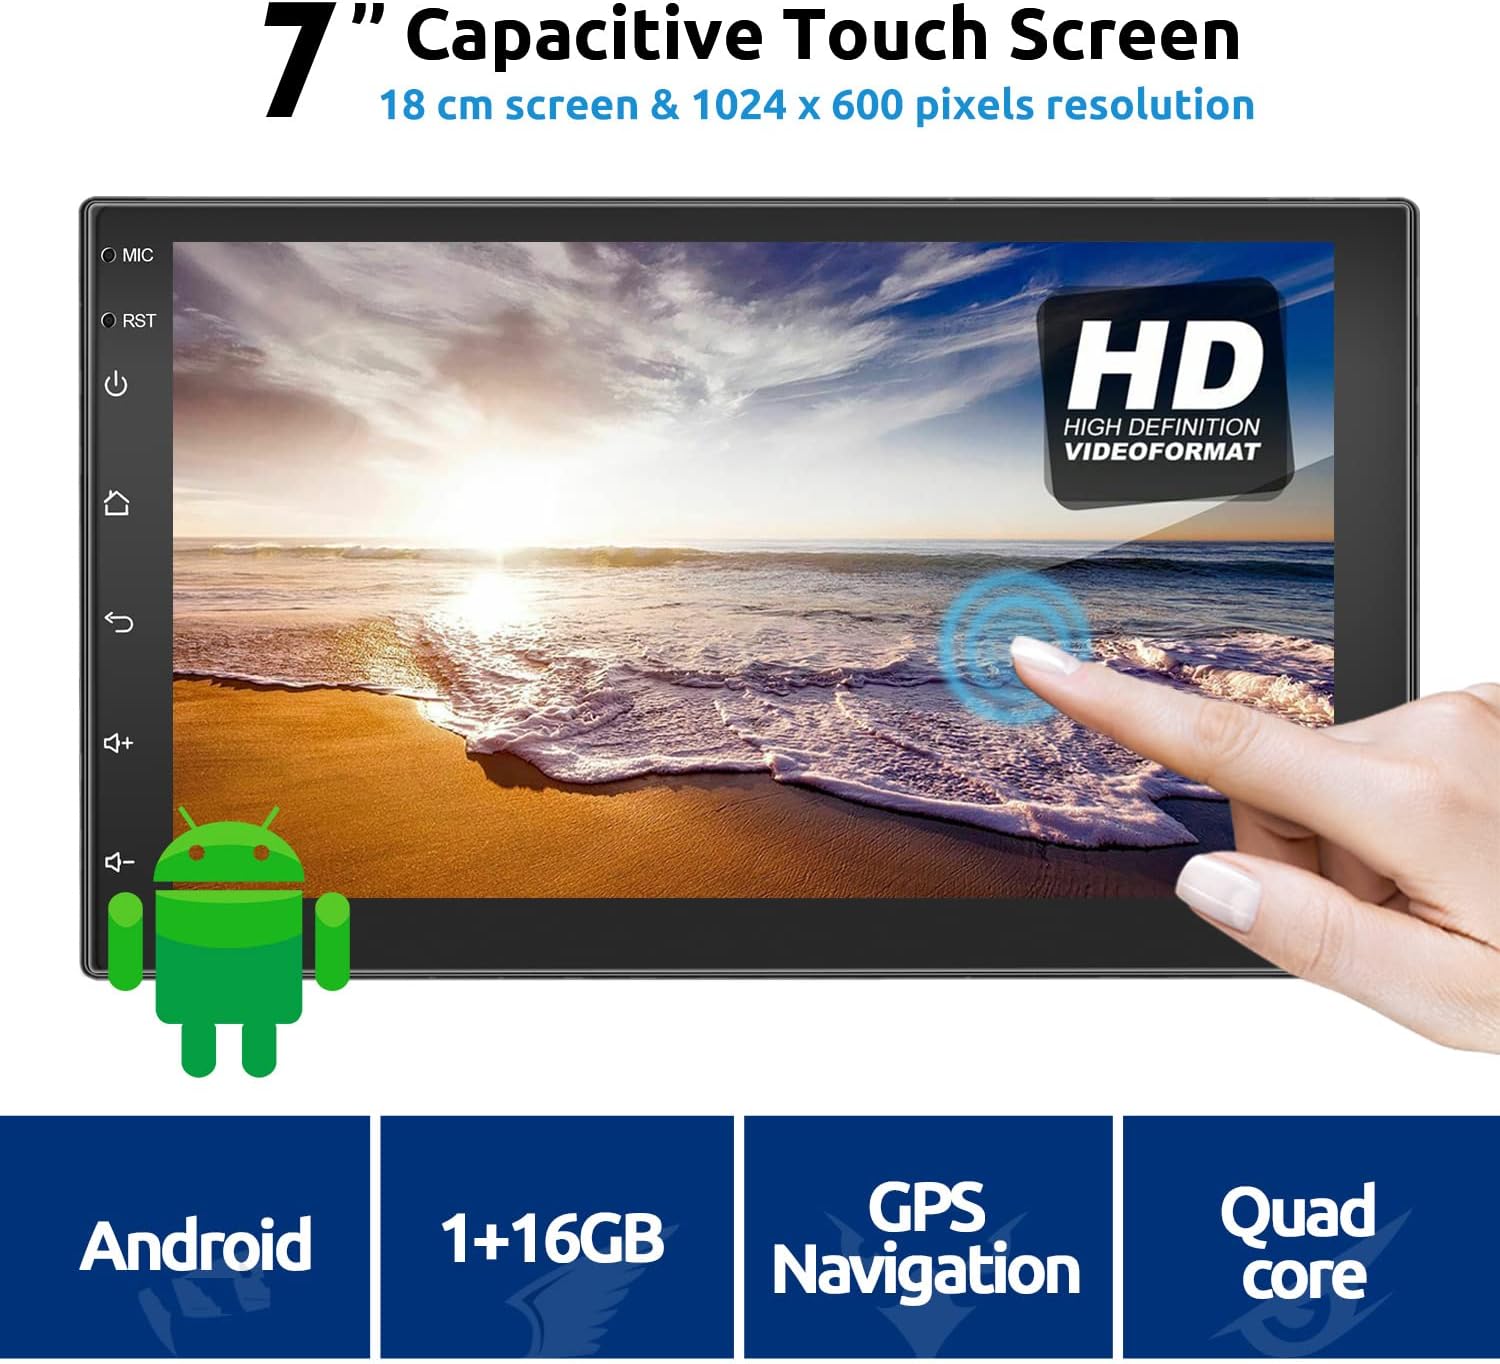
Figure 3.1: ESSGOO Car Stereo Front View and Key Features
4. Setup and Installation
Professional installation is recommended. Ensure the vehicle's power is disconnected before beginning installation.
4.1 Wiring Connections
Refer to the wiring diagram below for proper connection of power, speakers, GPS antenna, USB, and backup camera.
Figure 4.1: Rear Panel Connections
- Power Cable: Connect the universal power cable and ISO power cable to the vehicle's wiring harness. Ensure correct polarity.
- RCA Cable: Use for audio/video input/output connections to external amplifiers or monitors.
- USB Cables: Connect the two provided USB cables for media playback, phone charging, or other USB devices.
- Camera Input: Connect the backup camera input cable to the designated port.
- GPS Antenna: Mount the GPS antenna in a location with a clear view of the sky, typically on the dashboard or windshield.
- Radio Antenna: Connect the vehicle's radio antenna to the ANT port.
4.2 Physical Installation
- Carefully remove the existing car stereo and trim panel.
- Connect all necessary wiring harnesses to the ESSGOO unit.
- Secure the ESSGOO unit into the double DIN slot using the provided brackets and screws.
- Install the radio frame around the unit for a finished look.
- Reconnect the vehicle's power and test the unit before fully reassembling the dashboard.
Figure 4.2: Unit Dimensions
5. Operating Instructions
This section details the various functions and features of your ESSGOO car stereo.
5.1 Main Interface and Navigation
Upon startup, the main menu will display various application icons. Tap an icon to launch the corresponding function.

Figure 5.1: Main Menu and Settings Overview
5.2 GPS Navigation
The unit supports online and offline GPS navigation. You can download navigation applications like Waze, Navfree, or Google Maps from the Google Play Store. Maps can run in the background, and the system supports vocal guidance.
- Ensure the GPS antenna is properly connected and positioned.
- Open your preferred navigation app from the main menu.
- Follow the app's instructions to set your destination and start navigation.

Figure 5.2: GPS Navigation Interface
5.3 Bluetooth Functionality
The built-in Bluetooth 4.0 module allows for hands-free calling and music playback. The unit has an integrated microphone.
- Go to the Bluetooth settings on the car stereo.
- Enable Bluetooth on your mobile phone and search for available devices.
- Select "ESSGOO" (or similar device name) from your phone's list and pair. The default PIN is usually "0000".
- Once paired, you can make/receive calls and stream audio from your phone. Music playback will automatically pause during calls.

Figure 5.3: Bluetooth Hands-Free Calling
5.4 Wi-Fi and Internet Connectivity
The unit supports 802.11b/g/n WLAN standards, allowing connection to Wi-Fi networks. You can also use your mobile phone as a 3G/4G hotspot to provide internet access to the car stereo.
- Go to the Wi-Fi settings on the car stereo.
- Turn on Wi-Fi and select your desired network from the list.
- Enter the password if prompted and connect.
- Once connected, you can browse the internet, download apps, and stream online content.

Figure 5.4: Wi-Fi Hotspot Connectivity
5.5 Mirror Link (Easy Connection)
Mirror Link allows you to display your smartphone's screen on the car stereo. This feature supports both Android and iOS devices.
- Android Phones: Can be controlled in two directions (phone to radio or radio to phone) via USB cable or Wi-Fi connection.
- iOS Phones: Can only perform one-way control (from phone to radio) via Wi-Fi connection.
- Open the "Easy Connection" or "Mirror Link" app on the car stereo.
- Follow the on-screen instructions to connect your phone via USB or Wi-Fi.
- Grant necessary permissions on your phone.

Figure 5.5: Mirror Link Connection Methods
5.6 Radio Function
Access the FM/AM radio tuner from the main menu. You can scan for stations, save presets, and adjust settings.

Figure 5.6: Radio Interface
5.7 Rear View Camera
The unit supports a backup camera, which automatically displays the rear view when the vehicle is in reverse gear (if properly wired).
- Ensure the backup camera and its input cable are correctly installed and connected to the car stereo.
- When the vehicle is shifted into reverse, the screen will automatically switch to the camera view.
Figure 5.7: Rear View Camera Display
5.8 Steering Wheel Controls
The unit supports steering wheel controls, allowing you to manage basic functions without taking your hands off the wheel. This feature requires proper wiring and configuration.
- Access the "Steering Wheel Controls" or "Key Study" section in the system settings.
- Follow the on-screen prompts to program each button on your steering wheel to the corresponding function on the stereo.
Figure 5.8: Steering Wheel Control Setup
6. Maintenance
- Cleaning the Screen: Use a soft, lint-free cloth to gently wipe the touch screen. Do not use abrasive cleaners or solvents.
- Software Updates: Periodically check for system updates in the settings menu to ensure optimal performance and access to new features.
- General Care: Avoid exposing the unit to extreme temperatures, direct sunlight for prolonged periods, or excessive moisture.
7. Troubleshooting
| Problem | Possible Cause | Solution |
|---|---|---|
| Unit does not power on. | Incorrect wiring; Blown fuse; Vehicle power issue. | Check power connections (ACC, B+, GND). Inspect vehicle's fuse box and the unit's fuse. Ensure vehicle battery is charged. |
| No sound. | Speaker wires disconnected; Volume too low; Mute activated. | Check speaker connections. Increase volume. Deactivate mute function. |
| GPS not working or inaccurate. | GPS antenna not connected or poorly positioned; GPS app issue. | Ensure GPS antenna is securely connected and has a clear view of the sky. Try restarting the GPS application. |
| Bluetooth connection issues. | Bluetooth not enabled; Incorrect pairing; Device out of range. | Ensure Bluetooth is enabled on both devices. Re-pair the devices. Keep devices within close proximity. |
| Touch screen unresponsive. | Temporary software glitch; Screen calibration needed. | Restart the unit. If issue persists, perform a system reset (refer to settings). |
| Backup camera not displaying. | Camera not connected; Reverse trigger wire not connected; Faulty camera. | Check camera input cable and reverse trigger wire connection. Test camera functionality if possible. |
If problems persist after attempting these solutions, please contact customer support.
8. Warranty and Support
This product comes with a standard manufacturer's warranty. Please refer to the warranty card included in your package for specific terms and conditions.
For technical support, troubleshooting assistance, or warranty claims, please contact ESSGOO customer service through their official website or the retailer where the product was purchased. Have your model number (B09JWLGLQN) and purchase details ready when contacting support.