
1. Introduction
Thank you for choosing the MMK Wireless LED Optical Mouse. This manual provides essential information for setting up, operating, and maintaining your new mouse. Please read it carefully before use.
Package Contents:
- MMK Wireless LED Optical Mouse
- USB Charging Cable
- User Manual
- USB Receiver
- Type-C Receiver
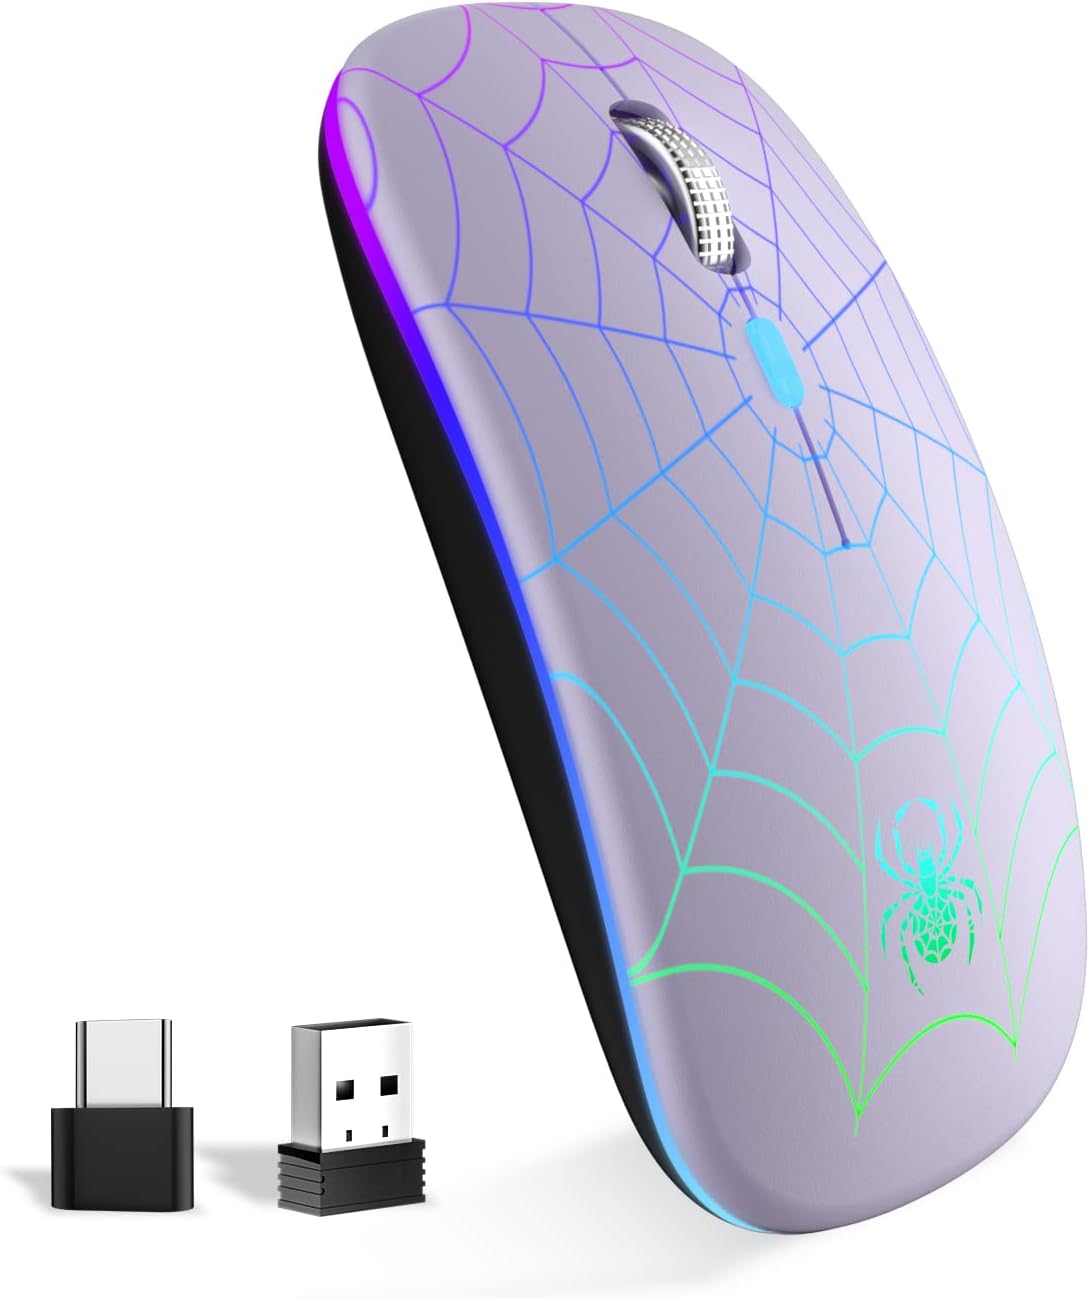
Image 1.1: MMK Wireless LED Optical Mouse with its distinct spiderweb pattern.
2. Features
- Wireless Rechargeable Design: The mouse features a durable rechargeable battery, eliminating the need for frequent battery replacements. It can be easily charged using the included USB cable.
- Power-Saving LED Lighting: This mouse includes 7 vibrant lighting effects. It automatically enters sleep mode after 5 minutes of inactivity to conserve power. Click any button to resume operation.
- Silent Operation: Designed with silent buttons, the mouse reduces click noise by 90%, making it suitable for quiet environments like offices and meeting rooms.
- Adjustable DPI Settings: Offers three adjustable DPI levels (1000, 1200, and 1600) to customize cursor sensitivity for various tasks. The wireless range is up to 10 meters.
- Universal Compatibility: Comes with both USB and Type-C receivers, ensuring compatibility with a wide range of devices including computers, laptops, and desktops with USB or Type-C ports.

Image 2.1: Overview of the mouse's features, including its 7-color RGB lighting and adjustable DPI.

Image 2.2: The ergonomic design of the mouse provides comfort for extended use.
3. Setup
- Insert Receiver: Locate the USB or Type-C receiver stored in the bottom compartment of the mouse. Plug the appropriate receiver into an available USB or Type-C port on your computer or laptop.
- Power On: Turn on the mouse using the power switch located on the bottom of the device.
- Automatic Connection: The mouse will automatically connect to your device. No additional software installation is required.
- Select DPI: Press the DPI switch button on the top of the mouse to cycle through the 1000, 1200, and 1600 DPI settings to find your preferred cursor speed.

Image 3.1: Step-by-step guide for initial setup and use.
Video 3.1: This video demonstrates the setup process, including connecting the receiver and adjusting DPI settings, along with the mouse's LED lighting effects.
4. Operation
4.1 DPI Adjustment
The mouse features a DPI switch button located behind the scroll wheel. Press this button to cycle through the three available DPI settings: 1000, 1200, and 1600. Each press will change the cursor sensitivity, allowing you to adapt to different tasks or preferences.

Image 4.1: Visual representation of the adjustable DPI settings.
4.2 Power Saving Mode
To conserve battery life, the mouse will automatically enter a sleep mode after 5 minutes of inactivity. To wake the mouse, simply click any button. The LED lighting will reactivate, and the mouse will be ready for use.
Video 4.1: This video demonstrates the mouse's power-saving feature, showing it transitioning between active and sleep modes.
4.3 Silent Clicks
The left and right mouse buttons are designed for silent operation, reducing noise by approximately 90% compared to standard mice. This feature allows for focused work without disturbing others.

Image 4.2: The silent click feature ensures a quiet working environment.
5. Maintenance
5.1 Charging the Mouse
When the mouse battery is low, connect the included USB charging cable to the charging port on the front of the mouse and to a USB power source (e.g., computer USB port, wall adapter). The LED lights may indicate charging status.
5.2 Cleaning
To clean the mouse, use a soft, dry cloth. For stubborn dirt, a slightly damp cloth can be used, ensuring no moisture enters the device. Avoid using harsh chemicals or abrasive materials.

Image 5.1: The mouse features a long-lasting rechargeable battery.
6. Troubleshooting
| Problem | Possible Cause | Solution |
|---|---|---|
| Mouse not responding | Low battery; Receiver not connected; Mouse is off; Out of range. | Charge the mouse; Ensure receiver is securely plugged in; Turn on the mouse; Move mouse closer to the receiver. |
| LED lights not working | Mouse in sleep mode; Battery low; Malfunction. | Click any button to wake; Charge the mouse; Contact support if issue persists. |
| DPI not changing | DPI button not pressed correctly; Malfunction. | Ensure a firm press on the DPI button; Contact support if issue persists. |
| Connectivity issues | Interference; Incorrect receiver. | Move away from other wireless devices; Ensure you are using the correct USB/Type-C receiver. |
7. Specifications
- Product Dimensions: 4.33 x 2.36 x 0.04 inches (110 x 60 x 22 mm)
- Item Weight: 3.52 ounces
- Batteries: 1 Lithium Ion battery (included)
- Connectivity Technology: 2.4G Wireless (USB and Type-C receivers)
- Movement Detection Technology: Optical
- Adjustable DPI: 1000, 1200, 1600
- Manufacturer: MMK
- First Available: October 20, 2021

Image 7.1: Detailed view of mouse components and dimensions.
8. Warranty and Support
The MMK team is dedicated to providing high-quality products and customer satisfaction. For any inquiries, technical assistance, or after-sales service, please contact our support team. We are committed to providing you with satisfactory answers and solutions.
Please refer to your purchase documentation for specific warranty details and contact information.
