1. Introduction
This manual provides comprehensive instructions for the CEYOMUR CY60 Trail Camera. This device is designed for capturing high-resolution photos and videos of wildlife, offering features such as 4K video recording, 36MP photo resolution, infrared night vision, and IP66 waterproof rating. Please read this manual thoroughly before operating the camera to ensure proper usage and optimal performance.
2. Package Contents
Verify that all items listed below are included in your package:
- 1 x CEYOMUR CY60 Trail Camera
- 1 x USB Cable
- 1 x Mounting Strap
- 1 x Adjustable Mounting Bracket
- 1 x User Manual

Image: Contents of the CEYOMUR CY60 Trail Camera package, showing the camera, USB cable, mounting strap, and user manual.
3. Camera Overview
Familiarize yourself with the main components of your CEYOMUR CY60 Trail Camera.

Image: Front view of the CEYOMUR CY60 Trail Camera, highlighting the lens, PIR sensors, and infrared LEDs.

Image: The CEYOMUR CY60 Trail Camera with its front casing open, revealing the internal LCD screen, control buttons, and SD card slot.
4. Setup
4.1 Battery Installation
The camera requires 8 AA batteries (not included). For optimal performance and extended battery life, especially in cold conditions, it is recommended to use high-quality alkaline or rechargeable AA batteries.
- Open the camera's casing.
- Locate the battery compartment at the bottom of the camera.
- Insert 8 AA batteries, ensuring correct polarity (+/-) as indicated inside the compartment.
- Close the battery compartment securely.
4.2 SD Card Installation
A Micro SD card (up to 32GB, not included) is required to store photos and videos. Ensure the card is formatted before first use.
- With the camera casing open, locate the SD card slot on the side.
- Insert the Micro SD card into the slot until it clicks into place.
- To remove, press the card gently until it springs out.
Image: A close-up view of the CEYOMUR CY60 Trail Camera's side, indicating the SD card slot and the external power port for convenient access.
4.3 Mounting the Camera
The camera can be mounted using the included strap or the adjustable mounting bracket.
- Strap Mounting: Thread the mounting strap through the slots on the back of the camera and secure it around a tree or pole.
- Bracket Mounting: Attach the adjustable mounting bracket to a wall or flat surface using screws (not included). Then, secure the camera to the bracket.

Image: The CEYOMUR CY60 Trail Camera securely mounted to a tree trunk using the provided strap, demonstrating its outdoor placement.

Image: The CEYOMUR CY60 Trail Camera camouflaged against a tree, illustrating its discreet design for wildlife observation.
5. Operating Instructions
5.1 Powering On and Basic Settings
- Open the camera casing.
- Slide the power switch from OFF to SETUP. The LCD screen will turn on.
- Use the navigation buttons (UP, DOWN, LEFT, RIGHT, OK) to access the menu.
- Navigate to "Date/Time" to set the current date and time. This is crucial for accurate timestamps on your recordings.
- Format the SD card through the menu option to ensure compatibility and clear any previous data.
5.2 Operating Modes
The camera offers three primary operating modes:
- Photo Mode: Captures still images when triggered.
- Video Mode: Records video clips when triggered.
- Photo + Video Mode: Captures a still image followed by a video clip when triggered.
Select your desired mode from the camera's menu settings.
5.3 PIR Sensor and Trigger Settings
The Passive Infrared (PIR) sensor detects motion and triggers the camera. The CY60 features a 120° detection angle with a central 60° sensor and two side 30° sensors.
- PIR Sensitivity: Adjust sensitivity (Low, Medium, High) based on the environment to prevent false triggers or missed events.
- PIR Interval: Set the delay between consecutive triggers to avoid capturing too many redundant images/videos of the same event.
- Trigger Speed: The camera boasts an ultra-fast 0.2-second trigger speed to capture fast-moving subjects.

Image: A visual representation of the CEYOMUR CY60 Trail Camera's 120-degree detection angle, showing the coverage area of its PIR sensors.

Image: A cheetah in mid-leap, overlaid with a target reticle, illustrating the camera's ultra-fast 0.2-second trigger speed for capturing dynamic wildlife moments.
5.4 Night Vision
The camera utilizes 36 low-glow 850nm infrared LEDs for night vision, providing clear black and white images and videos in low-light conditions without disturbing wildlife.

Image: A split image demonstrating the camera's capability, showing a red panda in full color during the day and the same scene in clear black and white using infrared night vision.
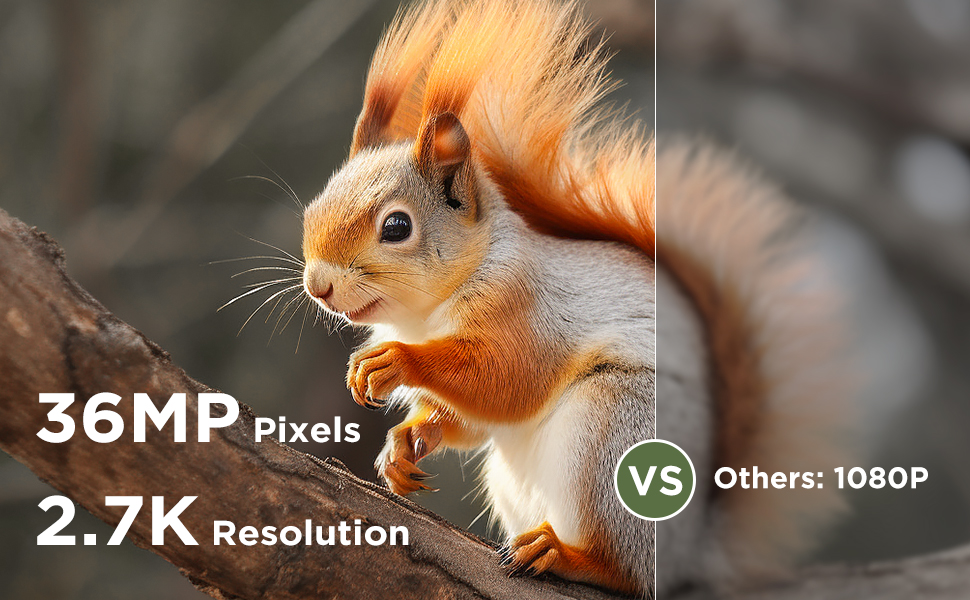
Image: A comparison illustrating the effectiveness of 940nm No Glow infrared LEDs for discreet night vision, showing two fawns undisturbed in their natural habitat.
5.5 Viewing Media
You can view captured photos and videos directly on the camera's LCD screen or by connecting the camera to a computer using the provided USB cable. Alternatively, remove the SD card and insert it into a compatible card reader.
6. Maintenance
6.1 Cleaning
To maintain optimal performance, regularly clean the camera lens and the PIR sensors with a soft, dry cloth. Avoid using abrasive cleaners or solvents.
If condensation appears on the lens, open the camera casing to allow it to air dry in a dry environment.
6.2 Water Resistance
The CEYOMUR CY60 is rated IP66 waterproof, providing protection against dust and strong jets of water. Ensure the casing is securely closed and the rubber seal is free of debris to maintain its water resistance.
6.3 Battery and SD Card Management
Replace batteries when the low battery indicator appears on the screen. Regularly check the SD card for available space and transfer important files to a computer to prevent data loss.
7. Troubleshooting
- Camera not powering on:
Ensure batteries are inserted correctly with the right polarity and are fully charged. Check if the power switch is in the 'SETUP' or 'ON' position.
- No photos/videos captured:
Verify that the SD card is properly inserted and has sufficient free space. Check PIR sensitivity settings; increase if necessary. Ensure the camera is in the correct operating mode (Photo, Video, or Photo+Video). Confirm that the PIR interval is not set too long.
- Poor night vision:
Ensure the camera lens and IR LEDs are clean and unobstructed. Check battery levels, as low power can affect IR performance.
- Short battery life:
Using high-quality alkaline or rechargeable batteries is recommended. Frequent video recording, especially at night, consumes more power. Reduce PIR sensitivity or interval if excessive triggers occur.
- Condensation on lens:
Open the camera casing and allow it to dry in a warm, dry environment. Ensure the rubber seal is clean and the casing is securely closed to prevent moisture ingress.
8. Specifications
| Feature | Specification |
|---|---|
| Model Number | CY60 |
| Photo Resolution | 36MP (Upgraded from 30MP) |
| Video Resolution | 4K (2160p) 30fps |
| Detection Angle | 120 degrees (60° central PIR + two 30° side PIRs) |
| Trigger Speed | 0.2 seconds |
| Night Vision | 36 x 850nm Low-Glow IR LEDs |
| Water Resistance | IP66 |
| Power Source | 8 x AA Batteries (6V DC) |
| Storage | Micro SD Card up to 32GB |
| Dimensions (L x W x H) | 14.7 x 10.4 x 8 cm |
| Material | Rubber |
| Connectivity | Wired IR, USB |
9. Warranty and Support
The CEYOMUR CY60 Trail Camera comes with a 1-year manufacturer's warranty.
For technical support, troubleshooting assistance, or warranty claims, please contact CEYOMUR customer service. Refer to the contact information provided on the product packaging or the official CEYOMUR website.