1. Introduction
Thank you for choosing the Hoover H-DRY 500 heat pump tumble dryer. This appliance is designed to provide efficient and gentle drying for your laundry, utilizing advanced heat pump technology for reduced energy consumption. This manual contains essential information for the safe and effective use, installation, and maintenance of your new dryer. Please read it thoroughly before operating the appliance and keep it for future reference.
2. Safety Information
Always follow basic safety precautions when using electrical appliances to reduce the risk of fire, electric shock, and injury to persons.
- Ensure the appliance is properly earthed.
- Do not install or store the appliance where it will be exposed to the weather or to freezing temperatures.
- Do not allow children to play on or in the appliance. Close supervision is necessary when the appliance is used near children.
- Do not dry unwashed items in the tumble dryer.
- Items that have been soiled with substances such as cooking oil, acetone, alcohol, petrol, kerosene, spot removers, turpentine, waxes, and wax removers should be washed in hot water with an extra amount of detergent before being dried in the tumble dryer.
- Remove all objects from pockets such as lighters and matches.
- The appliance must not be supplied through an external switching device, such as a timer, or connected to a circuit that is regularly switched on and off by a utility.
- Always unplug the appliance from the power supply before cleaning or performing maintenance.
3. Product Overview
The Hoover H-DRY 500 is a free-standing heat pump tumble dryer with an 8 kg capacity, designed for efficient and convenient laundry drying.
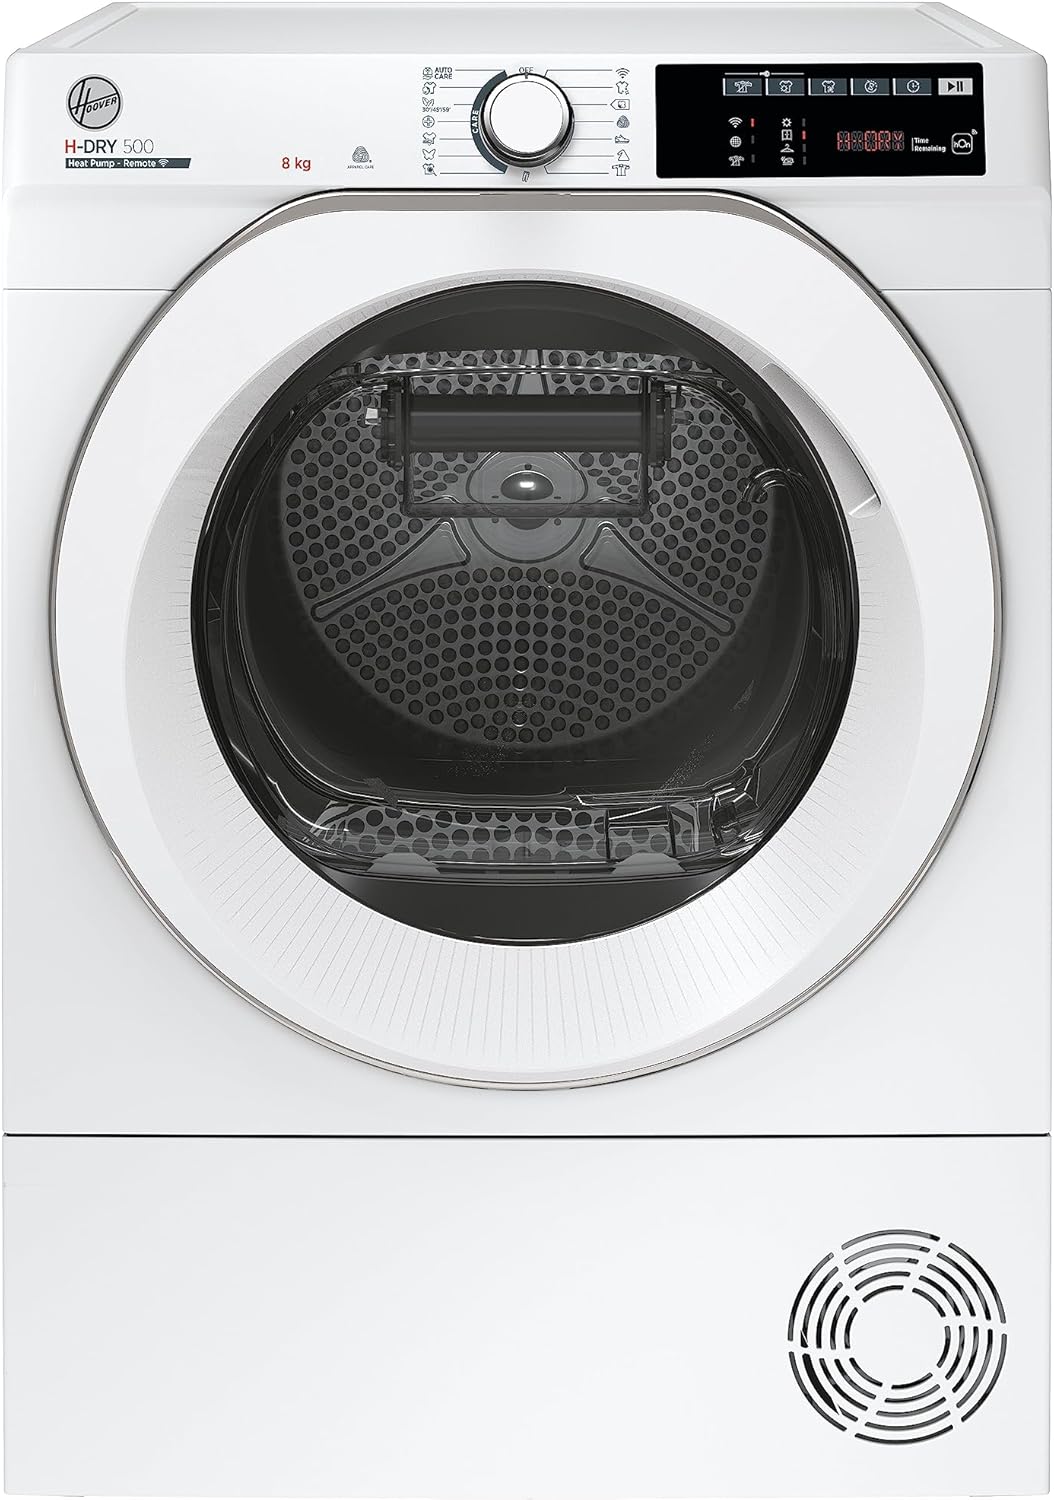
Figure 3.1: Front view of the Hoover H-DRY 500 Tumble Dryer, showing the main door, control panel, and ventilation grille.

Figure 3.2: Detailed view of the control panel, featuring the program selection dial, digital display, and various function buttons.
Key Components:
- Control Panel: Used to select drying programs, adjust settings, and monitor cycle progress.
- Porthole Door: Provides access to the drum for loading and unloading laundry. Features an integrated water collection system.
- Drum: Where laundry is placed for drying.
- Condenser Filter: Located at the bottom, requires regular cleaning.
- Water Container: Collects condensed water, easily removable for emptying.
- Shoe Drying Rack: Included accessory for drying shoes without damaging them.
4. Setup
Before operating your tumble dryer, ensure it is correctly installed and positioned.
Unpacking:
- Remove all packaging materials from the appliance.
- Check for any transport damage. If damaged, do not install or operate the appliance. Contact your retailer.
Positioning:
- The dryer is designed for free-standing installation.
- Place the dryer on a firm, level floor. Use the adjustable feet to level the appliance if necessary.
- Ensure adequate ventilation around the appliance. Do not obstruct the ventilation openings.
- Avoid placing the dryer in direct sunlight or near heat sources.

Figure 4.1: Appliance dimensions: 59.6 cm (Width) x 58.5 cm (Depth) x 85 cm (Height).
Electrical Connection:
- Connect the appliance to a properly earthed power socket.
- Ensure the voltage and frequency match the specifications on the rating plate of the appliance.
- Do not use extension cords or multiple sockets.
5. Operating Instructions
Follow these steps for basic operation of your tumble dryer.
Loading Laundry:
- Ensure laundry is thoroughly spun to remove excess water.
- Do not overload the dryer. The maximum capacity is 8 kg.
- Separate laundry by fabric type and desired dryness level.
Program Selection:
Turn the program selection dial to choose one of the available drying cycles. The dryer offers 9 Care cycles designed to protect various fabric types and 4 drying options for customized results.
- Auto Care Program: This program automatically adjusts drying parameters based on the type and quantity of the load for optimal results.
- Active Dry Program: A 20-minute cycle designed to refresh and disinfect garments, eliminating odors, bacteria, and allergens.
- Special Cycles: Refer to the control panel symbols or the hOn app for specific cycles like Cotton, Synthetics, Delicates, etc.
Starting a Cycle:
- Close the porthole door firmly.
- Press the Start/Pause button to begin the selected cycle.
hOn App Connectivity:
The Hoover H-DRY 500 features Wi-Fi connectivity, allowing intelligent control via the hOn app. Download the hOn app on your smartphone and follow the in-app instructions to connect your dryer.
- Additional Cycles: Access over 40 additional drying cycles not available on the appliance's control panel.
- Personalized Suggestions: Receive tailored drying recommendations.
- Remote Management: Start, pause, or monitor cycles remotely.
- Scan to Care: Take a photo of garment labels to receive the ideal drying cycle suggestion.
6. Maintenance
Regular maintenance ensures optimal performance and extends the lifespan of your dryer.
Emptying the Water Container:
The dryer collects condensed water in a container located within the porthole door. This container must be emptied after each drying cycle.

Figure 6.1: The integrated water collection system in the porthole door is easily removable for emptying.
- Gently pull out the water container from the porthole door.
- Pour out the collected water.
- Reinsert the container until it clicks into place.
Cleaning the Filters:
The lint filter and condenser filter should be cleaned regularly to maintain drying efficiency.
- Lint Filter: Clean after every cycle. Open the door, remove the filter from the door opening, and remove any lint.
- Condenser Filter: Clean periodically (e.g., monthly or as indicated by the appliance). Refer to the appliance manual for specific instructions on accessing and cleaning the condenser filter.
Cleaning the Exterior:
Wipe the exterior surfaces of the dryer with a soft, damp cloth. Do not use abrasive cleaners or solvents.
7. Troubleshooting
If you encounter issues with your dryer, consult the following table before contacting customer service.
| Problem | Possible Cause | Solution |
|---|---|---|
| Dryer does not start | No power supply; Door not closed properly; Program not selected. | Check power plug and fuse; Ensure door is fully closed; Select a program and press Start. |
| Clothes are not dry enough | Filter clogged; Overloaded; Incorrect program selected. | Clean lint and condenser filters; Reduce load size; Select a more intensive drying program. |
| Water container full indicator is on | Water container is full. | Empty the water container. |
| Unusual noise during operation | Foreign objects in drum; Appliance not level. | Check drum for loose items; Ensure appliance is level using adjustable feet. |
8. Specifications
| Feature | Specification |
|---|---|
| Brand | Hoover |
| Model Number | NDE H8A2TCEXS-S |
| Type | Heat Pump Tumble Dryer |
| Installation Type | Free-standing |
| Capacity | 8 Kilograms |
| Dimensions (W x D x H) | 59.6 cm x 58.5 cm x 85 cm |
| Weight | 41.7 Kilograms |
| Energy Efficiency Class | A++ |
| Connectivity | Wi-Fi (hOn App) |
| Color | Grey |
| Material | Stainless Steel, Plastic |
9. Warranty and Support
Your Hoover H-DRY 500 tumble dryer comes with a manufacturer's warranty. Please refer to the warranty card included with your purchase for specific terms and conditions, including warranty period and coverage details.
For technical assistance, spare parts, or to schedule a service appointment, please contact Hoover customer support. Contact information can typically be found on the Hoover official website or in your purchase documentation.
When contacting support, please have your appliance model number (NDE H8A2TCEXS-S) and serial number ready. The serial number is usually located on a label inside the door opening or on the back of the appliance.